 Funky Millions
How to Make Fake Nails at Home
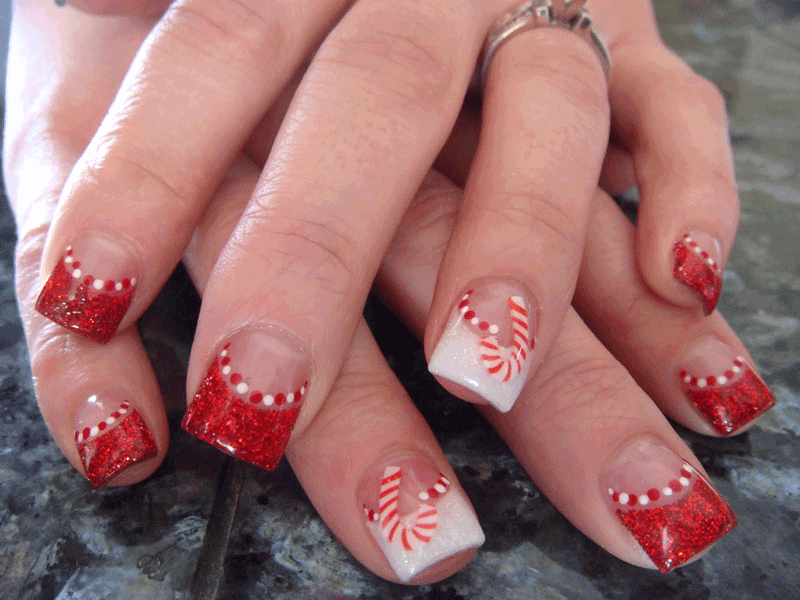
Quick summary
Key Takeaways
- Choose thin, clear or opaque tape and trim it to fit each nail for the most natural shape.
- Buff the tape edge smooth before adding glue so the finished nail looks even and polished.
- Seal the nail with thin layers of clear polish or glue to help the DIY set last longer.
- Remove homemade nails gently and moisturize afterward to protect your natural nails.
When someone wants to buy fake acrylic nails, they need to pay very much for it. So then why spend so much money when you can just grow your nails at home and design it beautifully.
Sometimes girls trim their nails whenever they become long forgetting that they have an urgent event coming up. It is when they start worrying and are uncertain as to how they will grow their nails again as soon as possible. So, this particular article will help all age girls some easy steps how to make fake nails at home.
This will absolutely decrease the worry of last minute shopping for fake nails, which sometimes give unpleasant results.
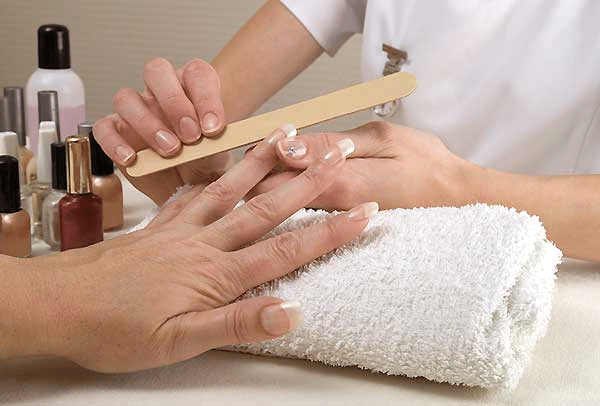
Firstly, you should have the basic things in your house. That are found mostly in every household. These things may be slightly opaque or transparent tape, art brushes, scissors, glitter, clear nail polish, glue, baking soda, etc. etc. for beautifying the nails.
It might be amazing for you to know that these items are enough for making fake nails at your home. The process is very easy and understandable. Read on to find out how to make fake nails at home.
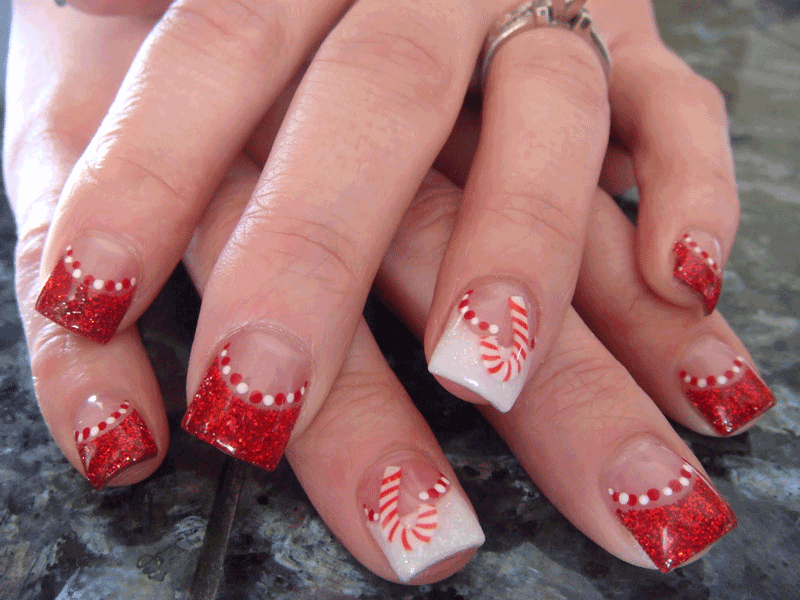
How to make fake nails at home
1. Cut out your nails
Starting with the first step. Firstly, you have to cut out your nails, and place a piece of tape on the cap of your fingernail. Then look deeply at the size of your fingernail and have another cut out of the tape so that it fully covers the top part of your fingernail. It will allow your nail having a square shaped tip. Thus, your mail will be made elongated.
2. Use the buffer
Now in the second step, you have to use the buffer and rub it constantly on the part of your nail in such a way that the draft of the tape is clearly shown. By following this the line will remove making the tape clearly visible. Now, your fake nail is nearly done.
3. Use the paintbrush
Now you have to use the small paintbrush and plunge it in glue.
Then you have to employ the glue on the acrylic part of your fingernail. By doing this the upper part of the nail will be made very silky and polished.
4. Leap your acrylic nail
After all this, You have to leap your acrylic nail head in a cup of glitter. By doing this your nail will get a glowing fingertip.
It depends on your own choice that which glitter colors you want to use.
5. Baking soda
After this, you have to use the same paintbrush and plunge it in baking soda. You need to use the paintbrush that was previously plunged in the glue.
6. Baking soda glue
Now, when you plunge it in the baking soda, the glue will get a white color. Then you have to employ the baking soda glue on the remaining of your nail, except the glitter part.
Thus, your nail will get a white base coat, and will give a more professional look.
7. Last step
After all that, you have to get another paint brush and by using it to apply the glue on the glitter part of your fingernail, in such a way that you make it bright, silky and polished.
Finally, your fingernail is now ready and you have beautiful nails.
You can also repeat the same process with some other colors and enjoy.
How do you remove fake nails?
Nail art is actually quite a major craze and fun and the people who do it are actually experts considered that they keep in check with everything like color and size of the nail. When you go to a beauty parlor or saloon for these types of manicures, you will find yourself to be greatly pampered.
If your nails are short and thick, then the acrylic nails are totally what you really want! You will come to know that these are actually available in a huge variety in the market and so, you only have to actually choose what actually you want to buy according to your personal sense of style.
Most people make the fake nails beautiful, but then fail to remove it. Now, here are some tips to show how actually you can remove the fake nails!
It is a very easy and simple. If you want to go to a beautician to remove it for you then it’s okay, but However, if you want to remove the fake nails yourself then you might need to follow the following tips.
You have to keep in mind that once you are removing these off, you should be more careful and not in an aggressive way. The glue that these nails are made has a lot of toughness and you can get yourself in danger of self harm if you do not follow some perfect steps carefully. .
The fake nails can be removed very easily. You can very easily get the help of the procedure booklet or circular that comes with the kit. Below are the steps.
Steps
For using this method you will need help of one other person too to do this. This method is very much faster and easier, but sometimes it can be hurting if not do with great and extra care, but it saves a lot of time for us and also resources.
This method is not good to be used for those people who are having the peel or weak nails.
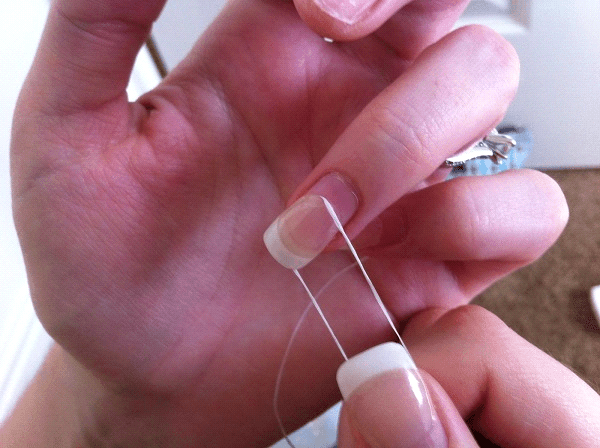
- First of all, use a metal nail file at the end of your nail to agitate the corner of the fake nail a bit there so that you leave an enough blank area for yourself to lapse the dental floss beneath the acrylic nail.
- Now you should use a tooth loss of about 1 foot, to cloak it around the forefinger of the 2nd person on each hand.
- Then you have to slip the tooth floss beneath the corner you made now.
- Keep it in your mind not to use force on anything at all. Because this will only cause you to an infection or fracture as nails are very sensitive part of the body.
- Now the 2nd body you have should use a slash motion and smoothly pull against the end of the nail bed.
- The fake nail you have must pop off.
Note:As you see that the process discussed above is very easy and time saving than other methods, but can be dangerous if not followed with great care.
Tips to protect against Infection from artificial nails
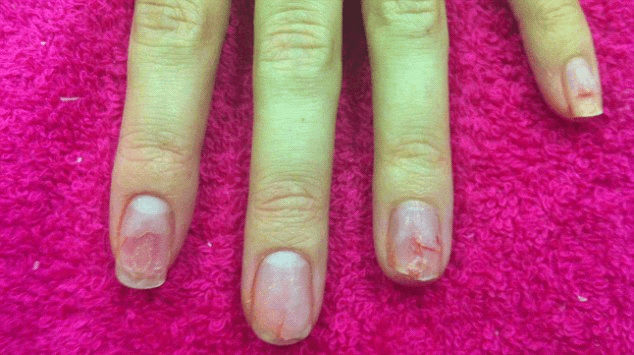
Artificial nails can make your fingers look attractive and beautiful, but it is more important to make sure you do proper care of them and keep them free from infections.
The Dermatologist suggests that:
- Use artificial nails only if your own nails are healthy.
- Artificial nails may decline nail infections and other problems, possibly leading to nail loss.
- For avoiding any problem first apply one nail initially to make sure that you don’t have an allergic reaction to it.
- Wash hands clearly with water and soap, Also use a brush to clean underneath your nails.
- Then dry your hands and nails completely.
- Attach again if any artificial nail is loose.
- Take care of it and remove the nails after some time every two to three months.
- Always wear gloves when you wash clothes and dishes or while doing some yard work.
Artificial Nails and Preventing Nail Fungus and its cure
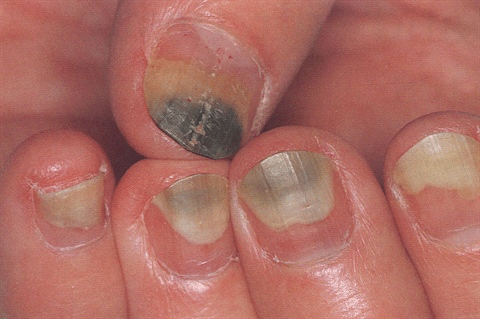
Nail fungus is generally called onychomycosis It occurs more frequently in toenails.
When finger nails are overlaid with the plastic of artificial nails, a barrier is made to the normal air flow. Fungus always grows in dark and moist places. Artificial nails can get loosened from the nail they are pasted to and an air hole can be created between both nails, that allows water to get entrapped. This gives a great breeding ground for the nail fungus to grow.
The worst problem with nail fungus infections is that they are really hard to cure and may also repeat again easily.
Nail fungus mostly grows at the tip of the nail where it touches the skin.
Nail fungus can seem as discolored, thickened, ragged or brittle at the ends of the nail.
You will have to wait for few months after treatment for the new healthy nail to grow, especially if the infection occurs again.
The nail fungus is treated by applying a topical cream
If the nail fungus is very small the it can be treated by applying a topical anti fungal cream.
Lamisil cream consists of the alive elements of terbinafine, that fight against nail infections and other skin fungus problems.
Advantages and disadvantages of it
There are many Advantages and Disadvantages of the making fake nails.
Here are some:
Benefits of it
1. They are much stronger than natural nails
Fake nails are an another way of having beautiful nails if natural does not grow enough, or they break, and peel.
You won’t bite them and simply you will get the perfect manicure for longer.
2. Perfect French permanent
It is now possible to fulfill a dream of having a classic French manicure. You will get ideal and non hurting nails for a few weeks. It does not mean that you will leave all the other daily activities, it just means that your nails will suffer well with all tests.
You can also get some minor problems with it such as bumps or grooves on the surface of the nail but it is avoidable..
3. Long nails
If you do not like your natural nails to keep they grow and make it long.
Protective gel helps to keep the actual length that you want to keep. Moreover, then you can use fake nail as long as you want and your natural will be protected.
4. Beautiful nails
You can get the nails of your choice by using fake nails. It is very effective and look very attractive and beautiful. You can simply make it for an event very easily.
Disadvantages of it
1. Natural nail must be filed
There is the thought that acrylic or gel strike and destruct the natural nail. Actually, it is true that natural nail is not affected too much, but because of the fabrics, but in reality that you have filed for the gel has easy hold. But still this process is not harmful to the nails than hair dye.
2. Maintenance
Even if you like it or not, false nails tighten every 2 to 3 weeks. Differently, it will look totally hideous appearing and a visible difference between gel nails is increased again.
Moreover, it depends on the length of the nails and the daily exercise and activity increases the risk of wound.
3. Addictive
Possibly the biggest defect is that it is really addictive!
They are highly practical and exclusive permanent looking nails, no longer break.
No one price is not excessive, if we count as a normal manicure charge us, but one that will be required weekly.
Choosing the Right Tape for Your DIY Fake Nails
The tape you choose can make or break your homemade nails. Slightly opaque or clear tape works best because it is thin enough to bend over your natural nail but strong enough to hold its shape once glue is applied. Avoid heavy duct tape or masking tape, which are too thick and will leave bulky edges that look unnatural. Cut each strip slightly wider than your nail, then trim the sides after pressing it into place for a cleaner, custom fit.
Smoothing the Surface Before You Decorate
A smooth base is what makes DIY fake nails look salon-fresh rather than bumpy. After taping the tip, use a nail buffer or a soft file to gently blend the edge where the tape meets your real nail. Take your time here: if the ridge is visible, the polish and glitter will catch on it and the finished look will be uneven. Wipe the nail with a tiny bit of rubbing alcohol or soapy water first to remove natural oils, then let it dry completely before adding glue.
Making Your Homemade Fake Nails Last All Day
Because these nails are made from tape and glue, they are best for short wear, but a few habits can extend their life. Apply two thin layers of clear polish or glue as a top coat rather than one thick layer, which can crack as it dries. Be gentle with your fingertips when opening cans, typing, or washing dishes, since water can loosen the tape edge. If a corner lifts, dab a tiny drop of glue underneath and press it down until it sets. Removing them before bed also prevents them from snagging while you sleep.
For related advice, see [How to Get Rid of Yellow Nails](/how-to-get-rid-of-yellow-nails), [How to Strengthen Nails Naturally](/how-to-strengthen-nails-naturally) and [How To Make A Homemade Face Mask](/how-to-make-a-homemade-face-mask).
Dermatologists and nail technicians commonly recommend keeping DIY nail enhancements gentle and short-term. They advise against filing the natural nail aggressively, using strong household adhesives meant for other materials, or wearing any artificial layer for weeks without a break. Letting nails breathe between applications and moisturizing the cuticles helps maintain nail strength and reduces the risk of splitting, peeling, or fungal issues.
Conclusion
Learning how to make fake nails at home is a simple, budget-friendly way to get polished fingertips without a salon visit. With basic supplies like tape, nail glue, glitter, and baking soda, you can shape, decorate, and seal a custom set of nails in a short amount of time.
While these DIY nails may not last as long as professional acrylics, they are perfect for a special event, a quick photo, or a fun experiment with friends. Just remember to prep your nails gently, seal every edge, and remove them carefully to keep your natural nails healthy underneath.
Frequently Asked Questions
Last updated
This article is for informational purposes only and does not constitute medical advice. Consult a licensed dermatologist or healthcare provider before starting any new treatment.
Beauty & Hair Care Editor
Amanda Gurton is a beauty editor and researcher with a focus on translating dermatology and trichology insights into clear, actionable advice. She covers skincare routines, hair health, ingredient science, and everyday beauty habits.
Comments (0)
Be the first to comment.
Related Articles
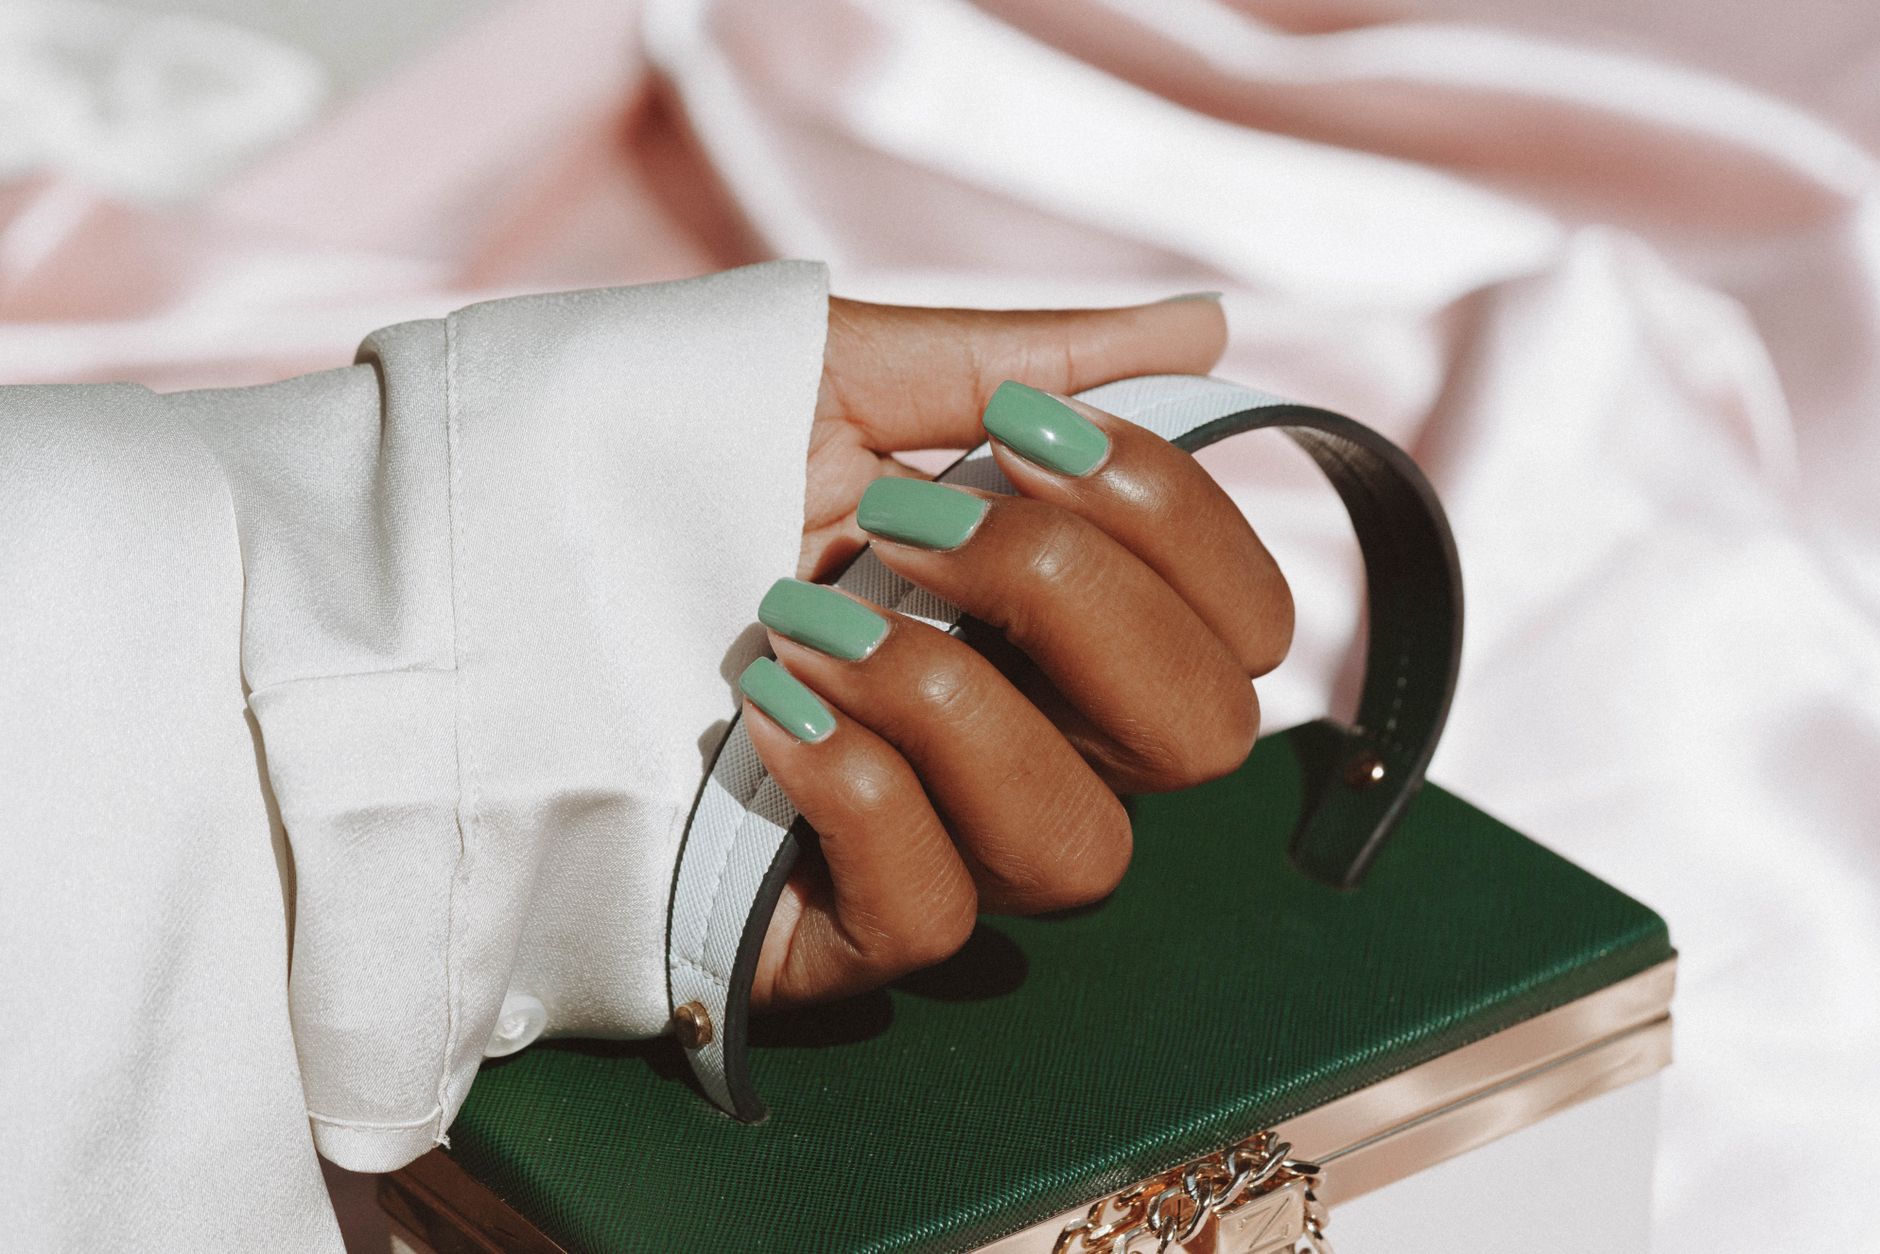
Press-On Nails: A Complete Beginner's Guide
Learn everything about press-on nails, from choosing the right size to application, removal, and how to make them last longer.

Nail Shapes Guide: Which Shape Suits Your Fingers
Discover which nail shape best suits your finger and hand shape, from square to almond to coffin, with tips for choosing and filing correctly.

Nail Strengthener vs. Nail Hardener: What's the Difference?
Nail strengthener vs nail hardener: learn the real difference, which one your nails actually need, and how to use each correctly.
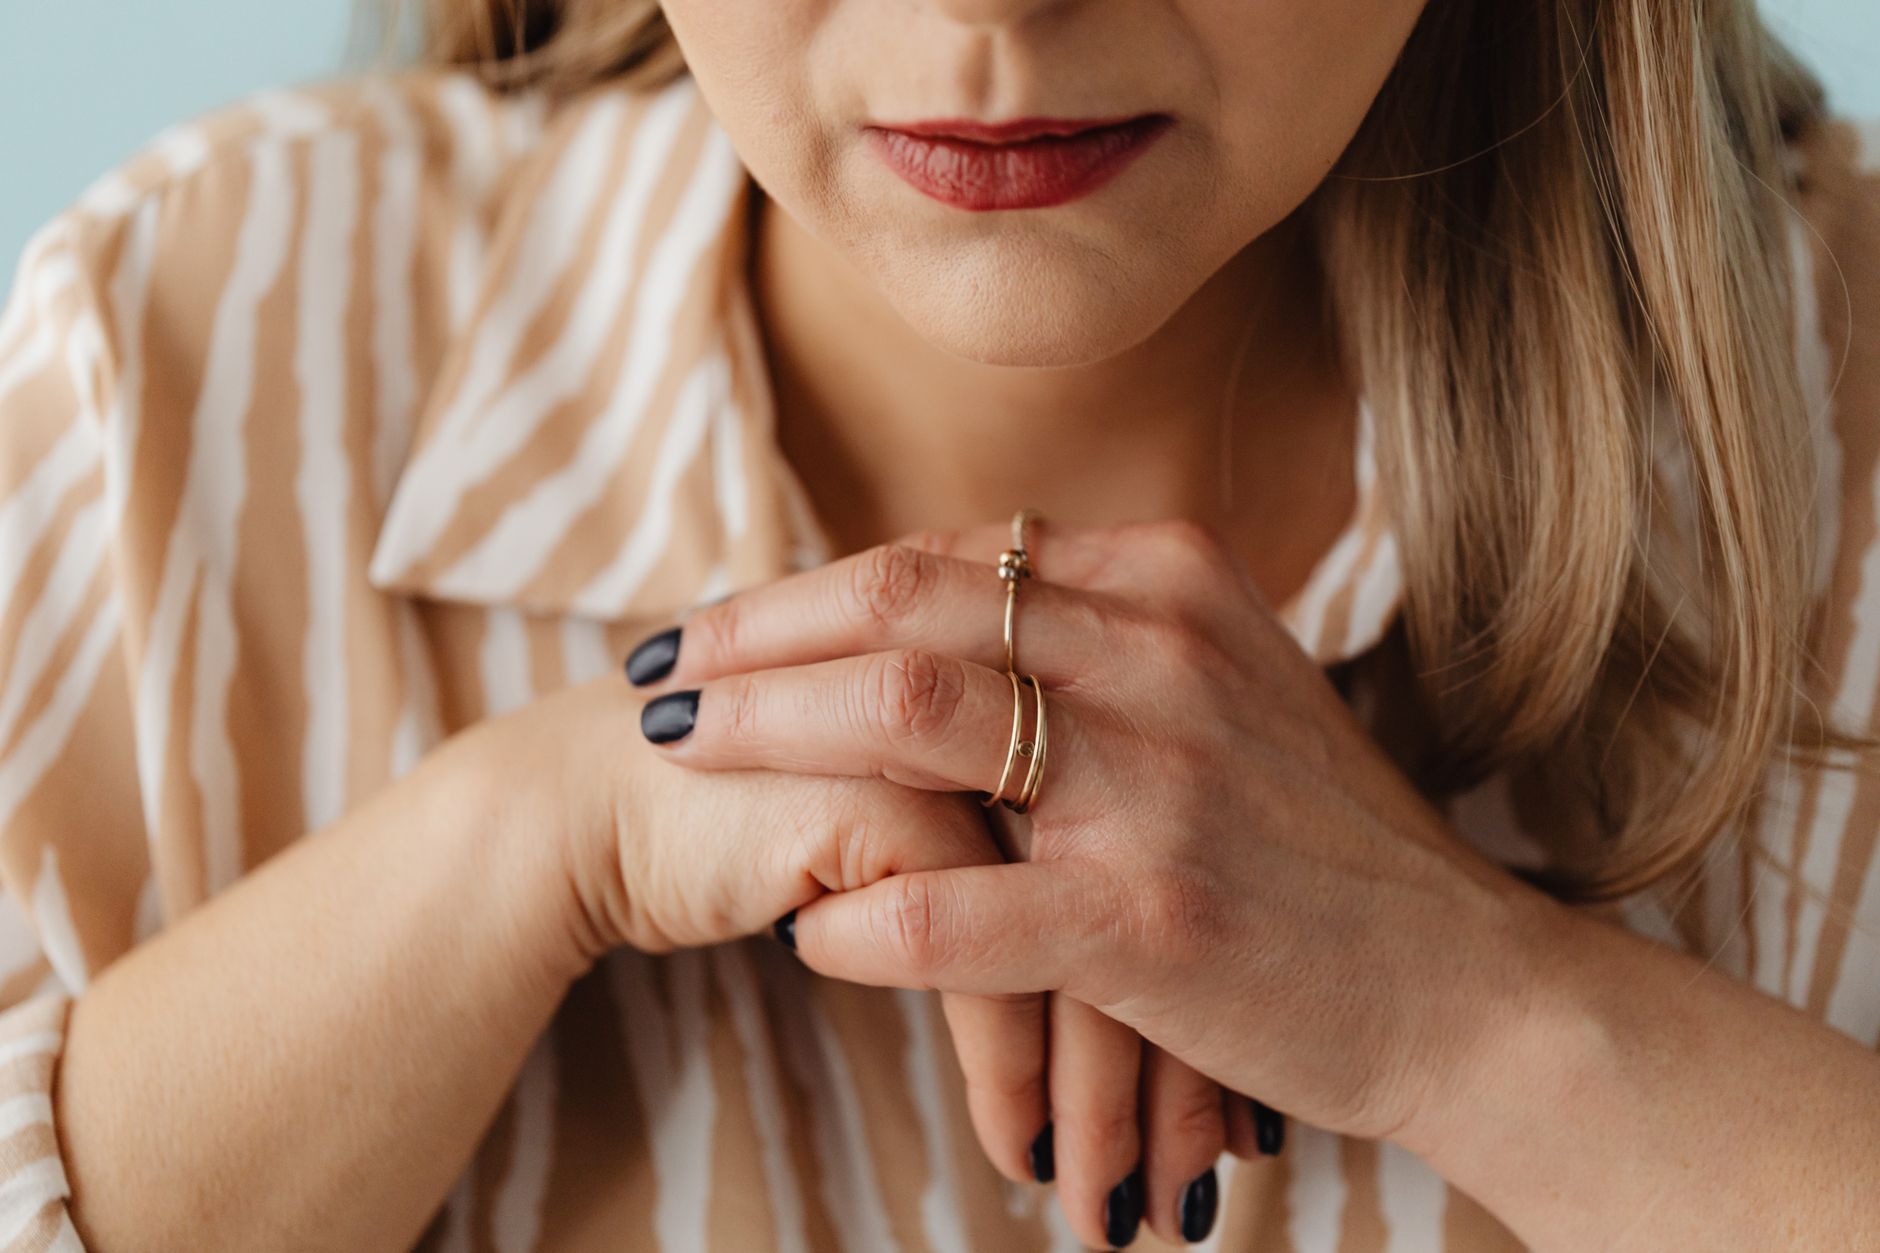
What Causes Nail Ridges and When to Worry
Learn what causes vertical and horizontal nail ridges, which types are normal aging changes, and when ridges signal an underlying health issue.