 Funky Millions
Homemade Body Butter Recipe: A Complete DIY Guide
Learn the best homemade body butter recipe with shea, cocoa, and mango butter. Get step-by-step instructions, expert tips, ingredient comparisons, and FAQs.
Quick summary
Key Takeaways
- Body butter is a water-free, oil-rich moisturizer. A homemade version lets you skip synthetic additives and customize the formula to your skin type.
- DIY body butter saves money, avoids unwanted chemicals, and can be tailored to your skin and preferences.
- Choose one hard butter, one liquid oil, and a small amount of essential oil to build your first recipe.
- Melt, chill, then whip. This three-step process creates a light, fluffy body butter that spreads easily and absorbs deeply.
- Adjust your butter-to-oil ratio and choose oils based on your skin type for the best results.
- Whipped body butter is best for daily use; solid body butter is ideal for spot treatment and warm weather.
- Avoid water, overheating, and excess essential oil. Clean tools and cool storage keep your body butter safe and effective.
- Small details like weighing ingredients, cool whipping, and proper labeling make a big difference in quality and safety.
- With proper storage and no water, homemade body butter stays fresh for up to one year.
Introduction
If your skin feels tight, itchy, or flaky after showering, a homemade body butter recipe can be the nourishing fix your routine needs. Unlike store-bought lotions that often contain water, alcohol, and synthetic preservatives, DIY body butter is made from pure plant butters and oils. That means it delivers deeper hydration, lasts longer on the skin, and lets you control every ingredient.
A homemade body butter recipe typically combines a hard butter (like shea or cocoa), a soft butter or carrier oil (like coconut or sweet almond), and a small amount of essential oil for scent. The mixture is melted, chilled, and whipped into a light, creamy texture that melts into the skin. Because it is oil-based rather than water-based, it creates a protective barrier that locks in moisture for hours.
In this guide, you will learn exactly how to make your own body butter at home. We will cover the best ingredients, a beginner-friendly recipe, common mistakes to avoid, expert tips, and answers to the most frequently asked questions. Whether you want a basic shea butter version or a luxury whipped formula, this article gives you everything you need.
What Is Body Butter?
Body butter is a thick, oil-based moisturizer designed to hydrate and protect dry skin. It is richer than lotion because it contains little or no water. Instead, it is made from natural plant butters and oils that melt at body temperature and absorb into the skin.
A homemade body butter recipe uses ingredients such as shea butter, cocoa butter, mango butter, coconut oil, and jojoba oil. These ingredients are full of fatty acids, vitamins, and antioxidants that support the skin barrier. When whipped, the butter becomes airy and easy to spread while still delivering intense moisture.
Why Make Body Butter at Home?
1. You Control the Ingredients
Commercial body products often include parabens, synthetic fragrances, and mineral oil. When you make your own, you decide exactly what goes on your skin.
2. It Is More Cost-Effective
A single batch of homemade body butter can last for months and costs far less than high-end store-bought jars. Buying raw butters in bulk lowers the price per ounce even more.
3. You Can Customize the Texture and Scent
Want a thick winter cream? Use more cocoa butter. Prefer a light summer moisturizer? Add more liquid oil. You can also choose essential oils based on your mood or skin needs.
4. It Hydrates More Deeply
Because it contains no water, body butter does not evaporate quickly. It stays on the skin and provides long-lasting moisture, especially for elbows, knees, heels, and hands.
Ingredients You Need for a Homemade Body Butter Recipe
A good body butter has three basic parts: a hard butter, a liquid oil, and an optional scent. Below is a breakdown of the most popular choices.
Hard Butters (The Base)
| Ingredient | Texture | Best For | Key Nutrients |
|---|---|---|---|
| Shea Butter | Soft, creamy | Dry, sensitive skin | Vitamins A, E, fatty acids |
| Cocoa Butter | Hard, chocolate scent | Very dry skin | Antioxidants, oleic acid |
| Mango Butter | Firm, mild scent | All skin types | Vitamin C, oleic acid |
| Kokum Butter | Very hard | Firm bars, hot climates | Stearic acid, vitamin E |
Liquid Oils (For Spreadability)
| Ingredient | Absorption Speed | Best For |
|---|---|---|
| Coconut Oil | Medium | Normal to dry skin |
| Sweet Almond Oil | Fast | Sensitive skin |
| Jojoba Oil | Fast | Oily or acne-prone skin |
| Grapeseed Oil | Fast | Lightweight formulas |
| Olive Oil | Slow | Very dry skin |
| Vitamin E Oil | Fast | Preserving and antioxidant boost |
Optional Add-Ins
- Essential oils: lavender, peppermint, sweet orange, chamomile, tea tree
- Arrowroot powder: reduces greasy feel
- Colloidal oatmeal: soothes irritated skin
- Aloe vera gel: adds light hydration (use sparingly; requires preservative)
Basic Homemade Body Butter Recipe
This recipe is beginner-friendly and takes about 30 minutes from start to finish. It yields approximately 8 ounces.
Ingredients
- 1/2 cup shea butter
- 1/4 cup cocoa butter
- 1/4 cup coconut oil
- 2 tablespoons sweet almond oil
- 1 teaspoon vitamin E oil
- 15–20 drops essential oil (lavender or sweet orange work well)
- 1 tablespoon arrowroot powder (optional, for less grease)
Equipment
- Double boiler or heat-safe glass bowl and saucepan
- Digital scale or measuring cups
- Hand mixer or stand mixer
- Silicone spatula
- Clean glass jars with lids
- Labels (optional)
Instructions
Step 1: Melt the Butters and Oils
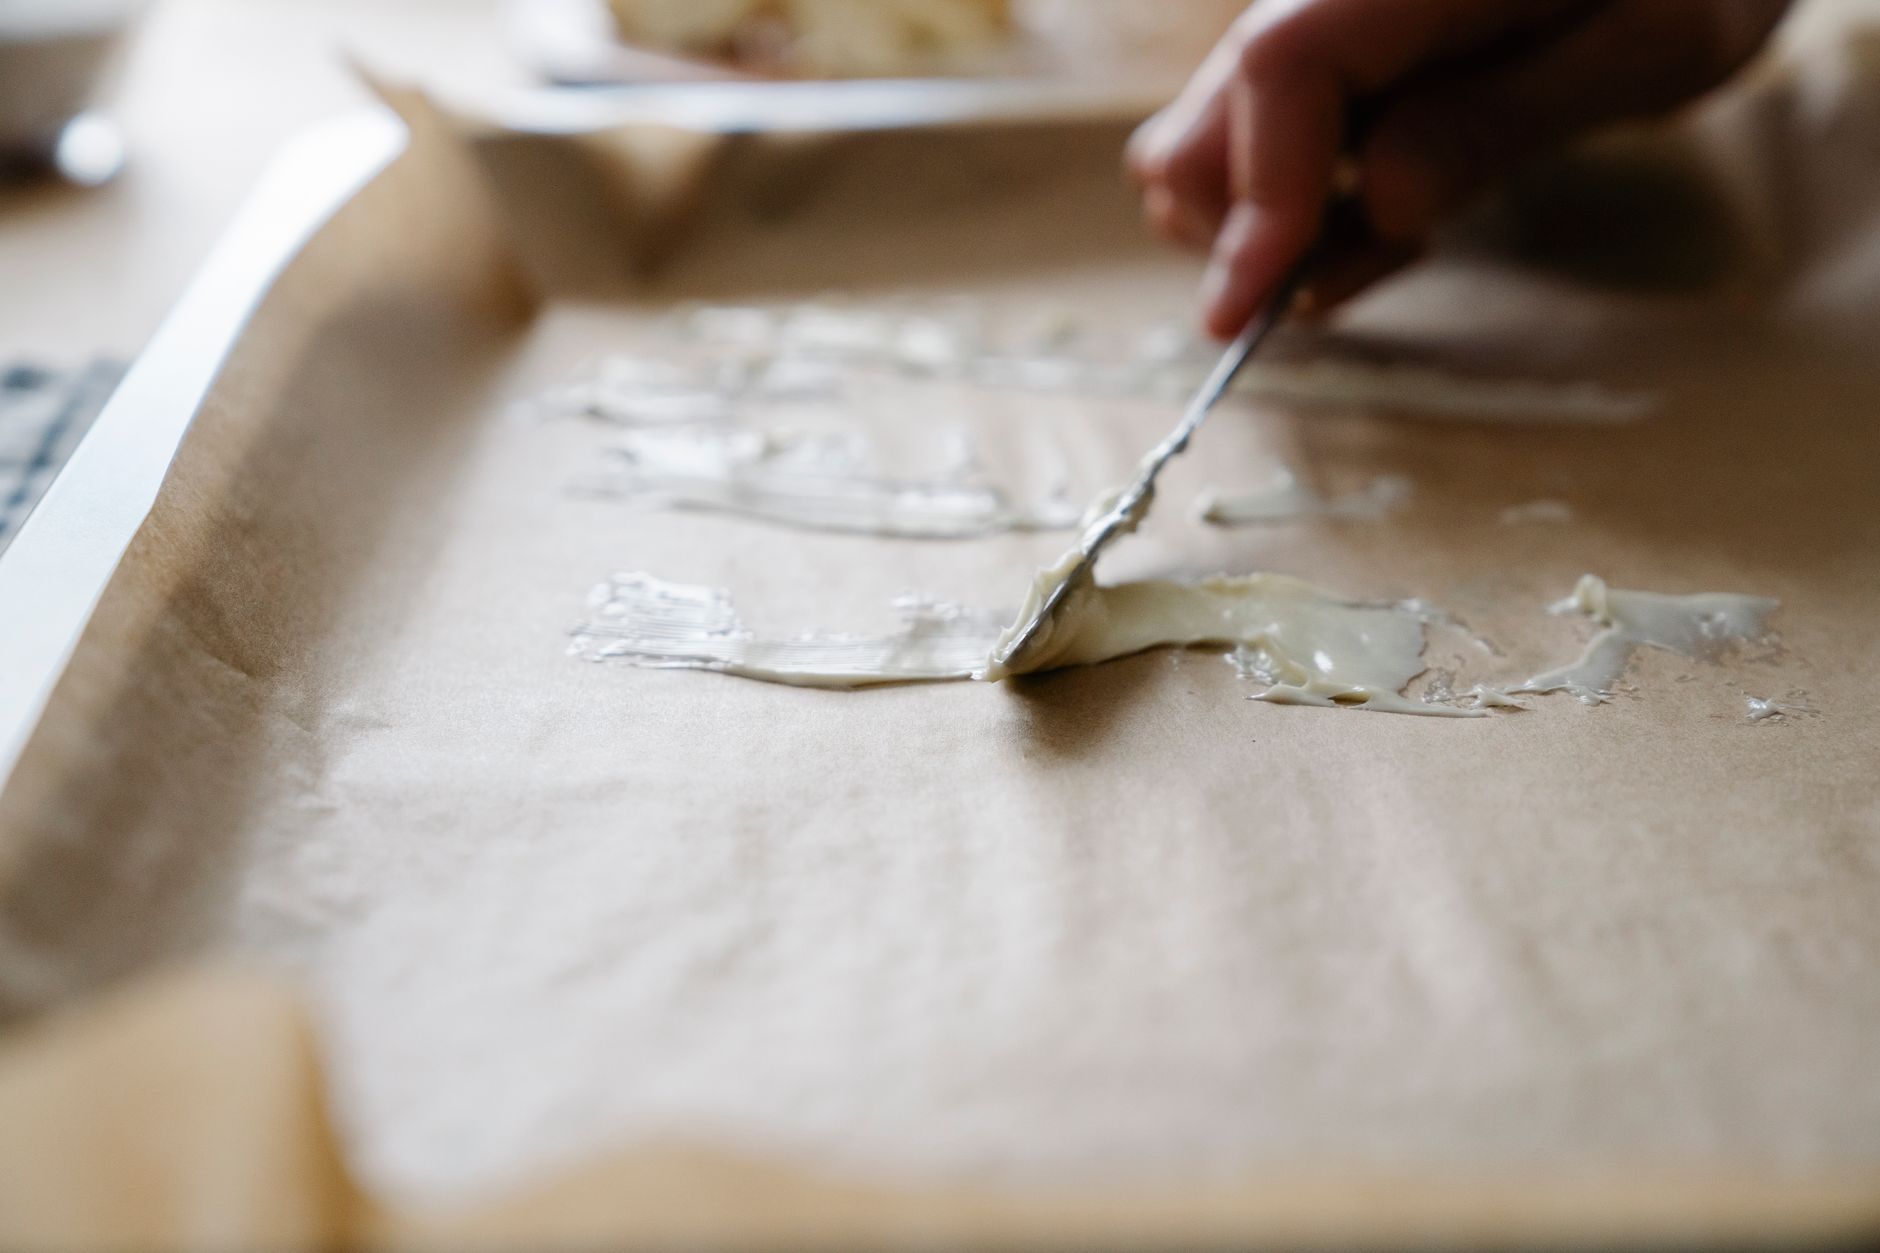
Add the shea butter, cocoa butter, and coconut oil to the top of a double boiler. Heat over low to medium heat until fully melted. Stir occasionally with a silicone spatula. Do not boil the mixture; gentle heat protects the nutrients.
Step 2: Add Liquid Oils
Remove the mixture from heat. Stir in the sweet almond oil and vitamin E oil. These heat-sensitive oils should be added after melting to preserve their benefits.
Step 3: Chill the Mixture
Pour the liquid into a clean mixing bowl. Place the bowl in the refrigerator for 1 to 2 hours, or until the top layer becomes firm and opaque. Do not let it freeze completely.
Step 4: Whip Until Fluffy
Once firm, remove the bowl from the refrigerator. Add the essential oil and arrowroot powder if using. Use a hand mixer to whip the mixture on high speed for 3 to 5 minutes. It should double in volume and look like frosting.
Step 5: Jar and Store
Spoon the whipped body butter into clean glass jars. Press gently to remove air pockets. Seal tightly and store in a cool, dark place.
How to Customize Your Body Butter for Different Skin Types
Dry or Mature Skin
Use more cocoa butter and add extra vitamin E oil. Try this ratio:
- 1/2 cup shea butter
- 1/3 cup cocoa butter
- 2 tablespoons avocado oil
- 10 drops frankincense essential oil
Oily or Acne-Prone Skin
Choose lighter oils and avoid coconut oil, which can clog pores for some people.
- 1/2 cup mango butter
- 3 tablespoons jojoba oil
- 1 tablespoon grapeseed oil
- 10 drops tea tree essential oil
Sensitive Skin
Keep the formula simple and fragrance-free, or use chamomile essential oil.
- 1/2 cup shea butter
- 1/4 cup mango butter
- 3 tablespoons sweet almond oil
- 1 teaspoon colloidal oatmeal
- 5 drops chamomile essential oil
Eczema-Prone Skin
Avoid fragrance and essential oils. Focus on gentle, barrier-repairing ingredients like shea butter, colloidal oatmeal, and vitamin E.
Whipped vs. Solid Body Butter: Which Should You Make?
| Feature | Whipped Body Butter | Solid Body Butter |
|---|---|---|
| Texture | Light, airy, easy to spread | Dense, balm-like |
| Best For | All-over moisturizing, everyday use | Targeted areas like heels and elbows |
| Melting Risk | Can melt in hot temperatures | More stable in warm climates |
| Application | Scoop and smooth over skin | Rub between hands first |
| Shelf Life | 6 to 12 months | 6 to 12 months |
Whipped body butter is the most popular choice for beginners because it feels luxurious and absorbs quickly. Solid body butter is better if you live in a hot climate or want a travel-friendly bar.
Common Mistakes to Avoid
1. Using Too Much Essential Oil
Essential oils are potent. For body products, use no more than 1 to 2 percent of the total formula. Too much can irritate the skin.
2. Melting at Too High a Temperature
High heat can damage the vitamins and fatty acids in your butters. Always use low heat and a double boiler.
3. Not Letting the Mixture Chill Enough
If you whip the butter while it is still liquid, it will not hold its shape. Wait until the top is firm before mixing.
4. Adding Water-Based Ingredients Without a Preservative
Water causes mold and bacteria growth. If you add aloe vera gel or hydrosols, you must use a broad-spectrum preservative.
5. Using Dirty Jars or Tools
Always use clean, dry jars and equipment. Any moisture can shorten the shelf life and create safety risks.
6. Storing in a Warm Bathroom
Body butter melts above 75°F (24°C). Store it in a cool, dark place to keep the whipped texture stable.
How Long Does Homemade Body Butter Last?
When made without water, a homemade body butter recipe typically lasts 6 to 12 months. Shelf life depends on the freshness of the ingredients and how it is stored.
To extend shelf life:
- Use clean, dry jars with tight lids.
- Add vitamin E oil as a natural antioxidant.
- Store away from heat, light, and humidity.
- Use a spoon or spatula instead of fingers to scoop.
If the body butter smells rancid, changes color, or grows mold, discard it immediately.
- Weigh your ingredients for consistent batches, especially if you plan to sell or gift your body butter.
- Use refined butters if you want a neutral scent. Unrefined butters have a stronger natural smell.
- Add arrowroot powder if the finished butter feels too greasy. Start with 1 teaspoon per cup.
- Whip in a cool room so the butter stays firm during mixing.
- Pipe into jars with a frosting bag for a professional look.
- Label each jar with the date and ingredients so you know when it was made.
- Patch test new formulas on a small area of skin before full use.
Conclusion
Making your own body butter at home is simple, affordable, and rewarding. A basic homemade body butter recipe uses just a few natural ingredients and delivers deep moisture without synthetic additives. By choosing the right butters and oils for your skin type, following the melt-chill-whip method, and storing your product properly, you can create a luxurious moisturizer that rivals anything store-bought.
If you try this recipe, let us know how it turns out. Share your favorite scent combinations, and be sure to explore our other skincare tips and natural beauty guides on FunkyMillions.com.
Primary Keyword: homemade body butter recipe
Slug: homemade-body-butter-recipe
Category: General Information
Tags: homemade body butter recipe, DIY body butter, natural skincare, shea butter recipe, cocoa butter body butter, whipped body butter, homemade moisturizer, clean beauty, essential oils for skin
Frequently Asked Questions
References
Last updated
This article is for informational purposes only and does not constitute medical advice. Consult a licensed dermatologist or healthcare provider before starting any new treatment.
Beauty & Hair Care Editor
Amanda Gurton is a beauty editor and researcher with a focus on translating dermatology and trichology insights into clear, actionable advice. She covers skincare routines, hair health, ingredient science, and everyday beauty habits.
Comments (0)
Be the first to comment.
Related Articles
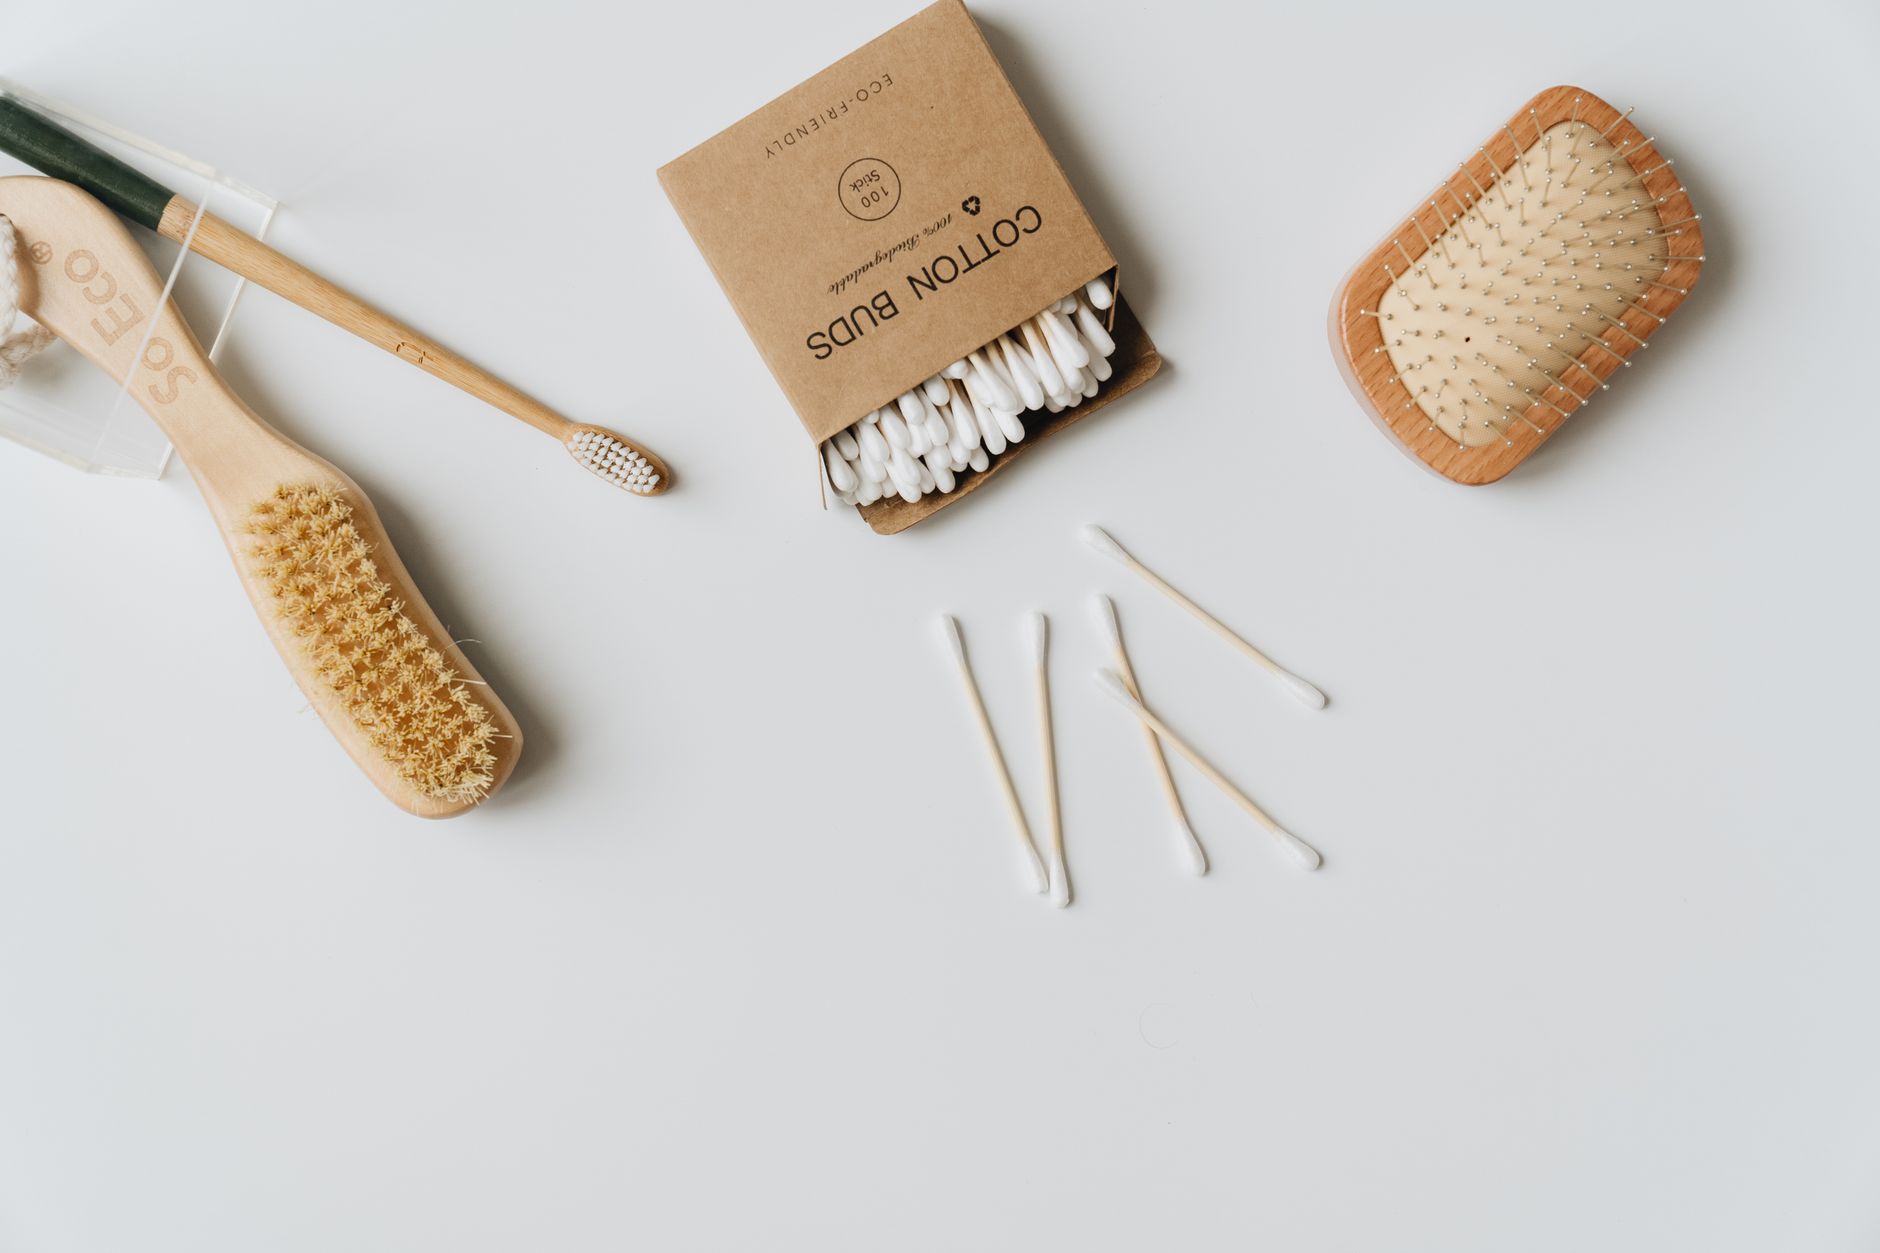
Eco-Friendly Beauty Swaps for a Greener Routine
Discover simple eco friendly beauty swaps that reduce waste, save money, and keep your skin glowing. Build a greener beauty routine today.
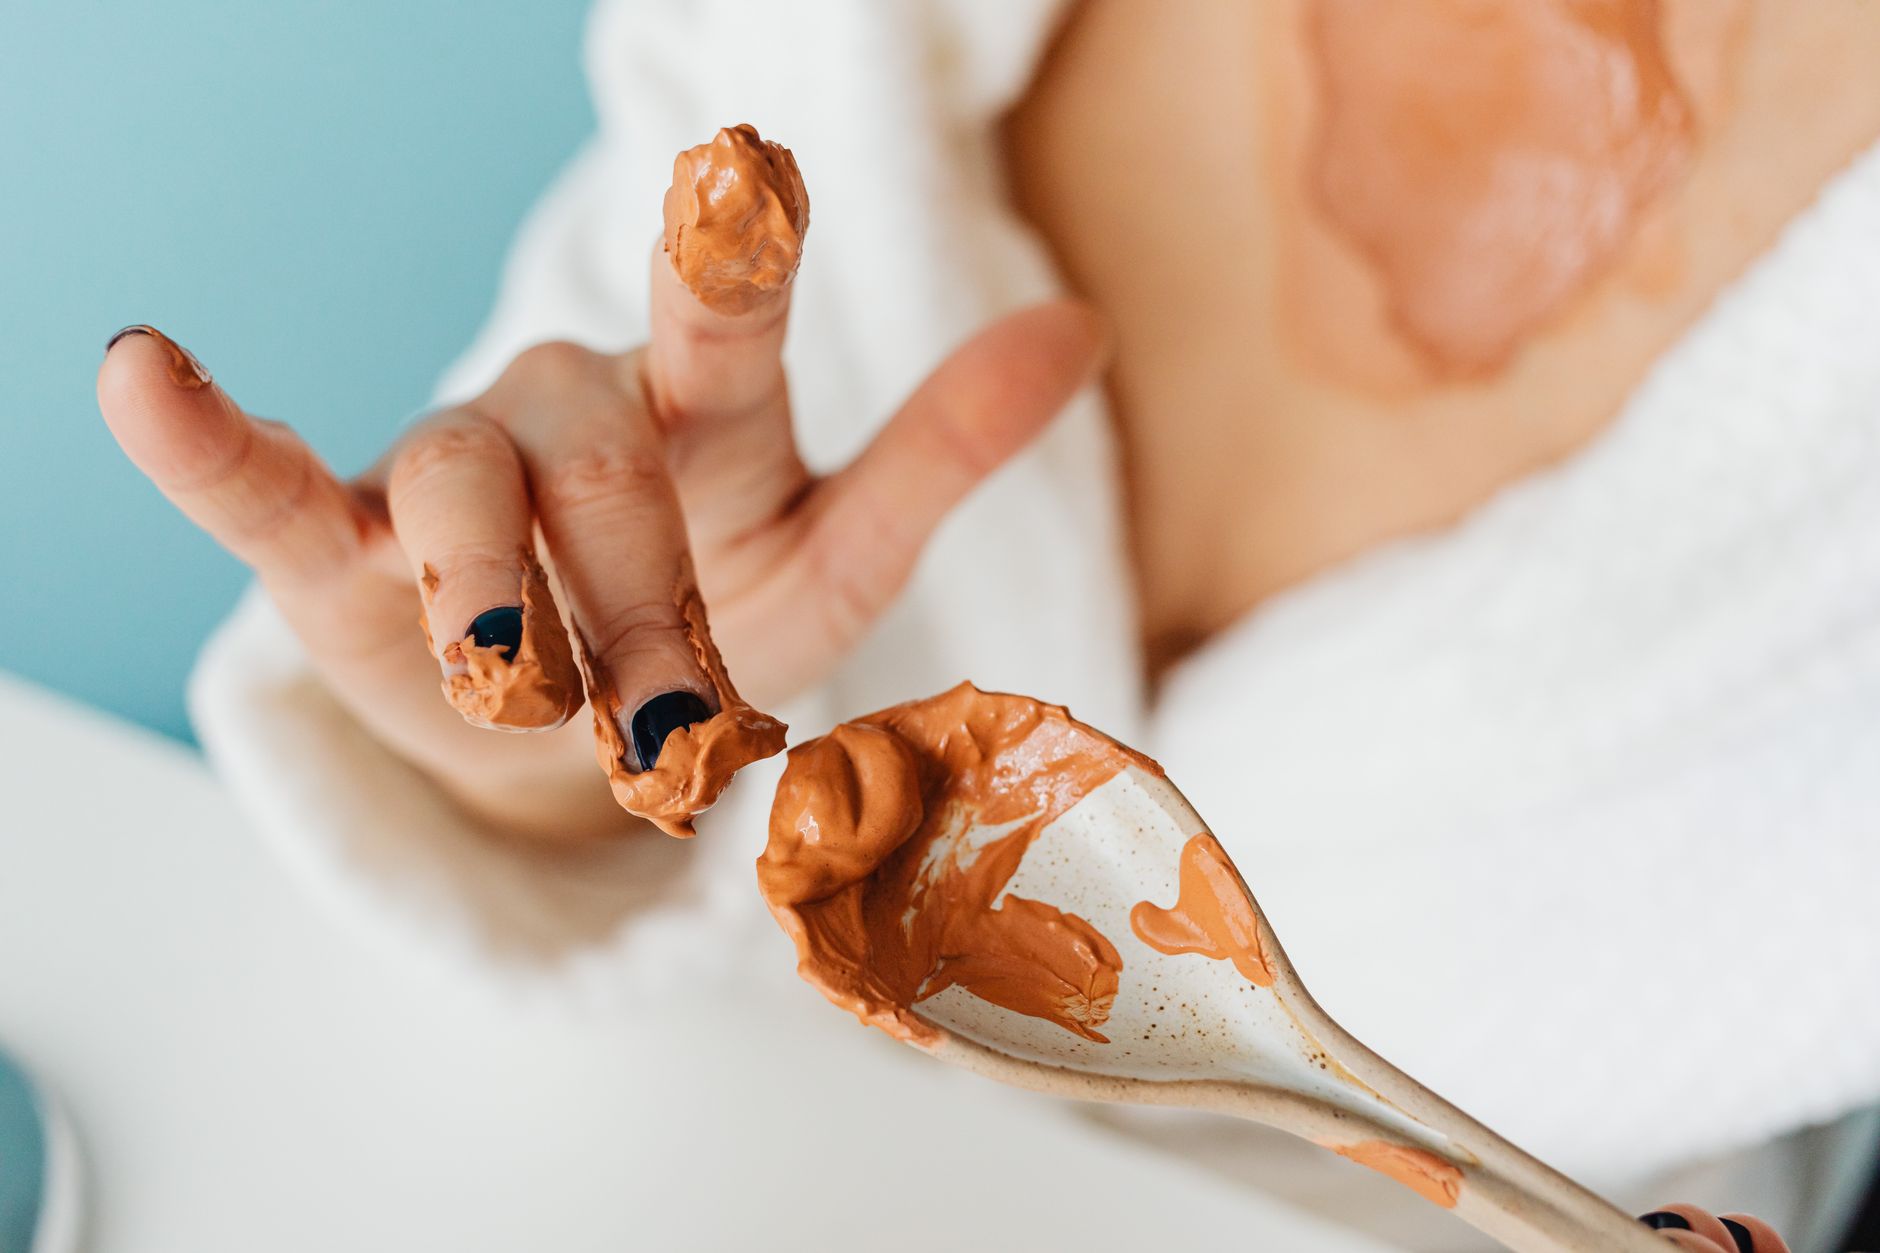
DIY Face Masks for Every Skin Type: Easy Recipes You Can Make at Home
Discover the best DIY face masks skin type recipes for dry, oily, acne-prone, sensitive, and mature skin using simple kitchen ingredients.
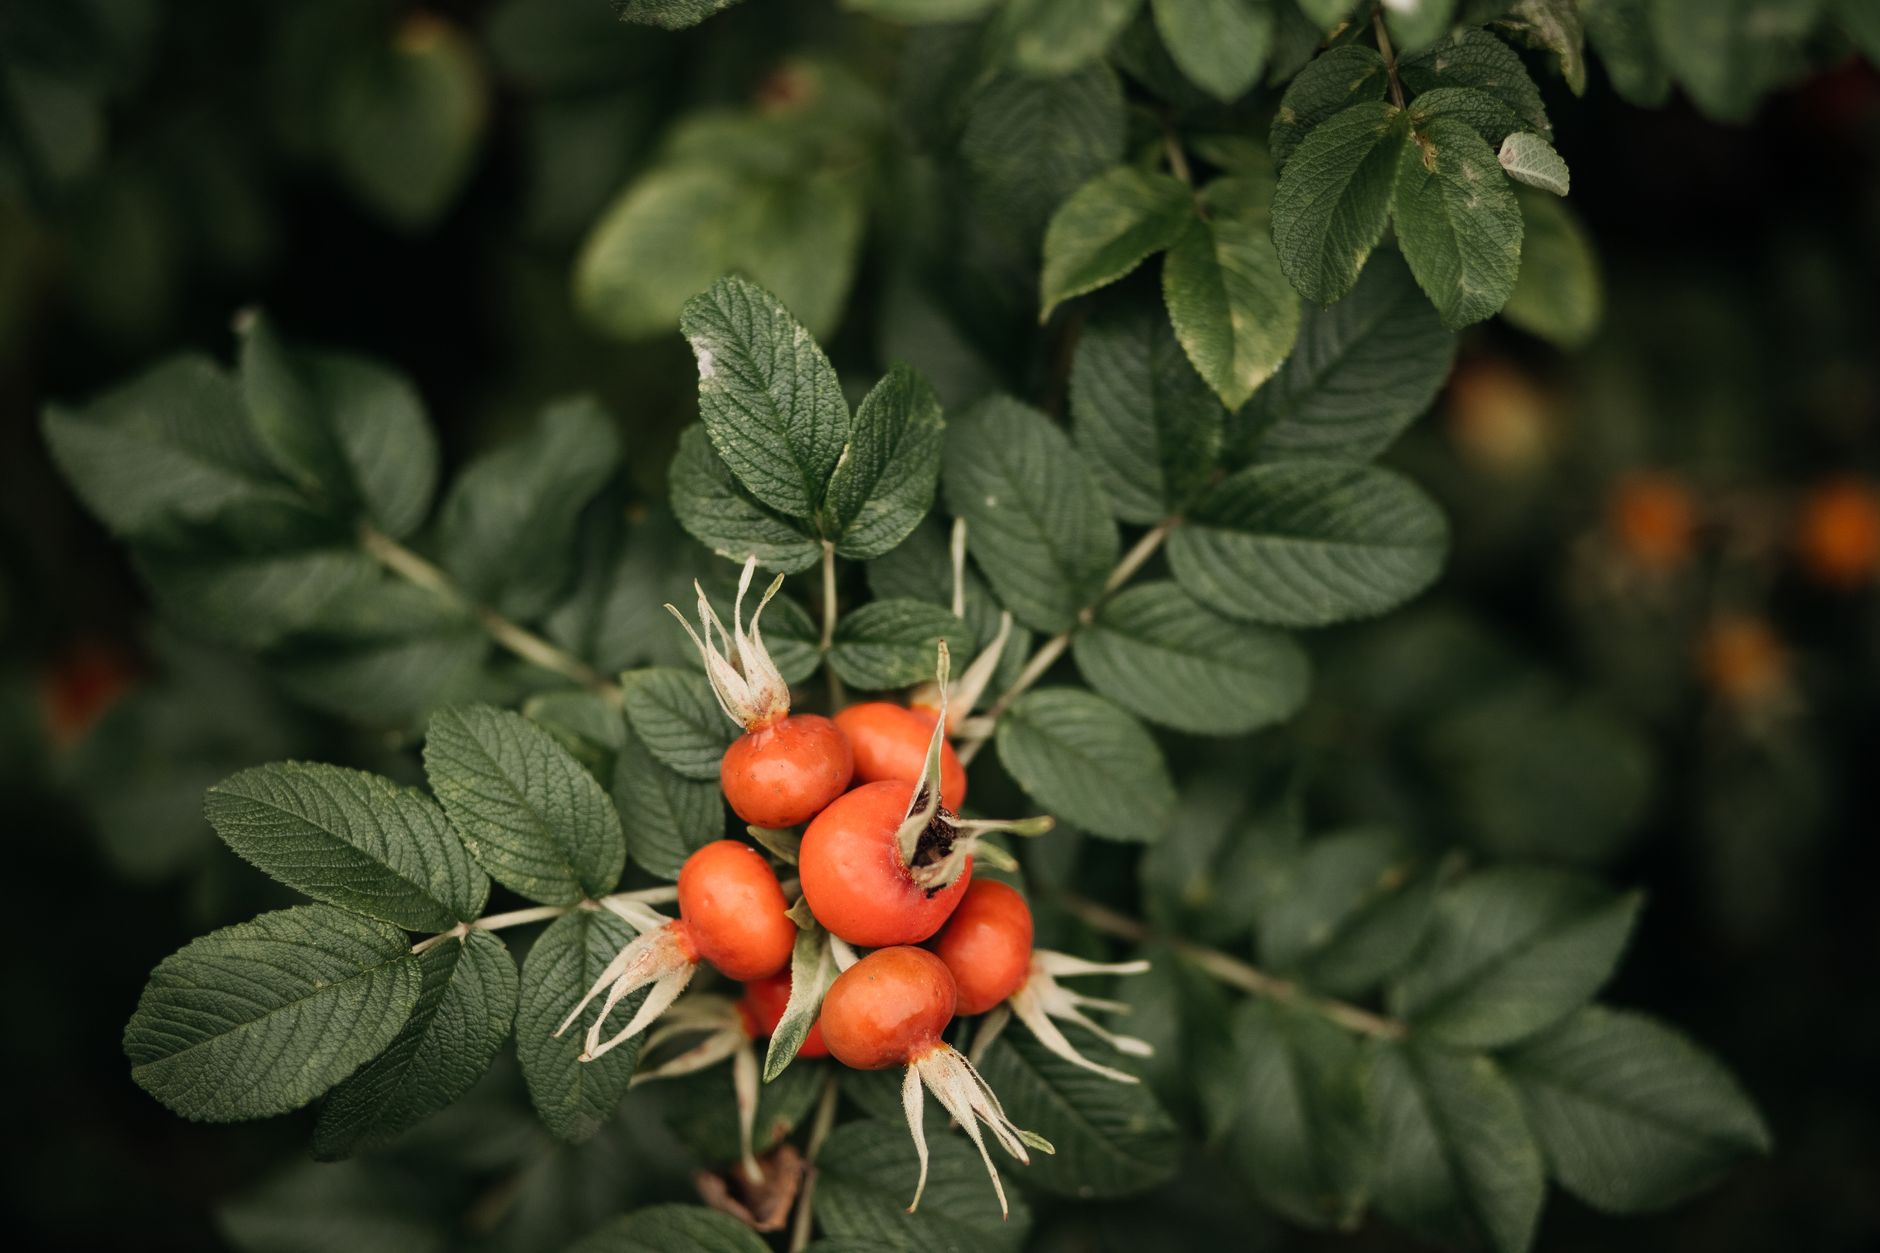
Rosehip Oil Benefits for Face and How to Use It
Rosehip oil benefits for face include deep hydration, natural brightening, scar softening, and anti-aging support. Learn how to use it safely in your routine.
How to Repair Damaged Skin Barrier Naturally
Learn how to repair damaged skin barrier naturally with science-backed remedies, barrier-friendly ingredients, and a step-by-step routine for calm, hydrated skin.