 Funky Millions
DIY Face Masks for Every Skin Type: Easy Recipes You Can Make at Home
Discover the best DIY face masks skin type recipes for dry, oily, acne-prone, sensitive, and mature skin using simple kitchen ingredients.
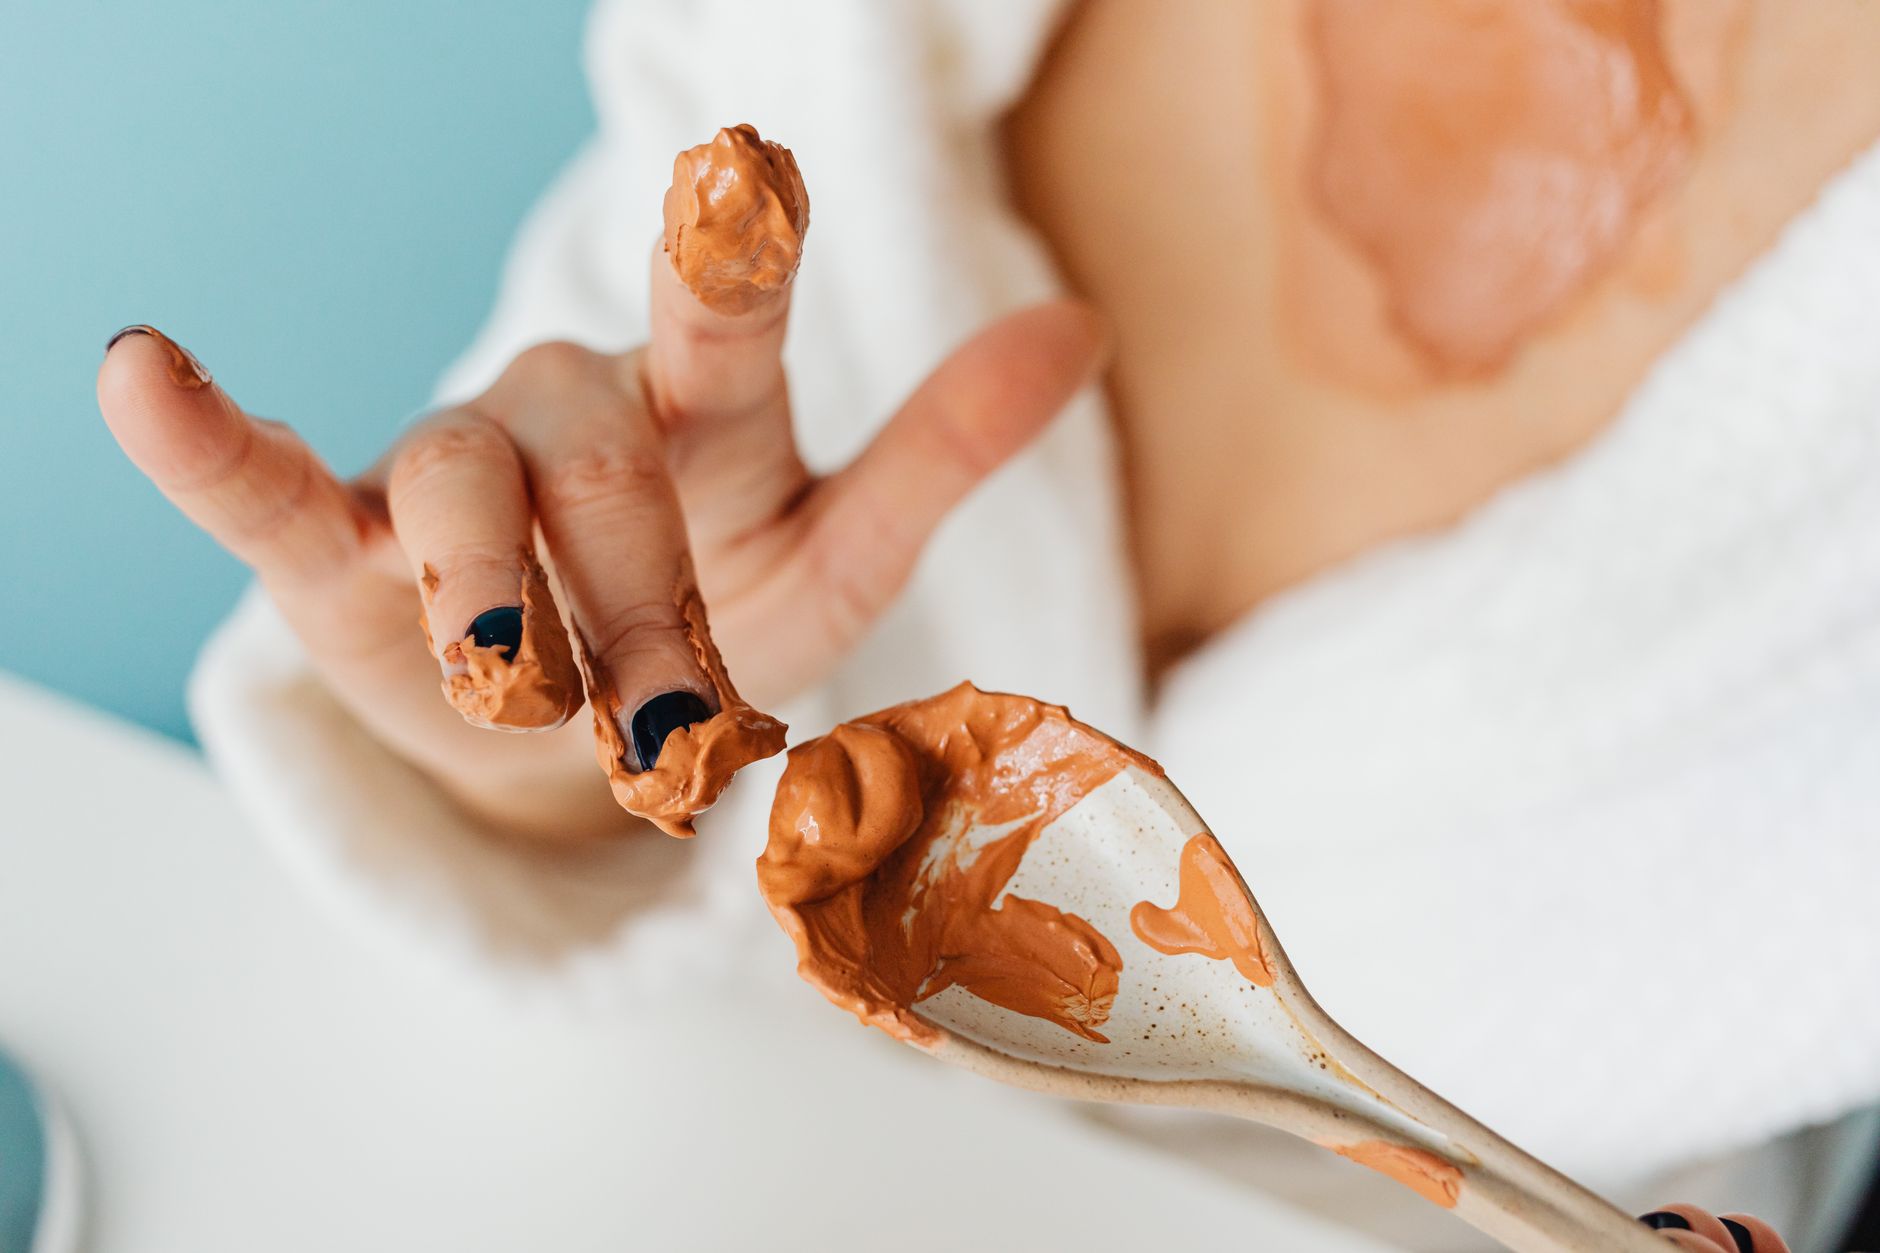
Quick summary
Key Takeaways
- DIY face masks are homemade skincare treatments made with simple, customizable ingredients tailored to your skin’s needs.
- Matching your DIY face mask to your skin type improves effectiveness, reduces irritation, and gives you control over what touches your skin.
- Your skin type is determined by how much oil your skin produces and how it reacts to products. Use the bare-face test for an accurate read.
- Dry skin needs humectants, emollients, and occlusives. Avocado, honey, and oils are ideal choices.
- Oily skin benefits from clay, astringents, and oil-absorbing ingredients. Avoid heavy oils that can clog pores.
- Combination skin responds well to gentle, multi-functional ingredients that balance rather than strip.
- Sensitive skin needs fragrance-free, gentle ingredients like oatmeal, aloe, and chamomile. Always patch test first.
- Acne-prone skin benefits from antibacterial and anti-inflammatory ingredients like tea tree oil, green tea, and honey.
- Mature skin benefits from antioxidants, gentle exfoliants, and deeply hydrating ingredients.
- Proper application-clean skin, correct timing, and follow-up moisture-makes any DIY mask more effective.
- Avoid common DIY mask mistakes by patch testing, timing correctly, and adjusting recipes to your skin’s current condition.
Introduction
Your skin is unique, so your skincare routine should be too. If you’ve ever tried a trending face mask and ended up with irritation, breakouts, or zero results, the issue may not be the mask itself-it may be that the formula wasn’t matched to your skin type. That’s where DIY face masks skin type recipes shine. They’re customizable, affordable, and made with ingredients you probably already have at home.
DIY face masks are homemade treatments created with natural or pantry-based ingredients like honey, yogurt, oatmeal, clay, and avocado. When formulated for your specific skin type-dry, oily, combination, sensitive, acne-prone, or mature-they can help balance oil, boost hydration, calm inflammation, or brighten tone. Unlike one-size-fits-all store-bought masks, homemade versions let you control exactly what goes on your skin.
In this guide, you’ll learn how to identify your skin type, discover the best DIY face mask recipes for each one, and understand the science behind why ingredients work. Whether you want to soothe dry patches, shrink enlarged pores, or calm redness, there’s a recipe here for you. You’ll also get expert tips, common mistakes to avoid, and answers to frequently asked questions.
What Are DIY Face Masks?
A DIY face mask is a topical skincare treatment you prepare yourself using simple ingredients. These masks are typically left on the skin for 10 to 20 minutes before rinsing. They may be creamy, gel-like, or clay-based, depending on the formula.
Common base ingredients include:
- Honey: A natural humectant that draws moisture into the skin.
- Yogurt: Contains lactic acid, a gentle exfoliant.
- Oatmeal: Soothes irritation and supports the skin barrier.
- Clay: Absorbs excess oil and draws out impurities.
- Avocado: Rich in fatty acids and vitamins E and C.
- Aloe vera: Hydrates and calms inflammation.
- Turmeric: Offers antioxidant and brightening properties.
The key benefit of making your own mask is customization. You can choose ingredients based on your skin’s current condition, season, and sensitivity level.
Why DIY Face Masks Matter for Your Skin Type
Using the wrong mask for your skin type can do more harm than good. For example, a rich coconut oil mask might hydrate dry skin beautifully, but it can clog pores on oily or acne-prone skin. A deep-cleansing clay mask may work wonders for oily skin but leave dry skin feeling tight and flaky.
Benefits of Matching DIY Face Masks to Your Skin Type
- Better results: Targeted ingredients address specific concerns.
- Fewer reactions: You avoid ingredients known to irritate your skin.
- Cost-effective: Pantry staples cost far less than boutique skincare.
- No hidden chemicals: You control every ingredient.
- Sustainable: Less packaging and fewer synthetic preservatives.
The Science Behind DIY Ingredients
- Humectants like honey and aloe attract water to the skin.
- Emollients like avocado and olive oil soften and smooth the skin barrier.
- Occlusives like coconut oil form a protective layer that locks moisture in.
- Clays like kaolin and bentonite absorb sebum and toxins from pores.
- Enzymes from papaya and pumpkin gently dissolve dead skin cells.
- Antioxidants like vitamin C and green tea neutralize free radicals.
How to Determine Your Skin Type
Before choosing a recipe, you need to know your skin type. Here’s a simple at-home test:
- Wash your face with a gentle cleanser and pat it dry.
- Do not apply any products for one hour.
- Observe how your skin looks and feels.
Skin Type Comparison Table
| Skin Type | How It Looks/Feels | Common Concerns |
|---|---|---|
| Dry | Tight, rough, dull, may flake | Dehydration, fine lines, sensitivity |
| Oily | Shiny, especially in T-zone; large pores | Excess sebum, blackheads, breakouts |
| Combination | Oily T-zone, dry cheeks | Imbalance, occasional breakouts |
| Sensitive | Red, reactive, easily irritated | Stinging, burning, inflammation |
| Acne-Prone | Frequent pimples, clogged pores | Inflammation, post-acne marks |
| Mature | Fine lines, loss of elasticity, dullness | Wrinkles, dryness, uneven tone |
DIY Face Masks by Skin Type
1. DIY Face Masks for Dry Skin
Dry skin lacks oil and moisture, so your mask should focus on hydration and barrier repair.
Avocado and Honey Hydration Mask
Ingredients:
- ½ ripe avocado
- 1 tablespoon raw honey
- 1 teaspoon olive oil
Instructions:
- Mash the avocado in a small bowl until smooth.
- Add honey and olive oil. Mix well.
- Apply to clean, damp skin.
- Leave on for 15 minutes.
- Rinse with lukewarm water and pat dry.
Why it works: Avocado is rich in fatty acids and vitamin E. Honey draws moisture into the skin, while olive oil seals it in.
Banana and Yogurt Nourishing Mask
Ingredients:
- ½ ripe banana
- 2 tablespoons plain yogurt
- 1 teaspoon almond oil
Instructions:
- Mash the banana until lump-free.
- Stir in yogurt and almond oil.
- Apply evenly to face and neck.
- Rest for 12–15 minutes, then rinse.
2. DIY Face Masks for Oily Skin
Oily skin produces excess sebum, which can lead to shine, clogged pores, and acne. The goal is to absorb oil without over-drying.
Clay and Apple Cider Vinegar Mask
Ingredients:
- 2 tablespoons bentonite or kaolin clay
- 1 tablespoon apple cider vinegar
- 1 teaspoon water (if needed)
Instructions:
- Mix clay and vinegar in a non-metal bowl until smooth.
- Add water to reach a spreadable consistency.
- Apply to clean skin, avoiding the eye area.
- Let dry for 10 minutes.
- Rinse with warm water and moisturize.
Why it works: Bentonite clay binds to oil and impurities, while apple cider vinegar helps balance skin pH.
Egg White and Lemon Tightening Mask
Ingredients:
- 1 egg white
- 1 teaspoon fresh lemon juice
- 1 teaspoon honey
Instructions:
- Whisk the egg white until frothy.
- Add lemon juice and honey.
- Apply in a thin layer.
- Rinse after 10–12 minutes.
3. DIY Face Masks for Combination Skin
Combination skin needs balance. You want to hydrate dry areas while keeping oil under control in the T-zone.
Honey and Oatmeal Balancing Mask
Ingredients:
- 2 tablespoons ground oatmeal
- 1 tablespoon raw honey
- 1 tablespoon plain yogurt
Instructions:
- Blend oatmeal into a fine powder if needed.
- Mix with honey and yogurt to form a paste.
- Apply to clean face.
- Leave on for 15 minutes, then rinse.
Why it works: Oatmeal soothes, honey hydrates, and yogurt gently exfoliates without stripping skin.
4. DIY Face Masks for Sensitive Skin
Sensitive skin needs calming ingredients with minimal risk of irritation.
Oatmeal and Aloe Soothing Mask
Ingredients:
- 2 tablespoons colloidal oatmeal
- 2 tablespoons pure aloe vera gel
- 1 tablespoon cooled chamomile tea
Instructions:
- Mix all ingredients into a smooth paste.
- Apply gently to clean skin.
- Leave on for 10 minutes.
- Rinse with cool water.
Why it works: Colloidal oatmeal reduces itching and inflammation, while aloe vera hydrates and cools.
5. DIY Face Masks for Acne-Prone Skin
Acne-prone skin needs antibacterial, anti-inflammatory, and pore-clearing ingredients.
Tea Tree and Green Tea Mask
Ingredients:
- 1 tablespoon matcha or green tea powder
- 1 tablespoon raw honey
- 2 drops tea tree essential oil (diluted)
Instructions:
- Brew green tea and let it cool, or use matcha powder.
- Mix with honey and diluted tea tree oil.
- Apply to affected areas.
- Leave on for 10 minutes, then rinse.
Why it works: Green tea contains EGCG, a polyphenol that reduces sebum production. Tea tree oil has antibacterial properties.
For more targeted acne advice, check out our guides on how to get rid of pimples and salicylic acid acne treatment.
6. DIY Face Masks for Mature Skin
Mature skin needs hydration, gentle exfoliation, and antioxidant support.
Papaya and Honey Brightening Mask
Ingredients:
- ½ cup ripe papaya, mashed
- 1 tablespoon raw honey
- 1 teaspoon plain yogurt
Instructions:
- Mash papaya until smooth.
- Stir in honey and yogurt.
- Apply to clean face and neck.
- Leave on for 10–15 minutes.
- Rinse with lukewarm water.
Why it works: Papaya contains papain, an enzyme that gently exfoliates. Honey hydrates, and yogurt adds lactic acid.
Coffee and Cocoa Firming Mask
Ingredients:
- 2 tablespoons finely ground coffee
- 1 tablespoon unsweetened cocoa powder
- 2 tablespoons plain yogurt
- 1 tablespoon honey
Instructions:
- Combine all dry ingredients, then add yogurt and honey.
- Mix into a thick paste.
- Apply in circular motions for light exfoliation.
- Leave on for 10 minutes, then rinse.
Ingredient Recommendations by Skin Concern
| Ingredient | Best For | Key Benefit |
|---|---|---|
| Honey | All skin types | Hydration, antibacterial properties |
| Avocado | Dry, mature skin | Fatty acids and vitamin E |
| Bentonite clay | Oily, acne-prone skin | Oil absorption and pore cleansing |
| Oatmeal | Sensitive, dry skin | Soothing and barrier-supporting |
| Yogurt | Dull, mature skin | Gentle lactic acid exfoliation |
| Aloe vera | Sensitive, irritated skin | Cooling and anti-inflammatory |
| Green tea | Oily, acne-prone skin | Antioxidant and sebum-reducing |
| Turmeric | Dull, uneven skin tone | Brightening and anti-inflammatory |
Step-by-Step: How to Apply Any DIY Face Mask
- Cleanse your face. Start with a gentle cleanser to remove makeup, oil, and dirt.
- Exfoliate if needed. For better absorption, use a mild exfoliant once or twice a week.
- Apply the mask evenly. Use clean fingers or a brush. Avoid the eyes and lips.
- Relax for 10–20 minutes. Follow the recipe’s timing to avoid irritation.
- Rinse with lukewarm water. Use a soft cloth if needed.
- Pat dry and moisturize. Lock in the benefits with a suitable moisturizer.
- Use sunscreen during the day. Some ingredients, like lemon or papaya, can increase sun sensitivity.
Common Mistakes to Avoid
Even simple DIY masks can backfire if used incorrectly. Here are the most common mistakes:
Using Citrus Directly on Skin
Lemon juice is highly acidic and can cause burns, blistering, or phytophotodermatitis when exposed to sunlight. If you use it, always dilute it and avoid sun exposure afterward.
Leaving Masks On Too Long
More time does not mean better results. Clay masks left too long can over-dry skin. Acidic masks can irritate.
Applying to Unwashed Skin
A mask on dirty skin traps bacteria and debris rather than treating the skin. Always cleanse first.
Using the Same Recipe Year-Round
Your skin changes with the seasons. A clay mask may work in summer but be too drying in winter.
Ignoring Allergies
Natural does not mean allergy-free. Patch test new ingredients on your inner arm 24 hours before applying to your face.
- Use fresh ingredients. Old or oxidized ingredients lose potency and may irritate skin.
- Don’t overdo exfoliating masks. Use enzyme or acid-based masks no more than twice a week.
- Customize by season. Switch to richer masks in winter and lighter, oil-absorbing masks in summer.
- Layer wisely. Apply hydrating masks before bed and brightening masks in the evening.
- Keep tools clean. Use glass or ceramic bowls and avoid metal when working with clay.
- Listen to your skin. If a mask causes stinging, redness, or itching, rinse immediately.
For more ways to care for your skin at home, read our article on beauty tips for face at home.
Conclusion
DIY face masks are one of the easiest ways to give your skin a boost without spending a fortune. By matching the right ingredients to your skin type, you can hydrate dry patches, control excess oil, calm irritation, fight breakouts, or brighten mature skin. The key is to choose recipes thoughtfully, apply them correctly, and listen to how your skin responds.
Start with one recipe from this guide, patch test any new ingredient, and adjust based on the season and your skin’s needs. Beautiful skin doesn’t require a complicated routine-it just requires the right care.
Enjoyed this guide? Share it with a friend, save your favorite recipe, and explore more of our skincare tips like how to make your skin glow, how to get clear skin, and home remedies for acne scars.
Frequently Asked Questions
Last updated
This article is for informational purposes only and does not constitute medical advice. Consult a licensed dermatologist or healthcare provider before starting any new treatment.
Beauty & Hair Care Editor
Amanda Gurton is a beauty editor and researcher with a focus on translating dermatology and trichology insights into clear, actionable advice. She covers skincare routines, hair health, ingredient science, and everyday beauty habits.
Comments (0)
Be the first to comment.
Related Articles
Cream Blush vs. Powder Blush: Which Is Right for Your Skin?
Cream blush vs powder blush: compare finish, longevity, and application for each formula, and learn which suits your skin type best.
Eyeshadow for Beginners: Easy Neutral Looks
Learn eyeshadow for beginners with easy neutral looks. Discover step-by-step techniques, beginner-friendly palettes, common mistakes, and expert tips for polished eyes.
Eco-Friendly Beauty Swaps for a Greener Routine
Discover simple eco friendly beauty swaps that reduce waste, save money, and keep your skin glowing. Build a greener beauty routine today.
Homemade Body Butter Recipe: A Complete DIY Guide
Learn the best homemade body butter recipe with shea, cocoa, and mango butter. Get step-by-step instructions, expert tips, ingredient comparisons, and FAQs.