 Funky Millions
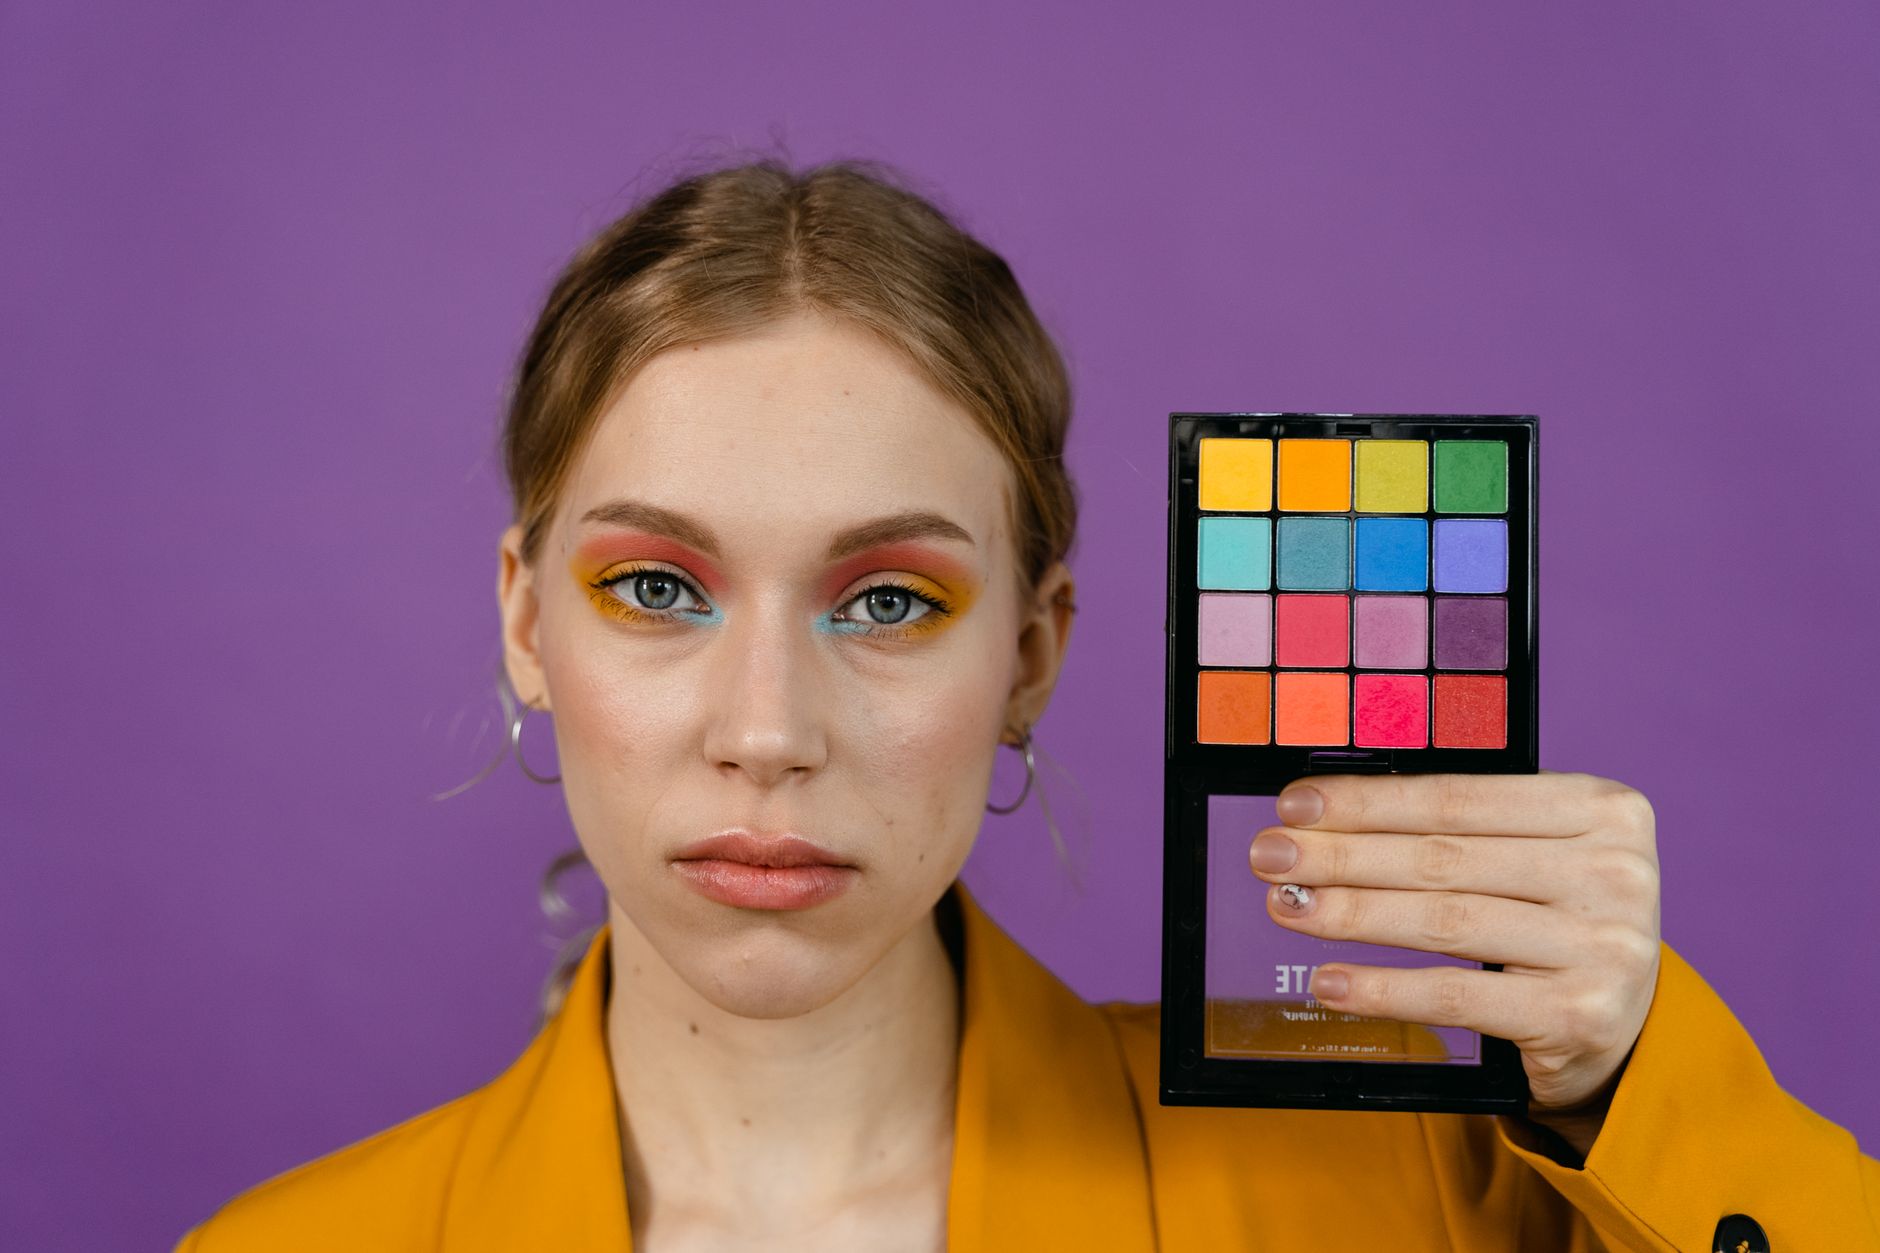
Eyeshadow for Beginners: Easy Neutral Looks
Learn eyeshadow for beginners with easy neutral looks. Discover step-by-step techniques, beginner-friendly palettes, common mistakes, and expert tips for polished eyes.
Quick summary
Key Takeaways
- - Neutral shades are forgiving and blend easily.
- - Tap excess powder off your brush before applying.
Learning eyeshadow for beginners does not have to feel overwhelming. A soft, neutral eye look is the perfect starting point because it flatters every eye shape, skin tone, and occasion. Whether you want a polished everyday appearance or a slightly smoky evening style, neutral eyeshadow gives you room to practice without the pressure of bold colors.
In this guide, you will learn what neutral eyeshadow is, why it works so well for beginners, how to apply it step by step, which tools you actually need, and how to avoid the mistakes that make eye makeup look messy. By the end, you will be able to create a clean, blended eye look in under ten minutes.
What Is Neutral Eyeshadow?
Neutral eyeshadow refers to shades that mimic natural skin tones and soft earthy hues. Think beige, taupe, brown, cream, champagne, soft peach, and muted rose. These colors are designed to enhance your eyes without competing with your outfit or other makeup.
Because neutral tones sit close to your natural coloring, they are forgiving. A slightly uneven blend or a little extra pigment is harder to notice than it would be with bright blue, green, or purple shadows. That forgiving quality is exactly why eyeshadow for beginners should start with neutrals.
Why Neutral Eyeshadow Is Perfect for Beginners
Neutral eyeshadow offers several practical advantages when you are still learning.
- They work for daytime, work, school, and evening events.
- You need fewer brushes and products to create a complete look.
- They pair well with any lipstick or blush color.
- Mistakes are easier to fix than with bright or dark colors.
A neutral palette also teaches you the fundamentals of light and shadow. Lighter shades bring features forward, while darker shades add depth. Once you understand that relationship, moving into color becomes much easier.
Essential Tools for Beginner Eyeshadow
You do not need a professional brush collection. These four tools cover almost every beginner look.
| Tool | Purpose |
|---|---|
| Flat shader brush | Packs color onto the eyelid |
| Fluffy blending brush | Softens edges in the crease |
| Small detail brush | Applies color to the lower lash line or inner corner |
| Clean blending brush | Removes harsh lines without adding color |
Optional but helpful: a beauty blender or makeup sponge can tidy up fallout under the eyes, and a good eyelid primer helps your shadow last longer.
How to Choose Your First Neutral Eyeshadow Palette
When shopping for your first palette, look for these features:
- A mix of finishes: one or two mattes, one satin, and one shimmer.
- A range of values: a light shade, a medium shade, and a dark shade.
- Blendable formula: creamy powders that do not feel chalky.
- Compact size: smaller palettes are less intimidating and more portable.
A mini palette with six to nine pans is often better for eyeshadow for beginners than a large palette full of colors you will never use.
Beginner-Friendly Shade Breakdown
| Shade Type | Role in the Look | Example Colors |
|---|---|---|
| Transition | Blends everything together | Soft tan, warm beige |
| Lid color | Main color on the eyelid | Champagne, peach, rose gold |
| Crease color | Adds depth and definition | Light brown, taupe |
| Outer V color | Builds intensity | Medium brown, deep taupe |
| Brow bone highlight | Brightens the area under the brow | Cream, ivory |
Step-by-Step: Easy Neutral Eyeshadow Look
This routine takes about eight to ten minutes once you are comfortable with it.
Step 1: Prep Your Eyelids
Start with clean, dry eyelids. Apply a thin layer of eyeshadow primer or a small amount of concealer. This creates a smooth canvas, evens out discoloration, and helps the shadow adhere. Let it set for about thirty seconds before moving on.
Step 2: Apply a Transition Shade
Using a fluffy blending brush, sweep a soft tan or beige shadow through your crease. Use windshield-wiper motions and a light hand. This color acts as a bridge between your skin and darker shades, making blending much easier.
Step 3: Add Depth to the Crease
Pick a slightly darker brown or taupe. Focus it on the outer half of your crease and the outer corner of the eye. Build the color slowly. It is easier to add more shadow than to remove excess.
Step 4: Pack a Lid Color
Use a flat shader brush to press a shimmer or satin shade onto the center of your eyelid. Champagne, rose gold, and soft peach are universally flattering choices. Patting motions deposit more pigment and create less fallout than sweeping.
Step 5: Define the Lower Lash Line
With a small detail brush, run a light brown shadow along the lower lash line from the outer corner to about the middle of the eye. Keep the line soft. This step adds subtle definition without looking heavy.
Step 6: Highlight Key Areas
Apply a light cream or ivory shadow to the inner corner of the eye and just beneath the highest point of your brow. These highlights open up the eyes and create a lifted effect.
Step 7: Blend and Soften
Use a clean blending brush to soften any harsh edges. The goal is a seamless gradient, not a visible stripe of color. If you add too much shadow, blend longer or use a clean brush with a touch of translucent powder.
Step 8: Finish the Look
Add mascara and, if you want, a thin line of brown eyeliner. Curling your lashes before mascara makes the eyes look more awake. For a polished base to pair with your eye look, explore our tips for clear, healthy skin.
Three Beginner-Friendly Neutral Looks
Once you master the basic steps, try these simple variations.
Everyday Soft Beige
Use matte beige through the crease, champagne on the lid, and light brown along the lower lash line. This is the most wearable option for school, work, or errands.
Warm Peach Glow
Blend a soft peach transition shade into the crease, add rose gold shimmer to the lid, and deepen the outer corner with a medium brown. This look flatters warm and olive skin tones beautifully.
Subtle Smoky Brown
Build a medium brown through the crease and outer V, pat a bronze shimmer on the lid, and smudge the same brown shadow along the upper and lower lash lines. Finish with two coats of mascara for a soft evening look.
Common Eyeshadow Mistakes Beginners Make
Knowing what not to do is just as important as knowing the steps.
Using Too Much Product at Once
Dark, dense color applied in one swipe is hard to blend. Always start with a small amount and build gradually.
Skipping Eyeshadow Primer
Without primer, natural oils can break down shadow within a few hours. Primer prevents creasing and improves color payoff.
Neglecting the Transition Shade
A transition shade is the secret to a blended eye look. Skipping it makes darker colors look harsh and unconnected.
Applying Shimmer to the Crease
Shimmer in the crease can emphasize texture and make the eye look puffy. Keep shimmer on the lid and inner corner; use matte shades in the crease.
Forgetting to Blend the Lower Lash Line
A harsh lower lash line can look unfinished. Blend it with a clean brush or a small amount of the transition shade.
Using the Wrong Brush
A dense packing brush in the crease creates stripes. A fluffy brush on the lid wastes shimmer. Match the brush shape to the job.
Product Recommendations for Beginners
You do not need luxury products to create beautiful eye looks. Look for these qualities instead.
Eyeshadow Palettes
- Maybelline The Nudes Palette: affordable, blendable, and offers both mattes and shimmers.
- e.l.f. Bite-Size Eyeshadow in Cream & Sugar: compact, pigmented, and easy to travel with.
- ColourPop Going Coconuts: cool-neutral mini palette ideal for everyday looks.
- Urban Decay Naked3 Mini: higher-end option with rose-toned neutrals.
Single Shades Worth Owning
- A matte cream for brow bone and inner corner highlight.
- A medium matte brown for crease and lower lash line definition.
- A satin champagne for the lid.
Supporting Products
- Eyeshadow primer to extend wear time.
- A creamy concealer to even out lid discoloration.
- A brown or black mascara to finish the look.
For healthy lashes and brows, keep your eye area clean and nourished. Our guide to beauty tips without makeup covers simple habits that improve your natural features over time.
How to Adapt Neutral Eyeshadow to Your Eye Shape
Not every eye shape benefits from the same placement. Here is how to adjust your neutral look.
| Eye Shape | Adjustment |
|---|---|
| Hooded eyes | Apply crease color slightly above the natural fold so it shows when eyes are open |
| Deep-set eyes | Use lighter lid shades and keep dark colors minimal in the crease |
| Monolids | Build color gradually and use a flat shader to pack pigment precisely |
| Almond eyes | Most placements work; focus definition on the outer corner |
| Round eyes | Extend shadow outward to create a more elongated shape |
Eyeshadow Safety and Hygiene
Eye makeup deserves extra care because the skin around the eyes is thin and sensitive.
- Never share eye products with others.
- Replace mascara every three months to reduce bacterial growth.
- Clean brushes weekly if you use them often.
- Remove eye makeup gently before bed to avoid irritation.
- Stop using a product if it causes redness, itching, or swelling.
The American Academy of Dermatology recommends removing makeup before sleeping to reduce irritation and breakouts. You can read more about safe makeup practices on the AAD website.
These tips will help you move from beginner to confident faster.
- Blend in small circles and windshield-wiper motions.
- Use natural light or a daylight mirror when possible.
- Clean up fallout with a makeup wipe or leftover concealer.
- Keep your brushes clean; buildup changes color and texture.
- Match your darkest shadow to your lash line color for softness.
If your eyes look tired, a touch of glow-boosting skincare underneath your makeup can make your whole face look more radiant.
Conclusion
Mastering eyeshadow for beginners starts with the right mindset, the right tools, and a neutral color story that lets you practice without pressure. Focus on blending, build color slowly, and remember that a simple two or three-shadow look can be just as stunning as a complicated one.
Now grab your palette and give it a try. If you found this guide helpful, share it with a friend who is starting their makeup journey, and check out our related articles on clear skin, glowing skin, and beauty without makeup for a complete beauty routine.
Frequently Asked Questions
Last updated
This article is for informational purposes only and does not constitute medical advice. Consult a licensed dermatologist or healthcare provider before starting any new treatment.
Beauty & Hair Care Editor
Ilma is a beauty editor who specializes in breaking down cosmetic ingredients, skincare routines, and hair care practices. Her work focuses on evidence-based guidance readers can trust and apply.
Comments (0)
Be the first to comment.
Related Articles
How to Make Makeup Last All Day: A Complete Guide
Discover how to make makeup last all day with expert prep, application, and setting techniques. Get long-lasting foundation, eyeshadow, and lipstick tips that actually work.
Makeup Tips for Glasses Wearers
Learn makeup techniques specifically for glasses wearers, from eyeshadow adjustments to brow shaping, for a look that works with your frames.
Cream Blush vs. Powder Blush: Which Is Right for Your Skin?
Cream blush vs powder blush: compare finish, longevity, and application for each formula, and learn which suits your skin type best.
Lipstick for Beginners: How to Choose Your Shade
Learn how to choose lipstick shade with this beginner-friendly guide. Discover undertones, finishes, and expert tips to find your perfect lip color every time.