 Funky Millions
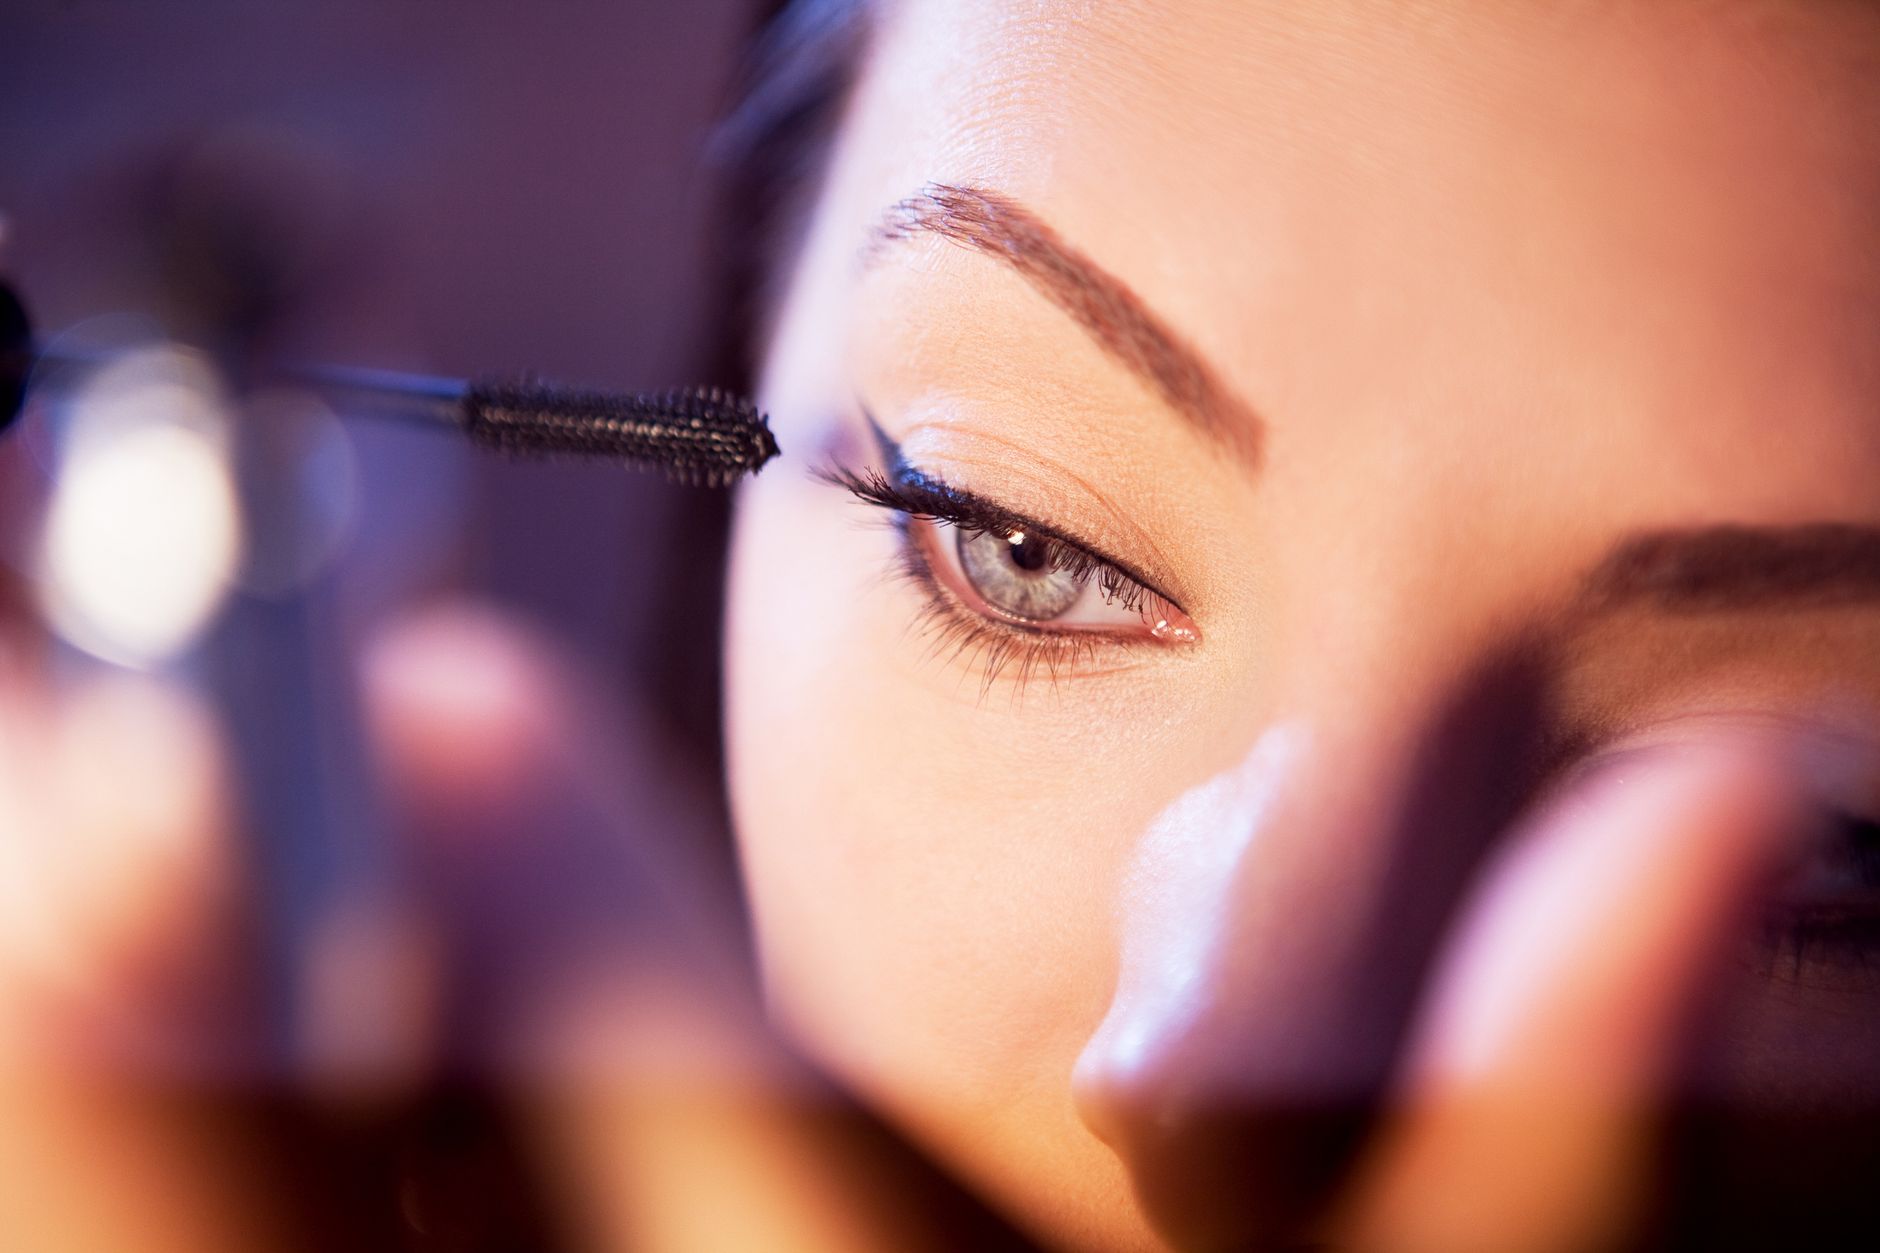
How to Apply Mascara Without Clumps
Discover how to apply mascara without clumps with our step-by-step guide. Learn expert tips, common mistakes to avoid, and the best tools for flawless lashes.
Quick summary
Key Takeaways
- Clumping is caused by too much product, dry mascara, or poor technique. Fresh formula and light layers are your first defense.
- Clump-free lashes look cleaner, feel lighter, and help protect your natural lashes from breakage.
- Invest in a good wand, spoolie, and curler. These three tools are the foundation of clump-free lashes.
- Thin coats, a zigzag motion, and immediate combing are the core steps for clump-free mascara.
- Avoid pumping, old mascara, and heavy coats. Small habit changes prevent most clumping issues.
- Match your mascara formula and technique to your lash type for the most flattering, clump-free result.
- Waterproof mascara holds curls and resists smudging, but regular mascara is easier to layer without clumps.
- Look for separating formulas, rubber wands, and tubing mascaras to reduce clumping.
- A clean spoolie and a little patience can rescue clumpy lashes without removing your makeup.
- Replace mascara every three to six months, never share it, and remove it before sleeping.
Nothing ruins a polished eye look faster than spidery, clumpy lashes. If you have ever wondered how to apply mascara without clumps, you are not alone. Clumping happens when too much product sits on the wand, when lashes stick together, or when the formula has dried out. The good news is that clump-free lashes are easy to achieve once you understand the right technique, tools, and prep steps.
In this guide, you will learn the science behind clumpy mascara, the best application method for your lash type, and simple fixes for mistakes. Whether you want natural-looking definition or full-volume drama, these tips will help you build beautiful, separated lashes every time you swipe.
What Causes Mascara to Clump?
Mascara clumping is the result of excess product, dried formula, or improper application. When mascara is applied in thick, wet coats, the lashes can stick together before the product has time to set. Old mascara also becomes thicker and more prone to clumping because the solvents inside evaporate over time.
Another common cause is pumping the wand in the tube. This pushes air into the container, which dries out the formula faster and introduces bacteria. Finally, curved or overloaded brushes can deposit too much mascara at the base of the lashes, leaving globs near the roots.
Why Clump-Free Lashes Matter
Clean, separated lashes do more than look pretty. They open up the eyes, make you look more awake, and create a balanced frame for your eye makeup. Clumpy lashes, on the other hand, can cast odd shadows, feel heavy, and even flake onto your cheeks throughout the day.
Learning how to apply mascara without clumps also protects your lashes. Tugging and combing through dried clumps can pull out delicate hairs or weaken the follicle over time. A smooth application keeps your natural lashes healthier and your makeup looking fresher for longer.
Tools You Need for Clump-Free Mascara
The right tools make application easier and more precise. Here is what to keep in your makeup bag:
- A quality mascara wand: Look for rubber or plastic bristles with evenly spaced teeth. These separate lashes better than dense fiber brushes.
- A clean spoolie or lash comb: Use this to separate lashes between coats.
- An eyelash curler: Curling before mascara lifts the lashes and prevents smudging.
- A lash primer: Optional, but helpful for creating a smooth base and adding length.
- Tissues or a clean cloth: For wiping excess product off the wand before application.
Step-by-Step: How to Apply Mascara Without Clumps
Follow these steps every time you apply mascara for smooth, defined lashes.
Step 1: Start With Clean, Dry Lashes
Mascara adheres best to lashes that are free of oil, old makeup, and eye cream residue. Use a gentle micellar water or oil-free cleanser to clean the lash line. Let your lashes dry completely before applying product.
Step 2: Curl Your Lashes First
Place the curler at the base of your lashes and gently squeeze for 5 to 10 seconds. Curl one more time near the middle if you want extra lift. Always curl before mascara, not after. Curling coated lashes can cause them to stick to the curler or break.
Step 3: Remove Excess Mascara From the Wand
Pull the wand out of the tube and gently scrape off excess product against the inner rim. You can also wipe the tip on a tissue. This is one of the most important steps in learning how to apply mascara without clumps.
Step 4: Apply From the Base in a Zigzag Motion
Hold the wand horizontally at the root of your lashes. Wiggle it gently back and forth as you move toward the tip. This technique deposits color at the base and separates the lashes as you pull through.
Step 5: Use the Tip for Inner and Lower Lashes
Turn the wand vertically and use only the tip for the inner corner and lower lashes. This gives you more control and prevents smudging or overloading.
Step 6: Wait, Then Apply a Second Coat
Let the first coat dry for 20 to 30 seconds. Then apply a second thin coat using the same zigzag motion. Stop at two or three coats to avoid buildup.
Step 7: Comb Through Immediately
Before the mascara fully dries, run a clean spoolie through your lashes from root to tip. This removes any small clumps and separates the hairs.
Common Mistakes to Avoid
Even with good mascara, small mistakes can lead to clumps. Here are the most common ones and how to fix them.
Pumping the Wand
Pumping forces air into the tube and dries out the formula. Instead, twist the wand slightly as you pull it out to pick up product evenly.
Using Old Mascara
Most mascaras should be replaced every three to six months. After that, the formula thickens and becomes a breeding ground for bacteria.
Applying Too Much Product at Once
A heavy first coat is the fastest way to clumps. Start thin and build gradually.
Skipping the Lash Comb
A spoolie or lash comb is essential for separation. Do not skip this step if you want a polished finish.
Applying Mascara to Wet Lashes
If your lashes are damp from cleanser or eye drops, mascara will not adhere evenly. Pat them dry first.
Waterproof vs. Regular Mascara: Which Is Better?
| Feature | Regular Mascara | Waterproof Mascara |
|---|---|---|
| Best for | Everyday wear, easy removal | Humidity, tears, oily lids |
| Clump risk | Lower if fresh | Higher if layered too thick |
| Removal | Easy with cleanser | Requires oil-based remover |
| Curl hold | Moderate | Excellent |
| Eye comfort | Usually gentler | Can feel stiffer |
If you struggle with smudging more than clumping, waterproof mascara may be worth the trade-off. For daily use, a regular formula is often easier to apply and remove. If you have sensitive eyes, the American Academy of Ophthalmology recommends replacing eye makeup regularly and avoiding products that irritate the eyes. Learn more from the American Academy of Ophthalmology's eye makeup safety tips.
Product Recommendations for Clump-Free Lashes
While individual results vary, these mascara styles tend to produce fewer clumps:
- Lengthening mascaras: Ideal for defined, natural-looking lashes.
- Rubber-bristle wands: Separate lashes better than traditional fiber brushes.
- Tubing mascaras: Form tiny tubes around each lash and rarely flake or clump.
- Lash primers: Create a smooth base and help mascara glide on evenly.
Avoid mascaras labeled "fiber" or "super volumizing" if clumping is your main concern. These formulas often contain thickening agents that can glob together.
How to Fix Clumpy Mascara in a Hurry
Sometimes clumps happen despite your best effort. Here is how to fix them without starting over.
- Let it dry slightly: Wait about 30 seconds. Wet mascara smudges when touched.
- Comb through with a spoolie: Gently brush from root to tip to break up clumps.
- Use a clean mascara wand: A fresh wand without product can separate better than a loaded one.
- Apply a tiny amount of eye drops: If the mascara has dried in the tube, one or two drops of saline can thin it temporarily. Only do this if the product is still within its safe use window.
Mascara Hygiene and Eye Safety
Eye makeup hygiene matters for both comfort and health. The Cleveland Clinic recommends never sharing mascara, removing eye makeup before bed, and discarding products after an eye infection. Bacteria can grow inside mascara tubes, especially after three months of use.
If your eyes feel irritated, red, or itchy after applying mascara, stop using the product and consult a healthcare provider. Keeping your tools clean and your products fresh protects your vision and your lash line.
Not all lashes are the same. Use the technique that matches your natural lash shape for the best results.
Short Lashes
Use a lengthening mascara with a small, narrow brush. Focus the product on the tips and apply a thin coat to the lower lashes to open the eyes.
Straight Lashes
Curl thoroughly and use a waterproof formula. Waterproof mascaras hold a curl better because they contain film-forming polymers that resist moisture and heat.
Sparse Lashes
Choose a volumizing formula and apply multiple thin coats. Wiggle the wand at the base to create the illusion of fullness without clumping.
Long Lashes
Long lashes are beautiful but prone to tangling. Use a lash comb between every coat and avoid formulas that are overly thick or fibrous.
Conclusion
Mastering how to apply mascara without clumps comes down to a few simple habits: use fresh mascara, wipe off excess product, apply thin coats with a zigzag motion, and comb through between layers. Match your formula to your lash type, replace your mascara regularly, and keep your tools clean for the healthiest results.
If you found this guide helpful, share it with a friend who loves makeup. And do not forget to explore our other beauty articles for more tips on looking and feeling your best.
Frequently Asked Questions
References
Last updated
This article is for informational purposes only and does not constitute medical advice. Consult a licensed dermatologist or healthcare provider before starting any new treatment.
Beauty & Hair Care Editor
Ilma is a beauty editor who specializes in breaking down cosmetic ingredients, skincare routines, and hair care practices. Her work focuses on evidence-based guidance readers can trust and apply.
Comments (0)
Be the first to comment.
Related Articles
How to Do a Cut Crease: A Step-by-Step Tutorial for Beginners
Learn how to create a cut crease eyeshadow look step by step, with beginner-friendly tips for achieving crisp, defined definition.
How to Contour and Highlight for Beginners
Learn how to contour and highlight for beginners with this step-by-step guide. Discover easy techniques, product tips, common mistakes, and flattering looks for every face shape.

How to Apply Foundation Like a Pro: A Step-by-Step Guide
Learn how to apply foundation like a pro with this step-by-step guide. Discover expert tips, common mistakes, tools, and techniques for a flawless, natural finish.
Cream Blush vs. Powder Blush: Which Is Right for Your Skin?
Cream blush vs powder blush: compare finish, longevity, and application for each formula, and learn which suits your skin type best.