 Funky Millions
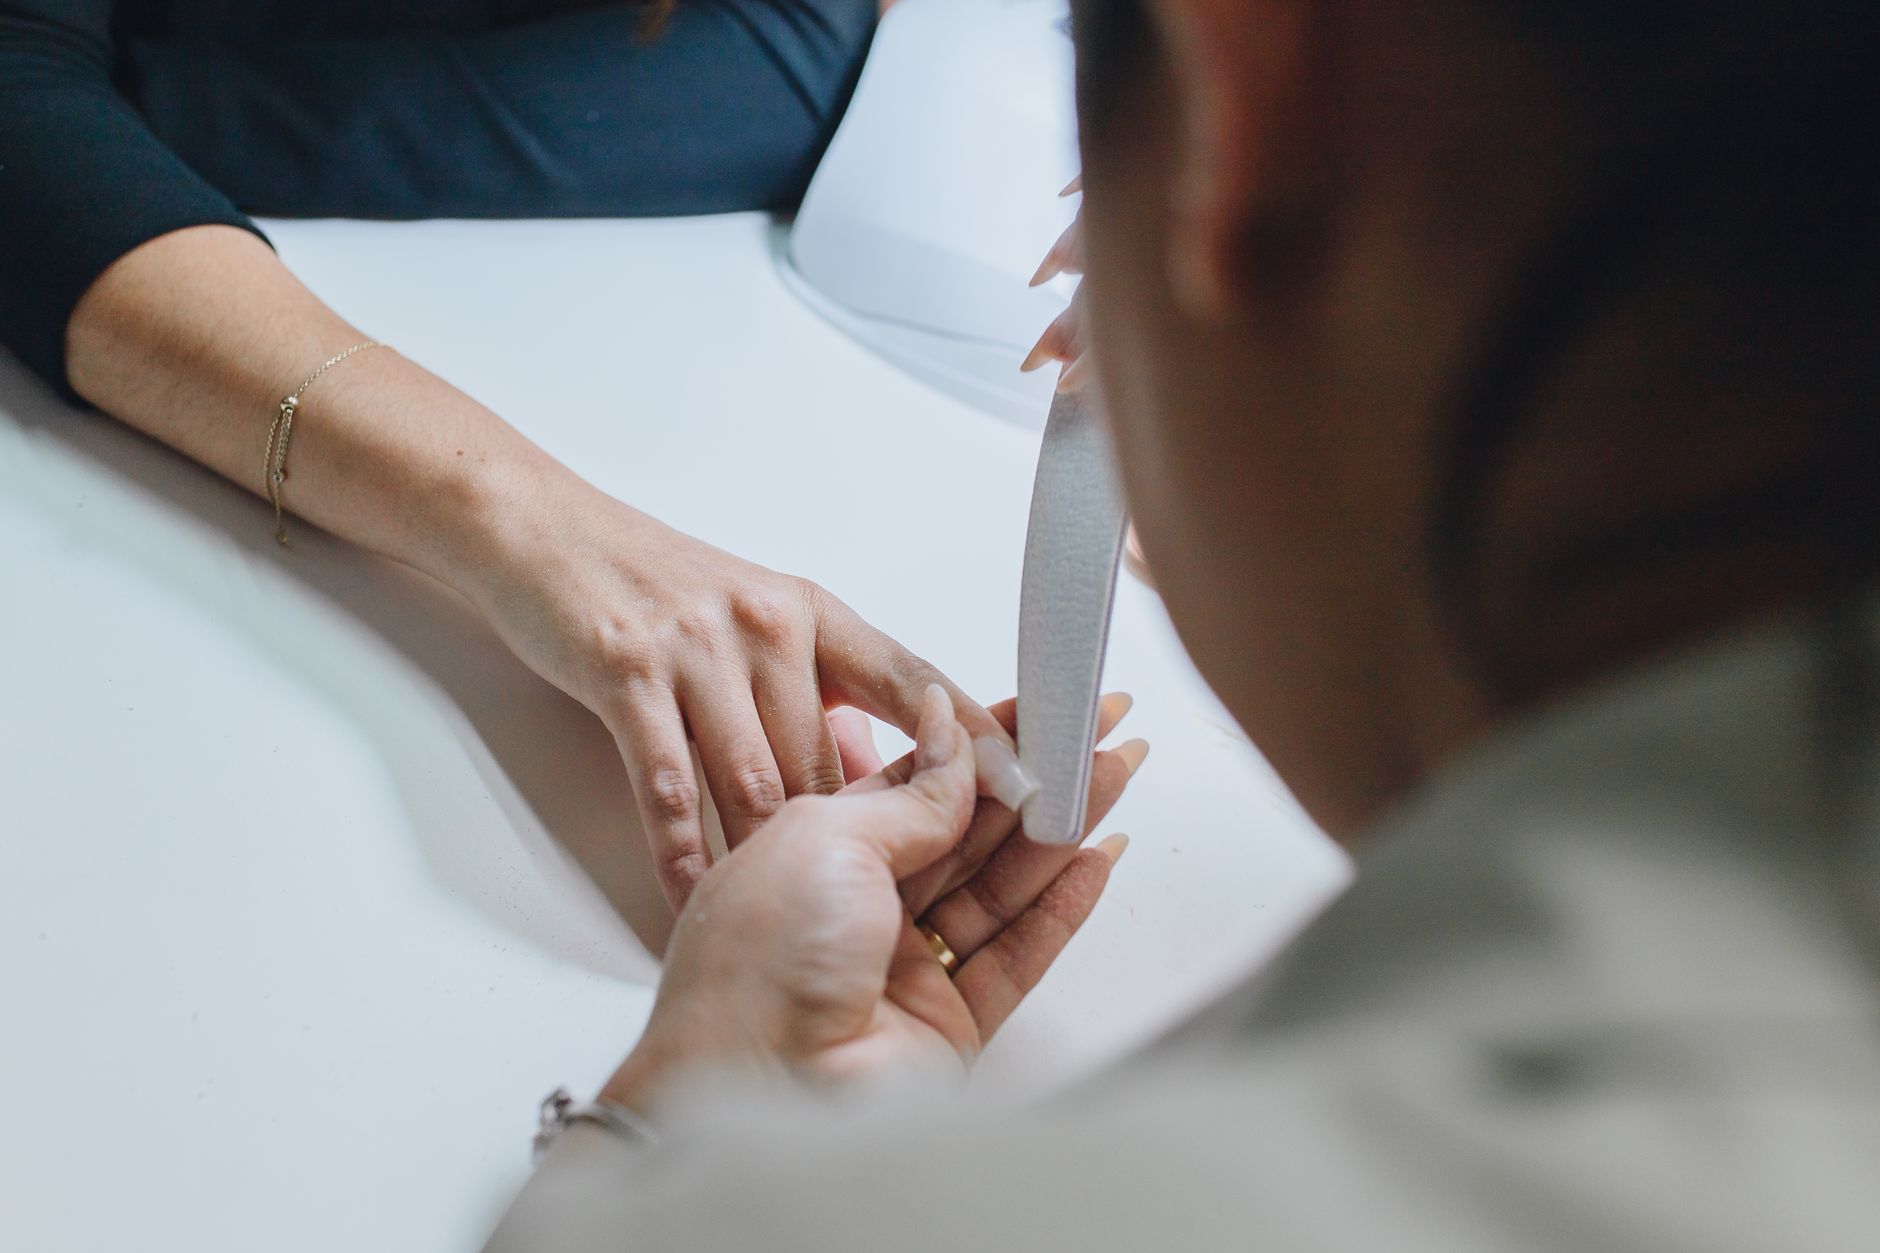
Proper Nail Filing Technique for Stronger Nails
Learn the correct nail filing technique to prevent splitting and breakage, including file grit selection and direction for stronger nails.
Quick summary
Key Takeaways
- Filing technique directly affects nail structural integrity, with incorrect motion causing layer separation that leads to splitting and breakage.
- Natural nails generally require finer grit files (240 or higher) than the coarser files appropriate for shaping acrylic or gel enhancements.
- Filing in one consistent direction, rather than back-and-forth sawing, is the single most important technique adjustment for nail health.
- Dry nails, appropriate grit selection, single-direction strokes, and light pressure together form the foundation of proper filing technique.
- Pairing filing with cuticle oil application afterward, and being especially careful with technique during the vulnerable period following enhancement removal, helps integrate proper filing practice into a more complete, supportive nail care routine.
- Glass or crystal files are often recommended for natural nails specifically, since their fine, consistent grit and smooth edge tend to be gentler than many emery board or metal file options.
- Back-and-forth sawing damages nails through two compounding mechanisms, repeated opposing stress on the nail's layered structure and increased friction-generated heat, both of which single-direction filing avoids by applying gentler, more consistent stress in one direction only.
- While single-direction filing remains the universal principle across all shapes, the specific sequence and stroke pattern, sides first versus tip first, short curved strokes versus longer straight ones, should be adapted to the specific shape you are trying to achieve for the cleanest, most symmetrical result.
Filing technique is one of the most overlooked factors in nail health, yet incorrect filing is a genuine, common cause of splitting, peeling, and breakage that many people mistakenly attribute to weak nails alone. This guide covers exactly how to file correctly, the right tools for your nail type, and how proper technique supports stronger, healthier nails over time.
Why Filing Technique Matters
The direction and pressure used during filing directly affects the nail's structural integrity, since nails are composed of layers, and incorrect filing motion can cause these layers to separate, leading to splitting, peeling, and increased breakage susceptibility. Proper technique preserves this layered structure, supporting overall nail strength.
Understanding File Grit Numbers
Nail files are graded by grit number, which indicates coarseness, lower numbers indicate coarser, more aggressive files, while higher numbers indicate finer, gentler files.
| Grit Range | Coarseness | Best For |
|---|---|---|
| 80-100 | Very coarse | Acrylic/gel shaping, not natural nails |
| 180-240 | Medium | Shaping natural nails |
| 240-400 | Fine | Regular natural nail filing |
| 400+ | Very fine/buffing | Smoothing and shine |
The Correct Filing Direction
File in one consistent direction, rather than the common back-and-forth sawing motion, which creates friction and heat that weakens the nail's layered structure and increases splitting risk. A single-direction stroke, moving from the outer edge toward the center, or vice versa consistently, preserves nail integrity far better.
Choosing the Right File for Your Nail Type
| Nail Type | Recommended Grit | Notes |
|---|---|---|
| Naturally strong, thick nails | 180-240 | Can handle slightly more aggressive filing |
| Naturally thin, weak nails | 240-400 | Requires gentler, finer grit to avoid additional stress |
| Nails recovering from damage | 400+ | Very gentle, minimal filing during recovery period |
| Acrylic/gel enhancements | 80-180 (for shaping only) | Coarser grits appropriate only for enhancement material, not natural nail |
Step-by-Step Filing Technique
Step 1: File Dry Nails, Not Wet
Wet nails are more prone to splitting and layer separation during filing, making dry nails the safer choice for this step.
Step 2: Choose the Appropriate Grit
Select a file grit matched to your natural nail's strength, generally finer for weaker nails.
Step 3: File in One Direction
Starting from one side, file toward the center (or vice versa) in a single, consistent direction, avoiding back-and-forth motion.
Step 4: Use Light, Even Pressure
Avoid pressing hard, which increases friction and heat, both of which stress the nail's structure.
Step 5: Check Shape Periodically
Pause periodically to check your progress and shape, rather than filing continuously without assessment.
Building Filing Into a Broader Nail Care Routine
Filing does not exist in isolation from the rest of your nail care practices, and understanding how it interacts with other routine elements, from cuticle oil use to enhancement application, helps position this specific technique within a more complete approach to nail health.
Applying cuticle oil to the nail plate itself, not just the cuticle area, in the day or two after filing can help replenish any minor moisture loss from the filing process, particularly relevant for those who file more frequently or who have naturally drier nails prone to feeling parched after any mechanical manipulation. This small addition to a filing routine costs almost nothing in extra time but can meaningfully support the nail's recovery from even correctly performed filing, which still represents a form of physical stress on the nail regardless of how gently it is executed.
For those who alternate between natural nail wear and periodic gel, dip powder, or acrylic application, being especially mindful of gentle filing technique in the days immediately following enhancement removal is particularly important, since nails in this specific window are often somewhat more vulnerable than their typical baseline state, making the general principles covered throughout this guide even more consequential to follow correctly during this recovery period specifically.
How Often to File
Filing frequency depends on how quickly your nails grow and how often you want to maintain a specific shape, but generally, filing every one to two weeks is sufficient for shape maintenance, with additional touch-ups as needed for any snags or minor imperfections between full filing sessions.
Filing After Manicure Removal
After removing gel, acrylic, or dip powder, gentle buffing (not aggressive filing) may be needed to smooth any remaining residue, but this should be done with a very light touch and fine grit to avoid further stressing nails that may already be somewhat weakened from the removal process. Our guide on how to remove gel manicures without damaging your nails covers this specific situation in more depth.
Comparison Table: File Types and Grits
| File Type | Typical Grit | Best Use |
|---|---|---|
| Glass/crystal file | 240+ (fine) | Gentle natural nail filing, reduces splitting |
| Emery board | Varies widely | General use, check grit before natural nail use |
| Buffing block | 400+ | Smoothing and shine, not shaping |
| Metal file | Varies, often coarser | Better suited to enhancements than natural nails |
Signs You're Filing Incorrectly
- Visible splitting or peeling at the nail's free edge shortly after filing
- Rough, uneven edges despite recent filing
- Increased breakage compared to before you started a filing routine
- A "fuzzy" or fraying appearance at the nail tip, indicating layer separation
The Physics Behind Why Direction Matters So Much
Understanding the actual physical mechanism behind why single-direction filing outperforms back-and-forth sawing helps make this technique adjustment feel less like an arbitrary rule and more like a genuinely evidence-based practice worth committing to consistently.
Nails are composed of multiple thin, keratin-based layers bonded together, somewhat similar in structural concept to plywood, where the strength comes partly from how the layers are bonded and aligned with one another. A back-and-forth sawing motion applies alternating stress in two opposite directions in rapid succession, which creates a repeated flexing and micro-shifting between these layers at the point of contact, gradually weakening the bonds holding them together even before any visible splitting becomes apparent. A single-direction stroke, by contrast, applies stress consistently in one direction only, allowing the layers to be removed more cleanly without this repeated opposing stress pattern.
This same physics explains why the friction and heat generated during filing matters as much as direction alone, faster, more aggressive back-and-forth motion generates more heat at the point of contact than slow, single-direction strokes, and this heat can further compromise the protein structure holding nail layers together, compounding the mechanical stress already caused by the sawing motion itself. Filing slowly, deliberately, and in one direction addresses both of these compounding factors simultaneously, which is part of why this single technique adjustment tends to produce such a noticeable improvement in nail integrity for people who switch from a sawing habit to proper single-direction technique.
Common Mistakes to Avoid
Using a Back-and-Forth Sawing Motion
This is the single most common and damaging filing mistake, causing layer separation and increased splitting risk.
Choosing Too Coarse a Grit for Natural Nails
Files designed for shaping acrylic or gel enhancements are often too aggressive for natural nail use, causing unnecessary stress and weakening.
Filing Wet Nails
Wet nails are structurally more vulnerable during filing, making this a habit worth avoiding even though it may feel more convenient after a shower.
Applying Excessive Pressure
Heavy-handed filing increases friction and heat, both of which stress the nail's layered structure more than a lighter, more patient approach.
Filing Technique Differences Across Nail Shapes
The specific filing motion and angle needed to achieve different nail shapes, discussed in more depth in our dedicated nail shapes guide, requires some technique variation beyond the general single-direction principle already covered, worth understanding as you work toward a specific desired shape rather than simply maintaining length.
For square and squoval shapes, filing the sides in a single direction toward the center, then addressing the tip separately with its own single-direction strokes across the top, rather than trying to create the entire shape with one continuous filing motion, tends to produce cleaner, more precise corners and edges. For rounded shapes like oval and almond, following the natural curve with shorter, more frequent single-direction strokes, adjusting the angle slightly with each stroke to follow the curve, achieves a smoother result than attempting long strokes that fight against the nail's natural curvature.
For more dramatic tapered shapes like almond, coffin, or stiletto, filing the sides first to establish the basic tapered outline before addressing the tip shape specifically helps maintain symmetry between both sides of the nail, since establishing the overall taper first provides a clearer reference point for shaping the tip to match, rather than shaping the tip first and then trying to make the sides symmetrically match an already-established point.
- Switch to a fine-grit glass or crystal file if you have been using a coarse emery board on natural nails.
- File in one direction only, resisting the urge to saw back and forth even if it feels faster.
- File dry nails, ideally not immediately after a shower or bath.
- Be patient, taking breaks to check shape rather than filing continuously and aggressively toward a desired shape.
Conclusion
Proper nail filing technique, single-direction strokes, appropriate grit selection, light pressure, and filing dry rather than wet nails, plays a genuinely significant role in nail health that is often overlooked in favor of focusing solely on products and nutrition. Adjusting your filing habits according to these principles can meaningfully reduce splitting and breakage, supporting stronger, healthier nails over time regardless of what other nail care products you use.
For more on nail care after enhancement removal, see our guide on how to remove gel manicures without damaging your nails.
Category: Nail Care
Tags: nail filing technique, nail file grit, nail care basics, nail splitting prevention, glass nail file, nail shaping, nail health, manicure technique, nail strength, nail breakage prevention
Frequently Asked Questions
References
Last updated
This article is for informational purposes only and does not constitute medical advice. Consult a licensed dermatologist or healthcare provider before starting any new treatment.
Beauty & Hair Care Editor
Ilma is a beauty editor who specializes in breaking down cosmetic ingredients, skincare routines, and hair care practices. Her work focuses on evidence-based guidance readers can trust and apply.
Comments (0)
Be the first to comment.
Related Articles

Nail Strengthener vs. Nail Hardener: What's the Difference?
Nail strengthener vs nail hardener: learn the real difference, which one your nails actually need, and how to use each correctly.
What Causes Nail Ridges and When to Worry
Learn what causes vertical and horizontal nail ridges, which types are normal aging changes, and when ridges signal an underlying health issue.
Nail Fungus: Early Signs and At-Home Treatment Options
Learn the early signs of nail fungus, at-home treatment options, and when a fungal nail infection requires professional medical care.
How to Remove Gel Manicures Without Damaging Your Nails
Learn the correct, safe way to remove gel manicures at home without damaging your natural nails, plus what to avoid.