 Funky Millions
How to Apply False Eyelashes
Quick summary
Key Takeaways
- Always measure and trim false eyelashes before applying glue.
- Let lash adhesive become tacky so the strip stays in place more easily.
- Place false lashes close to the natural lash line for the most realistic look.
- Remove false eyelashes gently with makeup remover to protect your natural lashes.
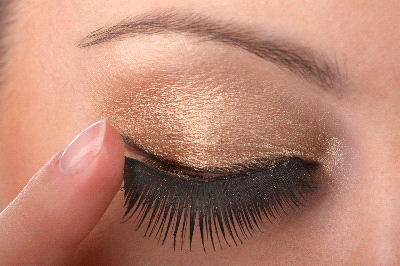
Eyelashes create beautiful frames around your eyes. People always have been attracted to men and women who have long, gorgeous, and beautiful eyelashes. If you don’t have beautiful eyelashes, you should not worry about it. You can use false eyelashes for beautifying your eyes.
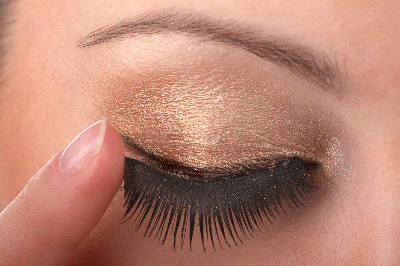
For that you need to go to the store and select the best lashes that suit your eyes and buy them. Then whenever you want to go for an event or other function you can wear it and beautify your eyes and impress and attract others. Sometimes all the related things also comes with the false eyelashes but sometimes you will have to buy like glue, tweezers etc. When you will apply them to your eyes nobody can feel a difference that they are your real lashes or false one. They can make your lashes thick, long and beautiful just in some minutes.
10 steps How to apply false eyelashes
Here are some steps that can make it easy for you to apply the false eyelashes at home fast and easy.
Step 1: Select your false eyelash style
You have a lot of options when it comes to false lashes. False eyelashes can be found in different lengths and colors. They may include three quarter pieces, full strips or individual clusters. If you get a full set of false eyelashes then it can provide you both length and thickness and will give your eyes an impressive look. They are also better that they don’t get enough time to do it than the individual eyelashes. You can also use individual eyelashes to make an attractive feathered look by employing at the exterior edges. As we know that Individual lashes are surely tough to apply but they actually look like natural. So in this article we have to do spotlight the full strip lashes.
Step 2: Select a desirable color
There are also a variety of colors of false eyelashes present. Black and dark brown are the best for everyday use. You should think and decide that either you want fuller lashes or longer lashes. There are many options and different styles that you may choose to look best on your eyes.
If you are buying it for an event, there are also various fun colors, some also rhinestones, with feathers, and you can also get some with your own choice.
Step 3: Trim them to fit exactly
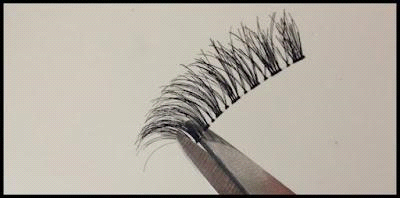
One size never fit to all eyes when it comes to false lashes. You may need to trim a little bit of your lashes. So before move further, you should measure the actual length of the lashes to ensure that it fits your eye shape or not. For doing that you have to hold the fake lashes across your eyelid to check if they are too broad for your eye. When they are larger than you eyelashes, you will need to trim them with the help of using small scissors. Make sure that the eyelash layer should be like your natural eyelashes and not extended. Because when they are too lengthy, they don’t look much attractive.
Also remember that the eyelashes must be wider against the outer edge of the eye and shorter against the inner edge of the eye.
Step 4: Shaping the false eyelashes
Before applying glue shaping your false eyelashes strips is important. Take both corners of the lash and bend it towards inner side to make a shape of C. Then hold it for some seconds. The strip of the lashes should follow the natural figure of your upper eye lid to stand by accurately and look natural. It is the best way to ignore the straightness and ensure it molds to our arched eye shape and stays put without the edges rising up.
Step 5: Using an eyelash applicator
To apply the fake eyelashes you can take the help of a pair of tweezers, an eyelash applicator, or you can do it with the help of your fingers. Select the method that works best for you. You will definitely find one naturally best way for applying the fake eyelashes very easily.
Just make sure to be very gentle to your lashes and you do not want to crush them. Also hold them tight that you also don’t want the lashes to move while applying the glue.
Step 6: Applying glue or lash adhesive
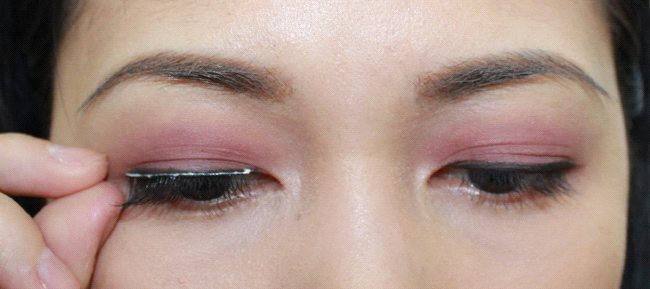
Glues can be found in different varieties. Generally, there may be white and black glues or lash adhesives. For beginners the white glue is recommended, as it dries clear. But the darker glues dominate their color that can give a dramatic look. It is also unforgiving if you make any mistake.
If you apply the glue straight directly to the fake eyelash strips can turn bad and messy. If you want to apply individual lashes one by one, you can put some drops of lash adhesive on a hard and clear surface and let it dry for about one minute until it becomes sticky. If you get too much adhesive on it simply clean it up and start again. You can also Use a pair of tweezers to take up the lashes and dive the root in the glue.
If you want to apply a full set of lashes, you can apply the adhesive along the boarder line of the lashes.
Cautions: Be extra careful when you are applying the glue on lashes, because the eyes are very delicate. And always remember to use the glue according to the instructions given on the label.
Step 7: Applying your lashes
Now you have to apply the lashes perfectly. But don’t it in hurry you can take your time with great care. It is best that you Use a magnifying mirror to look actually where to fit it well. You can have the lash strip downward from upper side and place it on top of the real eyelashes. This will fit it very closely to your actual lash line. And try not to do a mistake that you put it on the eyelids. Because by doing that you can have glue the falsies to your eyelid and when the glue become dry that really doesn’t look good.
Step 8: Set your lashes in the right place
When you finally place the fake lash strip on the top of your natural lashes, then with the help of your fingertips grasp your real and false eyelashes gently. And press them together to completely adhere. When the glue is not fully dried, you can move the lash strip to the exact position. By this way you can set it on the right place.
Step 9: Fill in the gaps between the real and false lashes
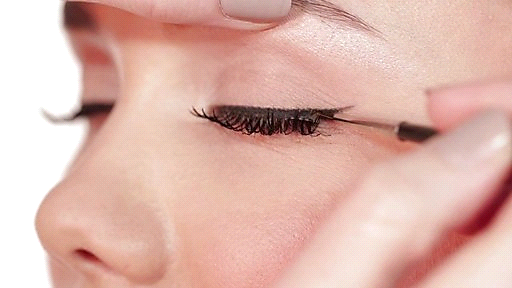
If there is any space left in between your false and real eyelashes, you don’t have to worry and pull them off again. You can fill in the gaps with the help of liquid eyeliner. This will also help in drying the glue more quickly. And will make them look more real and natural. You can also do it with the help of an eyelash curler and after some time you can do your mascara.
Step 10: Apply your makeup
Once you are done with applying the false eyelashes, let them dry for some minutes before going to apply your eye makeup. When it is completely dried then you can do your eye makeup and can have beautiful eyelashes.
Some tips and tricks for applying false eyelashes
-Try to get the fake eyelashes with an invisible band. Because they are commonly lighter and more comfortable to be wore.
-When you are trimming the lash strips, you should start trimming from the outside edge moving inwards.
-If you want to wear the false eyelashes more than once, then you have to avoid applying mascara. Because mascara is a good way to brew your real lashes with the false one, but when you want to wear it again you have to avoid that step.
-When you are removing false eyelashes, you should not just pull them off as this can harm your own real lashes and do it with great care.
How to Make False Eyelashes Look More Natural
For the most natural result, place the lash strip as close as possible to your real lash line without putting glue directly on the waterline. After the adhesive becomes tacky, look slightly downward into a mirror and set the center of the strip first, then press the outer corner and inner corner into place. This helps the lash follow your eye shape instead of sitting too high on the lid.
If the band is still visible after drying, use a thin line of black or brown eyeliner along the upper lash line. Avoid a thick line unless you want a more dramatic look. You can also gently press your natural lashes and false lashes together with clean fingertips or a lash applicator so they blend better.
Common Mistakes to Avoid When Applying False Eyelashes
One of the biggest mistakes is applying lashes while the glue is still wet. Fresh glue slides around and makes placement messy, so wait until it feels sticky before applying the strip. Another common problem is skipping the measuring step. A lash strip that is too long can poke the inner corner, lift at the edges, or make the eyes look heavy.
Do not use too much adhesive. A thin, even layer is usually enough, with a tiny extra amount on the inner and outer corners where lifting often happens. Also avoid placing the lash directly on your eyelid skin too far above the lash line, because this creates a visible gap and makes the false lashes look separate from your real ones.
How to Remove and Reuse False Eyelashes Safely
To remove false eyelashes, never pull them off quickly. Hold a cotton pad with makeup remover or micellar water over the lash line for a few seconds to soften the glue, then gently lift the outer corner and peel the strip away slowly. If you feel tugging, add more remover and wait a little longer.
After removal, peel old glue from the lash band with clean fingers or tweezers. Store the lashes in their original tray so they keep their curve. Avoid soaking the lashes unless the brand instructions allow it, because too much moisture can damage the fibers and loosen the shape.
For related advice, see [How To Grow Eyelashes Fast](/how-to-grow-eyelashes-fast), [How to Remove Fake Eyelashes](/how-to-remove-fake-eyelashes) and [Back Acne Treatment. Get rid of back Acne](/back-acne-treatment-get-rid-of-back-acne).
Beauty professionals and dermatologists commonly recommend using false eyelashes with clean hands, clean tools, and eyelash adhesive made specifically for use near the eyes. Because the eyelid area is delicate, it is best to avoid sharing lashes, remove all glue after wear, and stop using a product if it causes redness, itching, swelling, or burning.
Conclusion
Applying false eyelashes becomes much easier when you choose the right style, trim the strip to fit your eye, shape the band, and allow the glue to become tacky before placement. Small details, such as pressing the lashes close to the natural lash line and filling gaps with eyeliner, can make the finished look softer and more realistic.
False lashes can add length, fullness, and definition in just a few minutes, but careful removal is just as important as application. With gentle handling, clean tools, and proper storage, many strip lashes can be worn again while keeping your natural lashes protected.
Frequently Asked Questions
Last updated
This article is for informational purposes only and does not constitute medical advice. Consult a licensed dermatologist or healthcare provider before starting any new treatment.
Beauty & Hair Care Editor
Amanda Gurton is a beauty editor and researcher with a focus on translating dermatology and trichology insights into clear, actionable advice. She covers skincare routines, hair health, ingredient science, and everyday beauty habits.
Comments (0)
Be the first to comment.
Related Articles
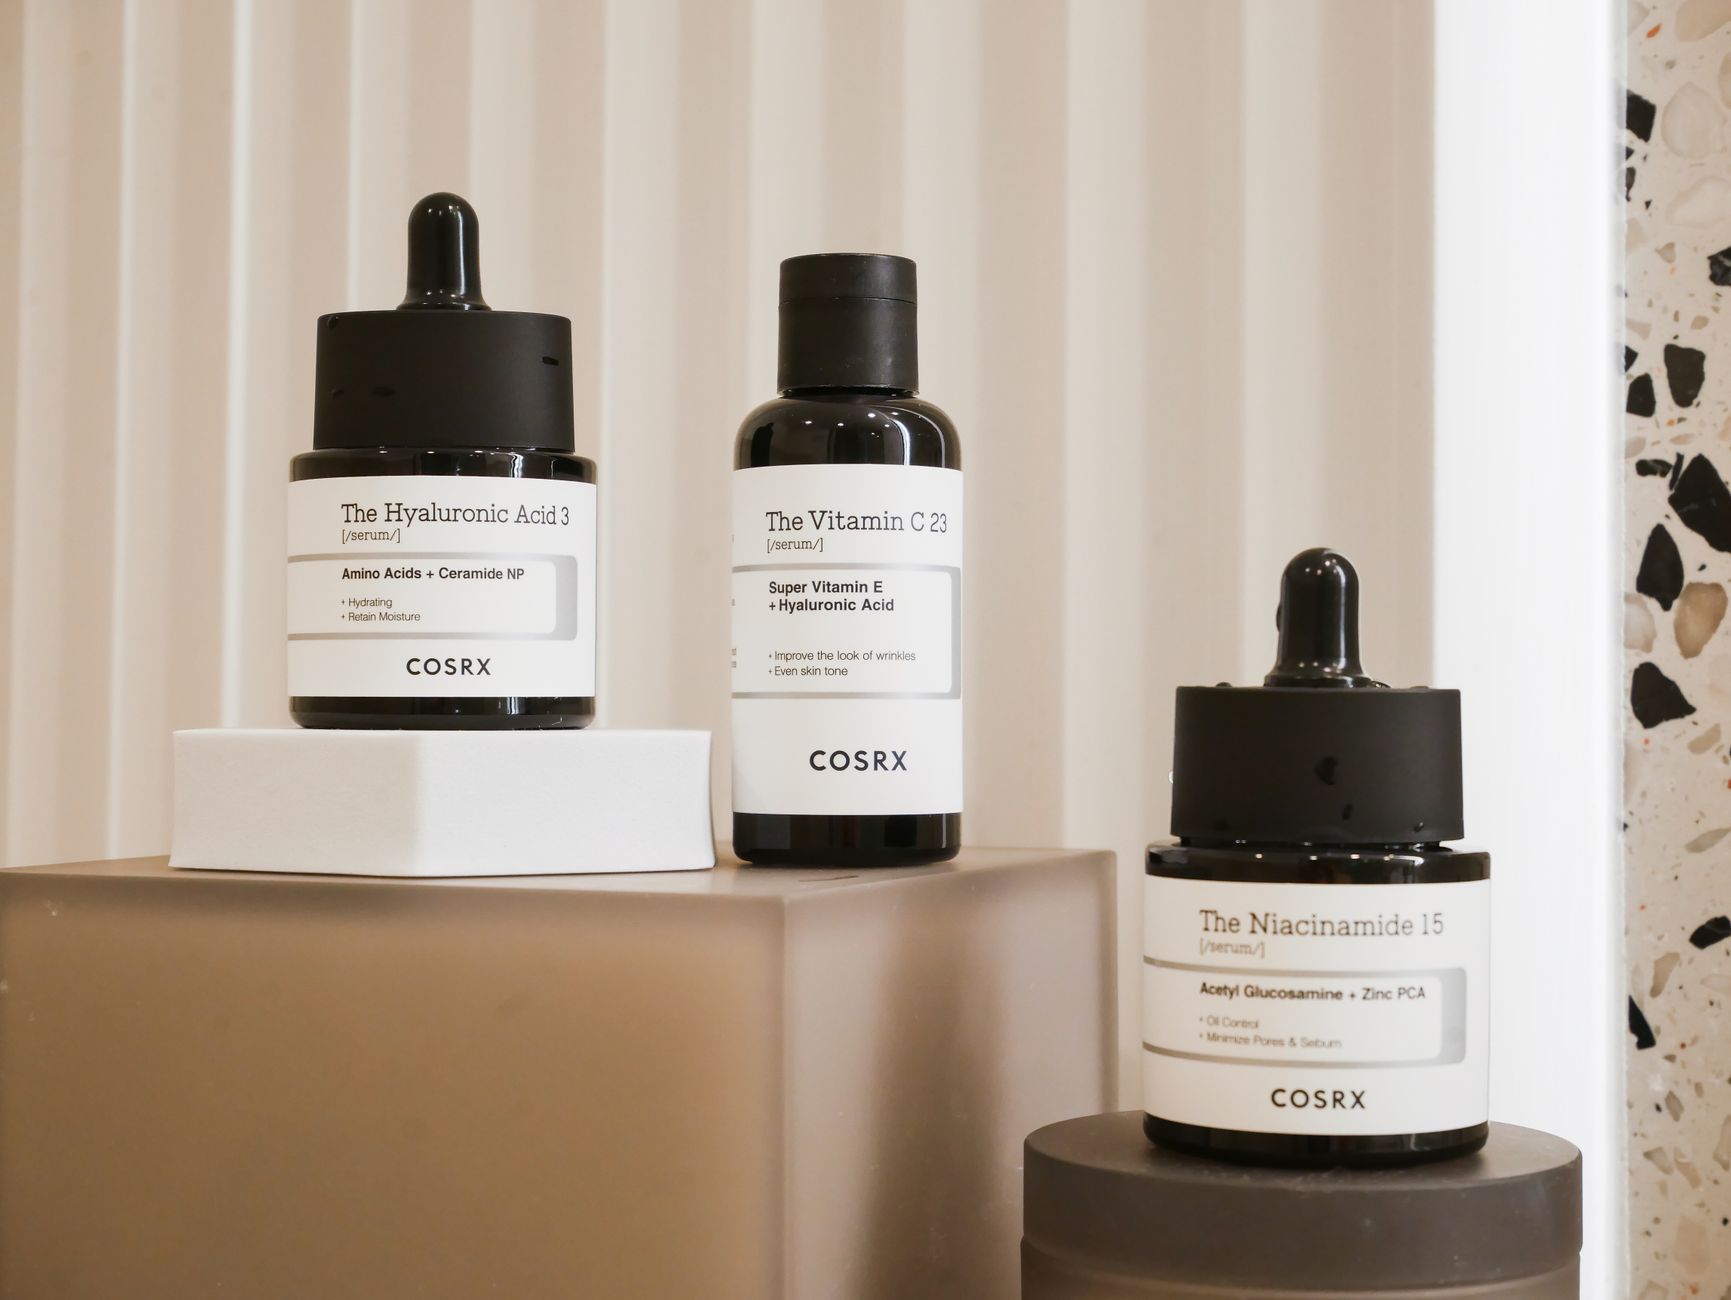
Vitamin C and Niacinamide: Can You Really Not Use Them Together?
Can you use vitamin C and niacinamide together? Learn what the science says about this popular skincare myth and how to layer them correctly.
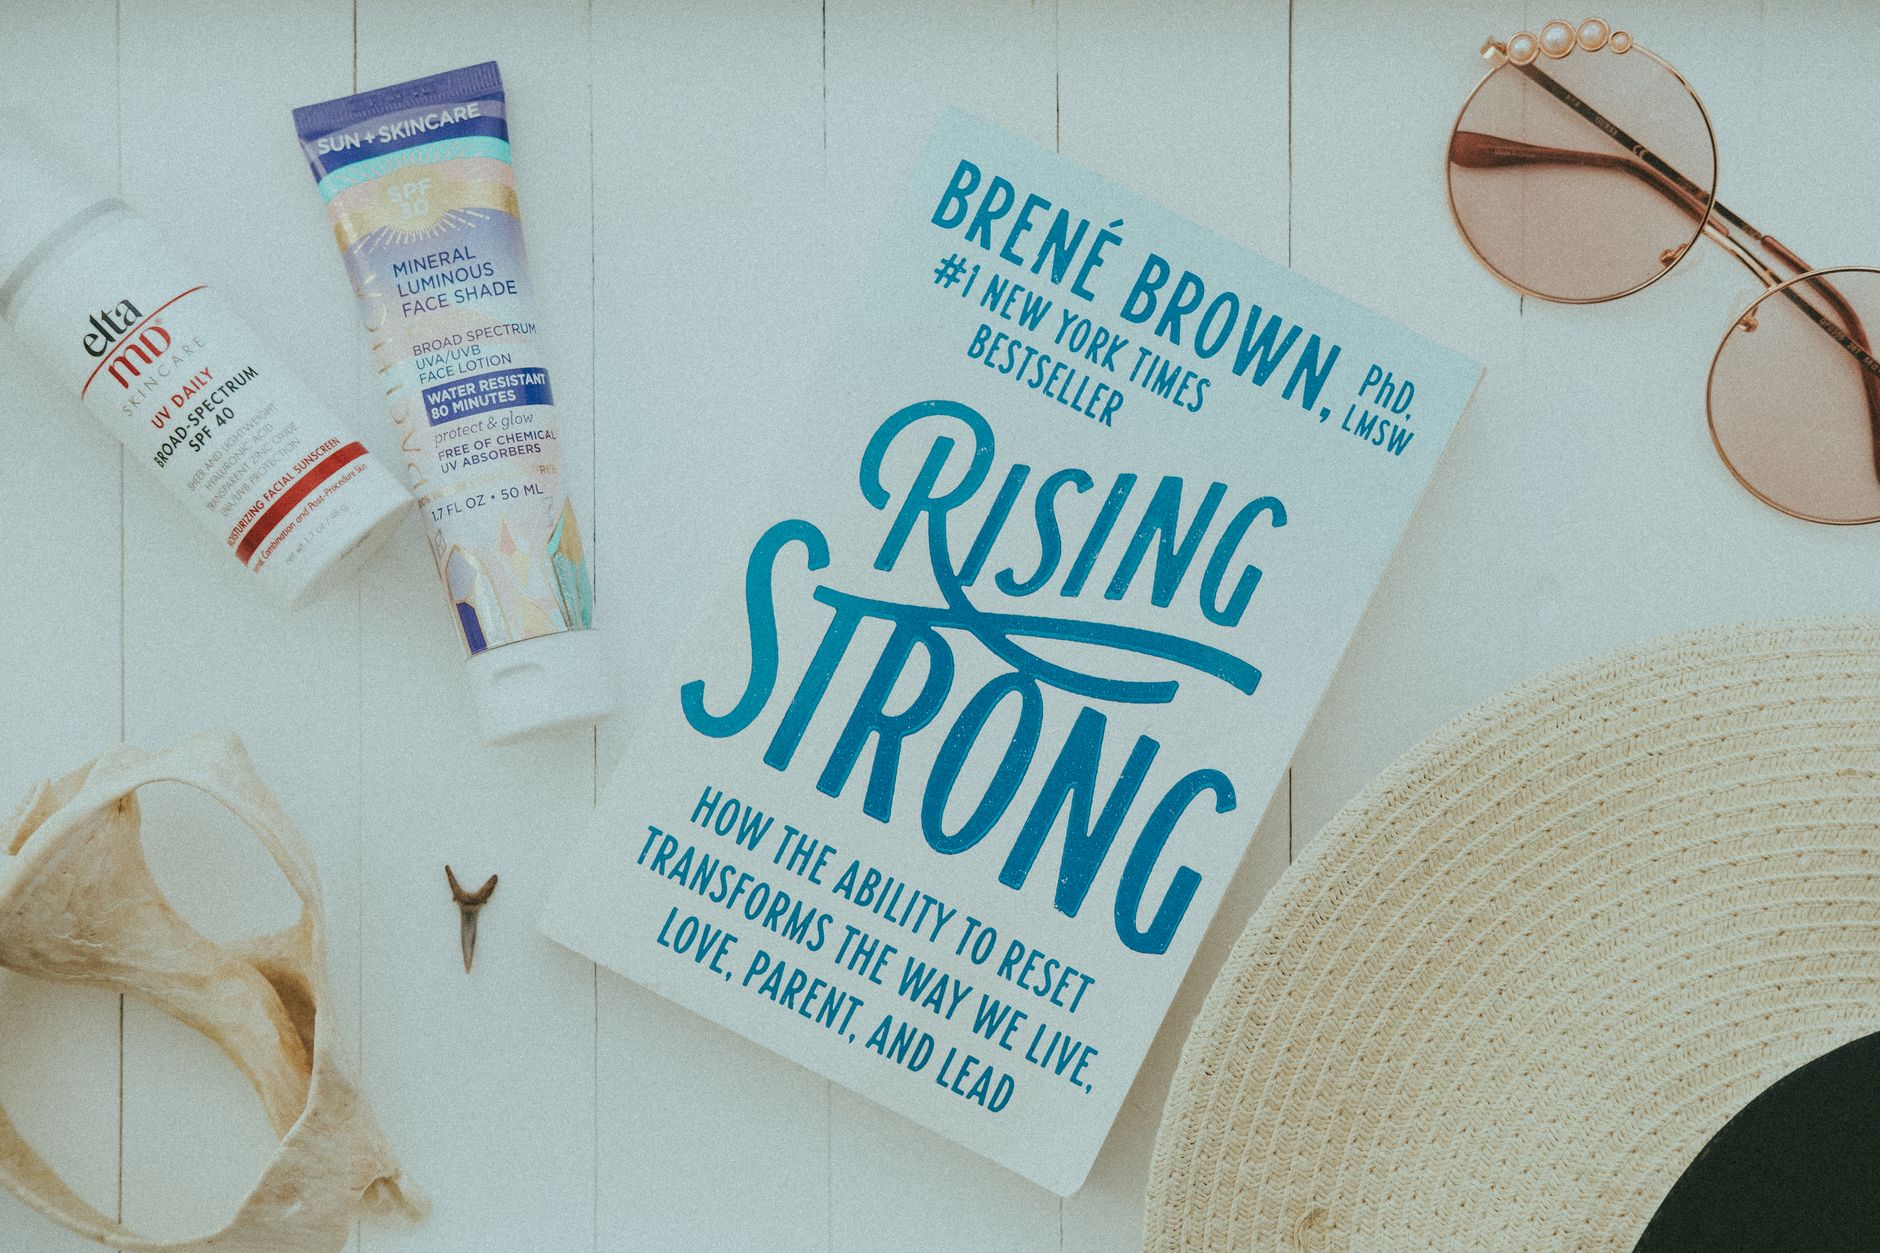
Mineral vs. Chemical Sunscreen: Which Should You Choose?
Mineral vs chemical sunscreen: compare how each type works, safety, texture, and which is best for your skin type and lifestyle.
What Is Slugging? The Skincare Method Explained
Learn what slugging is, how this occlusive skincare method works, who should try it, and how to slug correctly without clogging pores.
Building a Skincare Routine for Rosacea-Prone Skin
Learn how to build a gentle, effective skincare routine for rosacea-prone skin, including ingredients to use, ingredients to avoid, and trigger management.