 Funky Millions
The 7-Skin Method Explained: Is It Worth It?
The 7 skin method layers toner or essence seven times for deep hydration. Learn how to do it, its benefits, and whether it belongs in your skincare routine.

Quick summary
Key Takeaways
- The 7 skin method layers a gentle toner or essence seven times to deliver deep hydration, improve skin texture, and prep skin for the rest of your routine.
- The 7 skin method is a simple, affordable way to increase hydration by layering toner or essence in thin coats before sealing with moisturizer.
- The 7-skin method is the practice of layering seven thin coats of toner or essence to maximize hydration and create a dewy, healthy glow.
- The 7 skin method works by layering humectant-rich toners to draw water into the skin, then sealing that hydration with a moisturizer to protect the barrier.
- The 7 skin method boosts hydration, smooths texture, brightens skin, improves product absorption, and can be done affordably.
- Almost any skin type can try the 7 skin method if you choose a toner that matches your skin's needs and start with the right number of layers.
- Cleanse, apply 3–5 drops of toner, pat it in, repeat up to seven times, and always finish with moisturizer and sunscreen.
- Adjust the number of layers and application style to fit your skin type, schedule, and comfort level.
- Choose a gentle, alcohol-free toner, use thin layers, never skip moisturizer, and stop if your skin reacts.
- Warm the toner, target dry zones, apply after showering, and keep the rest of your routine simple for the best results.
- The 7 skin method offers deeper, longer-lasting hydration than a single toner but feels lighter than slugging or heavy night creams.
- You may see immediate softness, but plan to practice the method for at least 2–4 weeks before judging the full results.
Quick Answer: What Is the 7-Skin Method?
The 7 skin method is a Korean skincare technique where you apply a lightweight toner or essence in seven thin layers instead of one. The goal is to flood the skin with hydration using small amounts of a watery product, then seal everything in with a moisturizer. It is especially helpful for dry, dehydrated, or dull skin, and it can create the smooth, plump "glass skin" look Korean beauty is famous for. It is generally safe for most skin types when you choose the right alcohol-free, fragrance-free toner.
Introduction
If your skin feels tight, looks dull, or drinks up moisturizer without ever looking dewy, the 7 skin method may be the hydration boost your routine is missing. This Korean skincare trend has become popular around the world because it promises glowing, plump skin using a simple product you probably already own: toner.
Unlike complicated 10-step routines, the 7 skin method focuses on one key step repeated multiple times. You do not need expensive tools or a cabinet full of serums. You just need the right toner, clean hands, and a few extra minutes. In this guide, you will learn exactly what the 7 skin method is, how it works, who it is best for, and how to do it safely. We will also compare it to other hydration techniques and share expert tips so you can decide whether it is worth adding to your skincare routine.
What Is the 7-Skin Method?
The 7-skin method, also called the "seven-skin method" or "7 toner method," is a Korean skincare practice that involves applying up to seven thin layers of a hydrating toner or essence to the face. The word "skin" is the Korean beauty term for a watery toner or essence, not the skin on your body. So "7 skin" means seven layers of toner.
Instead of saturating a cotton pad with one large application, you pour a few drops of toner into your palms and press it gently into the skin. You repeat this process six more times, allowing each layer to absorb slightly before applying the next. The result is a deeply hydrated, bouncy complexion that reflects light and feels softer.
The method became popular through K-beauty communities because it delivers noticeable hydration without heavy creams or oils. It is a favorite among people who want a "glass skin" finish - skin that looks smooth, luminous, and almost translucent.
How Does the 7-Skin Method Work?
To understand the 7 skin method, it helps to know a little about how skin hydration works. Your outermost layer of skin, the stratum corneum, acts like a protective brick wall. When this barrier is healthy, it keeps moisture in and irritants out. When it is damaged or dehydrated, water escapes more easily, leading to dryness, flaking, and sensitivity.
Hydrating toners and essences are usually water-based products that contain humectants. Humectants are ingredients that attract water to the skin, such as hyaluronic acid, glycerin, panthenol, and beta-glucan. When you apply one layer of toner, some of the water and humectants absorb into the top layers of skin. When you apply multiple thin layers, you gradually build a reservoir of hydration without overwhelming the skin or leaving a sticky film.
After the seven layers, you apply a moisturizer. Moisturizers contain occlusive or emollient ingredients that form a seal over the skin, reducing transepidermal water loss (TEWL). This seal keeps the hydration from evaporating and helps the skin barrier repair itself.
According to the American Academy of Dermatology, keeping the skin barrier healthy is one of the most important goals of any skincare routine. Layering gentle, hydrating toners can support this goal, especially when followed by a moisturizer.
Benefits of the 7-Skin Method
Why layer toner seven times instead of just once? Here are the main benefits people notice when they use the 7 skin method correctly.
1. Deep, Long-Lasting Hydration
One layer of toner evaporates quickly, especially in dry climates or heated rooms. Seven thin layers create a stronger hydration reservoir. Your skin stays plump and comfortable longer.
2. Softer, Smoother Texture
Well-hydrated skin feels smoother and looks more even. The 7 skin method can reduce the rough, flaky texture that makes makeup look cakey.
3. Brighter, More Radiant Skin
Dehydrated skin often looks dull and gray. When your skin is full of moisture, it reflects light better, giving you a natural glow.
4. Better Absorption of Other Products
Hydrated skin absorbs serums and treatments more effectively. When you do the 7 skin method before applying actives like vitamin C or niacinamide, those products can penetrate more evenly.
5. Less Need for Heavy Creams
If heavy moisturizers clog your pores or feel greasy, the 7 skin method lets you use a lighter lotion because your skin is already saturated with hydration.
6. Affordable and Customizable
You can use almost any gentle toner or essence. You do not need a special product. This makes the method easy to customize for your budget and skin type.
If your main skin goal is a clearer, smoother complexion, you may also benefit from combining hydration with targeted treatments. For acne-prone skin, our guide on salicylic acid acne treatment explains how to address breakouts safely.
Who Should Try the 7-Skin Method?
The 7 skin method is flexible, but it is not ideal for everyone. Here is how to know if it is right for your skin type.
Dry Skin
Dry skin lacks oil and often feels tight or rough. The 7 skin method can be a game-changer because it adds water-based hydration before you seal with an oil or cream moisturizer.
Dehydrated Skin
Dehydrated skin lacks water, even if it produces oil. This is the skin type that benefits most. Layering toner can restore the water balance without adding heaviness.
Combination Skin
If you have an oily T-zone but dry cheeks, the 7 skin method lets you hydrate dry areas without overloading oily areas. Choose a lightweight, balancing toner.
Oily and Acne-Prone Skin
Oily skin can still be dehydrated. A watery, non-comedogenic toner can help balance oil production. Avoid toners with alcohol, strong fragrance, or heavy ferments if you are acne-prone.
Sensitive Skin
Sensitive skin can try the method, but you must choose a very gentle, fragrance-free, alcohol-free toner. Start with three layers and increase slowly.
Normal Skin
Normal skin can use the method to maintain a healthy glow, especially in winter or after sun exposure.
| Skin Type | Best Toner Texture | Recommended Ingredients | Layers to Start |
|---|---|---|---|
| Dry | Slightly viscous essence | Hyaluronic acid, glycerin, squalane, ceramides | 5–7 |
| Dehydrated | Watery toner or essence | Hyaluronic acid, panthenol, beta-glucan, allantoin | 5–7 |
| Combination | Lightweight balancing toner | Green tea, niacinamide, hyaluronic acid | 3–5 |
| Oily/Acne-Prone | Very watery, oil-free toner | Niacinamide, Centella asiatica, tea tree, witch hazel (alcohol-free) | 3–5 |
| Sensitive | Fragrance-free, simple toner | Panthenol, allantoin, Centella asiatica, mugwort | 2–3 |
| Normal | Any gentle hydrating toner | Hyaluronic acid, rice ferment, glycerin | 3–7 |
How to Do the 7-Skin Method Step by Step
The 7 skin method is simple, but technique matters. Follow these steps for the best results.
Step 1: Start With Clean Skin
Wash your face with a gentle, pH-balanced cleanser. Remove all makeup, sunscreen, and excess oil. Pat your face dry with a clean towel, but leave it slightly damp. This helps the first layer of toner lock in extra moisture.
Step 2: Choose the Right Toner or Essence
Pick a hydrating toner or essence without alcohol, heavy fragrance, or strong actives. Good ingredients include hyaluronic acid, glycerin, panthenol, Centella asiatica, and fermented extracts.
Step 3: Pour a Few Drops Into Your Palms
For each layer, pour about 3–5 drops of toner into your clean palms. Do not use a cotton pad. Using your hands reduces product waste and helps press the toner into the skin.
Step 4: Press and Pat Gently
Press your palms onto your face and gently pat the toner into your skin. Start with your cheeks, then move to your forehead, chin, and nose. Do not rub or tug.
Step 5: Wait a Moment Between Layers
Wait 30 seconds to one minute between layers. You do not need the toner to fully dry, but giving it a moment helps prevent pilling and allows better absorption.
Step 6: Repeat Six More Times
Continue layering until you have applied seven thin coats total. If your skin starts to feel sticky before seven, stop. Not everyone needs the full seven layers.
Step 7: Seal With Moisturizer
Finish with a moisturizer appropriate for your skin type. This step locks in the hydration and protects your skin barrier. In the morning, follow with sunscreen.
7-Skin Method Variations
You do not have to follow the method exactly. Here are a few ways to adapt it.
The 3-Skin or 5-Skin Method
If seven layers feel like too much, start with three or five. Many people get excellent results with fewer layers, especially oily or combination skin.
Essence Soak Method
Instead of patting with your hands, soak a few cotton pads in toner and place them on your cheeks, forehead, and chin for five minutes. This gives a more intense hydration boost.
Sheet Mask Layer
After three layers of toner, apply a hydrating sheet mask for 15–20 minutes, then finish with your remaining toner layers and moisturizer.
Mist Version
If your toner comes in a spray bottle, mist a fine layer between each patting step. This can feel refreshing and helps thin layers absorb quickly.
Common Mistakes to Avoid
The 7 skin method is gentle, but there are a few mistakes that can cause irritation or poor results.
1. Using the Wrong Toner
Avoid astringent toners with high amounts of alcohol, witch hazel with alcohol, or strong acids. These can strip the skin and cause irritation when layered.
2. Applying Too Much Product Per Layer
Each layer should be thin. If you use too much, the toner will sit on top of your skin, feel sticky, and may cause breakouts.
3. Skipping Moisturizer
The toner brings water into the skin, but moisturizer seals it in. Without moisturizer, the water can evaporate and leave your skin drier than before.
4. Layering Over Dirty Skin
Always start with a clean face. Layering toner over makeup, oil, or sunscreen pushes debris deeper into pores.
5. Using Active Toners
Do not use the 7 skin method with exfoliating acids, strong retinoids, or high-dose vitamin C toners. Save those for single-use applications.
6. Ignoring Your Skin's Signals
If your skin turns red, stings, or develops tiny bumps, stop. You may be using a product your skin does not tolerate, or you may be over-hydrating.
If you want more guidance on building a gentle routine, our article on how to get clear skin covers the basics of healthy skin habits.
How the 7-Skin Method Compares to Other Hydration Techniques
You may wonder how the 7 skin method stacks up against other popular hydration methods. Here is a quick comparison.
| Technique | How It Works | Best For | Drawbacks |
|---|---|---|---|
| 7-Skin Method | Layer toner or essence 7 times | Dehydrated, dull, dry skin | Time-consuming; wrong toner can irritate |
| Slugging | Apply thick occlusive layer overnight | Very dry or damaged barrier | Can feel greasy; may clog acne-prone skin |
| Sheet Mask | Single-use fabric mask soaked in serum | Quick hydration boost | Single-use waste; effects are temporary |
| Regular Toner | Apply once after cleansing | General maintenance | Less intense hydration |
| Facial Mist | Spray water or toner throughout the day | Refreshing skin on the go | Hydration evaporates without moisturizer |
The 7 skin method is a middle ground. It gives deeper hydration than a single toner application but is lighter than slugging. It is also more sustainable than daily sheet masking.
If your goal is a glowing complexion, our guide on how to make your skin glow shares lifestyle and skincare tips that complement the 7 skin method.
How Long Until You See Results?
Hydration improvements can be noticeable quickly, but the full benefits take time.
- Immediate: Skin feels softer, plumper, and more comfortable right after the first session.
- After 1 week: Reduced tightness, smoother makeup application, and a more refreshed appearance.
- After 2–4 weeks: More even texture, brighter tone, and a visible dewy glow if done consistently.
- After 1–3 months: Improved skin barrier resilience, less sensitivity, and fewer dry patches.
Results depend on your starting skin condition, the toner you use, and how consistently you follow the method. Consistency matters more than perfection.
Here are practical tips to get the most out of the 7 skin method.
Tip 1: Warm the Toner in Your Hands
Warm toner absorbs slightly better than cold toner. Rub your palms together gently after pouring the product to bring it to skin temperature.
Tip 2: Focus on Dehydrated Zones
If your cheeks are dry but your forehead is oily, apply more layers to the dry areas and fewer to the oily ones.
Tip 3: Use It After a Shower
Your skin is already damp after a shower, which makes it a perfect time to start the 7 skin method.
Tip 4: Pair With a Humectant Serum
For extra hydration, apply a hyaluronic acid serum after three toner layers, then continue with the remaining layers.
Tip 5: Keep the Rest of Your Routine Simple
The 7 skin method is meant to replace complicated layering. Do not overload your skin with too many other products on the same night.
Tip 6: Patch Test New Toners
Even gentle ingredients can cause reactions. Test a new toner on your jawline for 24 hours before using it for seven layers.
For more easy ways to care for your skin at home, read our beauty tips for face at home guide.
Conclusion
The 7 skin method is a simple, flexible way to give your skin a serious hydration boost without buying a dozen new products. By layering a gentle toner or essence up to seven times and sealing it with moisturizer, you can improve skin texture, brightness, and comfort. It works especially well for dry and dehydrated skin, but most skin types can adapt it by choosing the right toner and number of layers.
Like any skincare technique, the key is consistency and listening to your skin. Start slowly, avoid harsh ingredients, and adjust the method until it fits your routine. If you have been searching for an easy way to achieve that healthy, dewy glow, the 7 skin method is definitely worth trying.
Did you find this guide helpful? Share it with a friend who loves skincare, and explore more FunkyMillions articles on how to make your skin glow, how to get clear skin, and salicylic acid acne treatment.
Frequently Asked Questions
Last updated
This article is for informational purposes only and does not constitute medical advice. Consult a licensed dermatologist or healthcare provider before starting any new treatment.
Beauty & Hair Care Editor
Amanda Gurton is a beauty editor and researcher with a focus on translating dermatology and trichology insights into clear, actionable advice. She covers skincare routines, hair health, ingredient science, and everyday beauty habits.
Comments (0)
Be the first to comment.
Related Articles
Skin Flooding: The K-Beauty Hydration Trend Explained
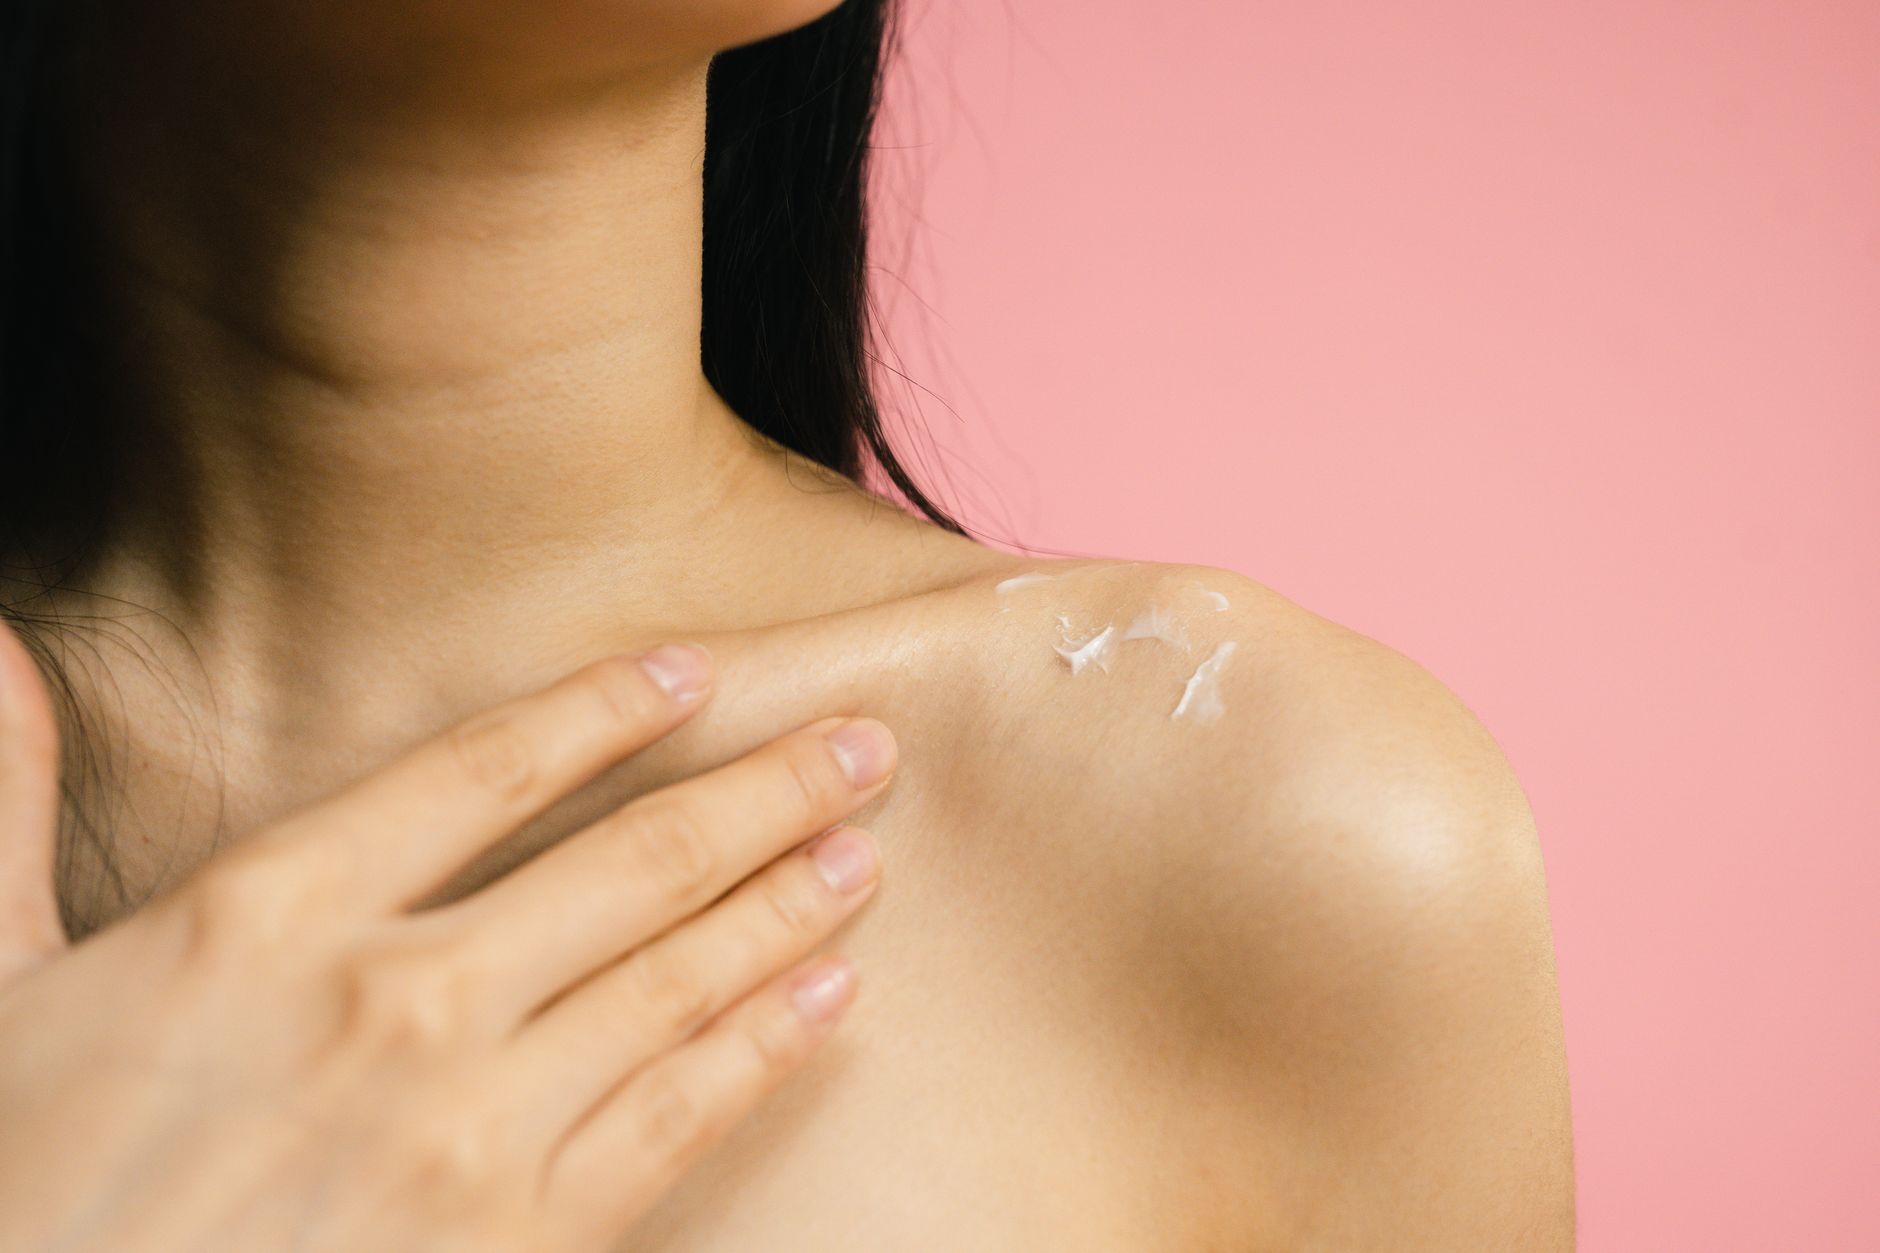
Learn what skin flooding is, how this Korean-inspired hydration method works, and how to try it step by step for plumper, dewier skin.
Winter Skincare Routine: How to Protect Skin in Cold Weather
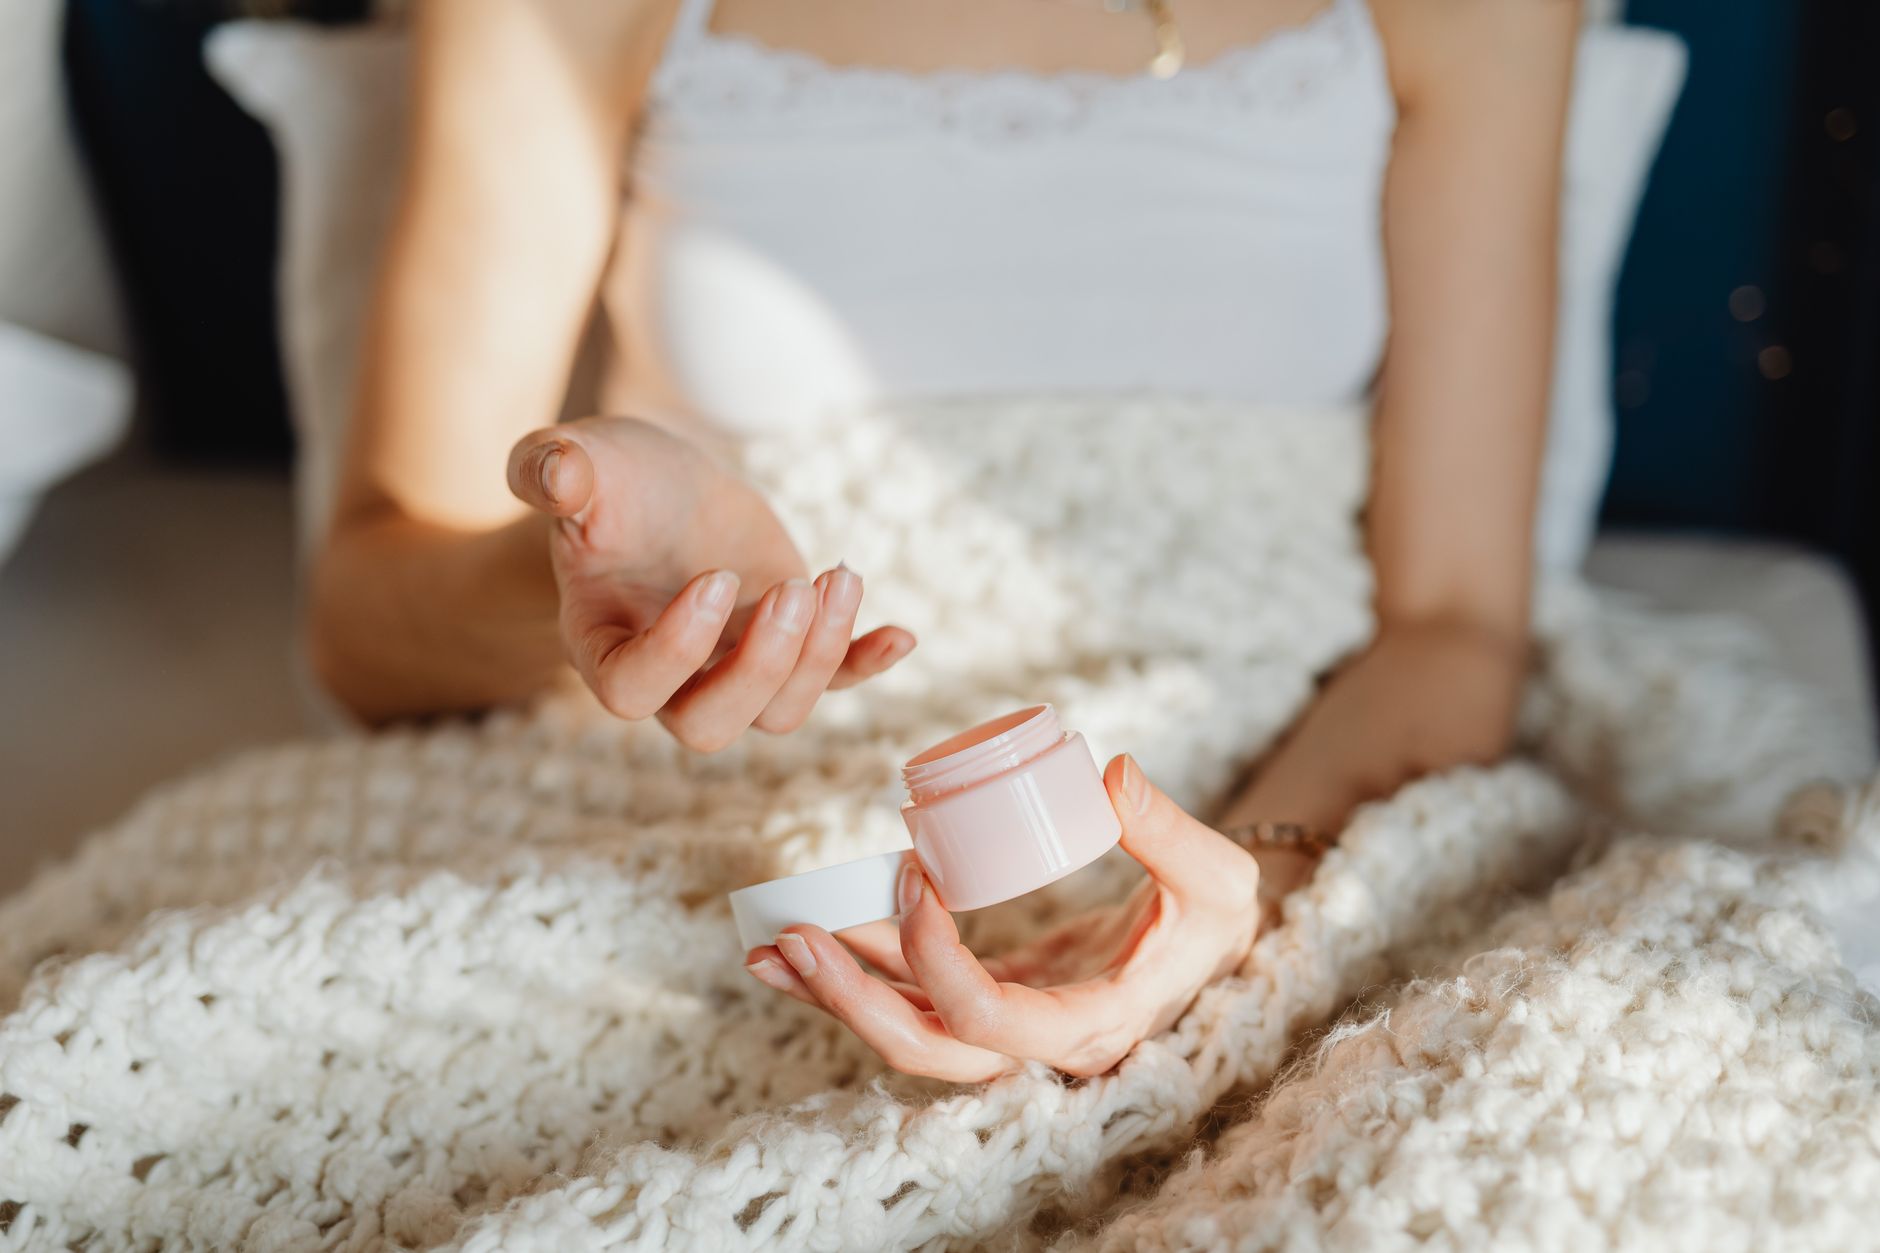
Build the perfect winter skincare routine to fight dryness, redness, and tightness. Discover expert tips, ingredients, and a step-by-step cold-weather routine.
The Ultimate Double Cleansing Guide for Clear Skin
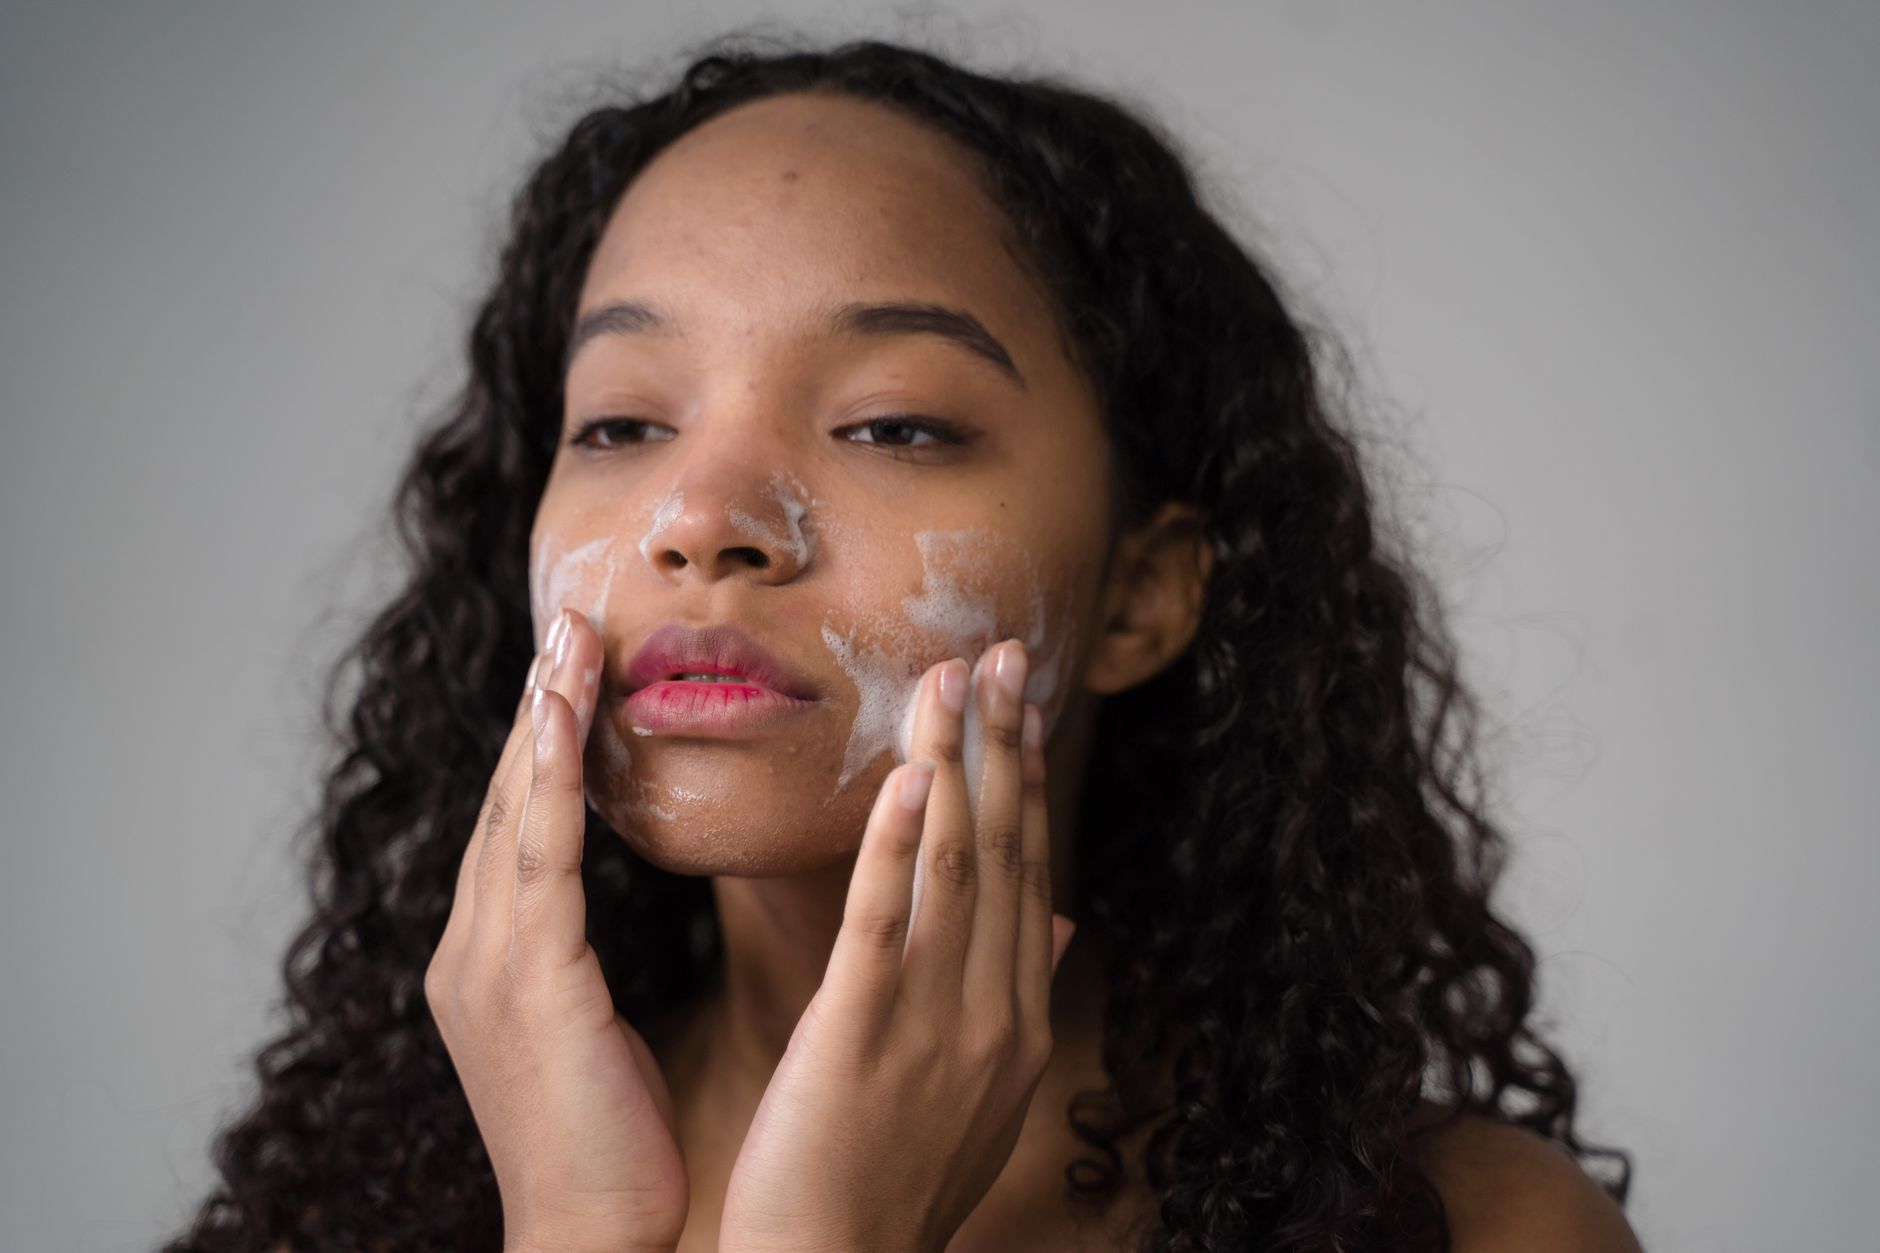
Master the double cleansing guide for clear skin with this step-by-step routine, best oils, common mistakes, and expert tips for a healthier complexion.
Glass Skin Routine: A Realistic Step-by-Step Guide
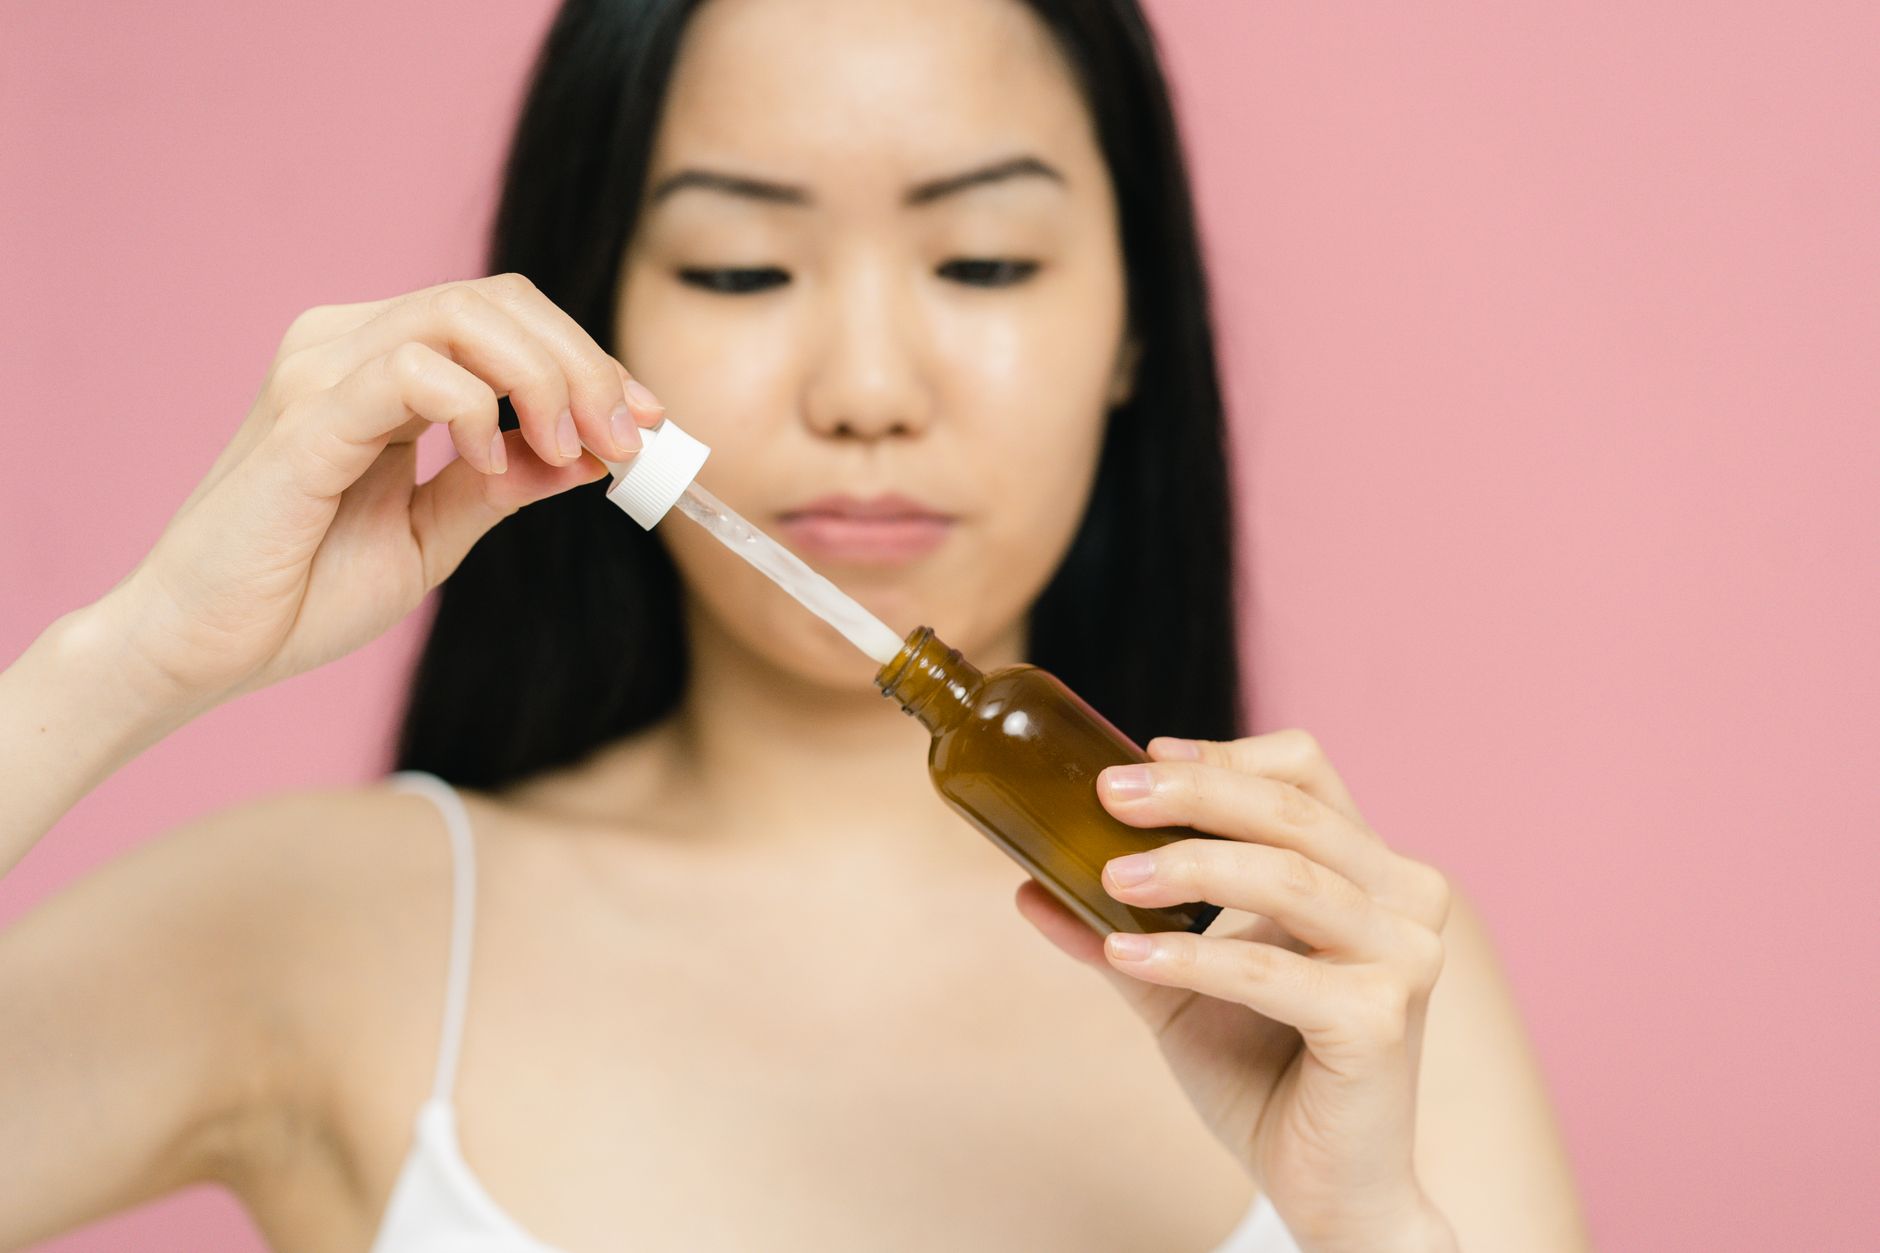
Master a realistic glass skin routine with this step-by-step guide. Discover the science, steps, ingredients, and expert tips for a dewy, luminous complexion.