 Funky Millions
How to Do a Proper At-Home Facial for Glowing Skin
Learn how to do a proper at home facial with this step-by-step guide. Get spa-like results, the right products, and expert tips for glowing, healthy skin.

Quick summary
Key Takeaways
- An at-home facial is a DIY version of a spa treatment that cleanses, exfoliates, treats, and hydrates your skin using everyday skincare products.
- Regular at-home facials deep-cleanse, exfoliate, hydrate, and relax your skin - all while boosting the performance of your other skincare products.
- You don’t need expensive tools. A basic routine with cleanser, exfoliant, mask, serum, and moisturizer is enough for great results.
- The seven steps of an at-home facial are cleanse, exfoliate, steam, mask, treat, massage, and moisturize - always finish with SPF during the day.
- Customizing your at-home facial to your skin type prevents irritation and delivers better, more visible results.
- Avoid over-exfoliation, aggressive extractions, and skipping SPF to keep your at-home facial safe and effective.
- Small details - like clean tools, lukewarm water, and facial massage - make a big difference in your results.
- Choose proven ingredients like hyaluronic acid, niacinamide, and salicylic acid based on your skin type and concerns.
A proper at home facial is one of the easiest ways to give your skin a fresh, radiant boost without booking an expensive spa appointment. Whether your complexion looks dull, congested, or simply in need of some TLC, learning how to perform a facial at home can help you maintain healthy, glowing skin between professional treatments.
In this guide, you’ll learn exactly what an at-home facial is, why it benefits your skin, which products and tools to use, and how to follow a dermatologist-approved routine step by step. We’ve also included common mistakes to avoid, expert tips, product recommendations, and a full FAQ section so you can feel confident every time you treat your skin.
What Is an At-Home Facial?
An at-home facial is a multi-step skincare treatment you perform yourself using cleansers, exfoliants, masks, serums, and moisturizers. It mimics the basic structure of a professional spa facial - cleanse, exfoliate, treat, hydrate, and protect - but uses accessible products and simple techniques you can do in your bathroom.
Professional facials often include extractions, high-frequency devices, chemical peels, or microdermabrasion performed by licensed estheticians. At-home facials focus on the essentials: deep cleansing, gentle exfoliation, targeted treatment masks, hydration, and sun protection. They are safe for most skin types when done correctly and can be performed weekly or biweekly depending on your skin’s needs.
Benefits of Doing a Facial at Home
A consistent at-home facial routine delivers both immediate and long-term skin benefits. Here’s why it’s worth adding to your self-care schedule:
- Deep Cleansing: Removes makeup residue, excess oil, pollution particles, and sunscreen buildup more thoroughly than a quick morning cleanse.
- Gentle Exfoliation: Sloughs away dead skin cells that make skin look dull and rough.
- Improved Circulation: Facial massage increases blood flow, which supports a healthy, natural glow.
- Better Product Absorption: After exfoliation, serums and moisturizers penetrate more effectively.
- Stress Relief: The ritual of massage, steam, and masking activates your parasympathetic nervous system, helping you relax.
- Customizable Treatment: You can choose ingredients and steps based on your skin type and concerns.
According to the American Academy of Dermatology, a consistent skincare routine that includes cleansing, moisturizing, and sun protection supports overall skin health and helps address concerns like acne, dryness, and signs of aging.
How Often Should You Do an At-Home Facial?
For most people, once a week is ideal. If you have sensitive skin, rosacea, or active acne, limit deep exfoliation or active-ingredient treatments to once every 10 to 14 days. Oily and combination skin types may tolerate weekly facials, while dry or mature skin may benefit most from gentle hydration-focused treatments every 7 to 10 days.
Quick Tip: Always do your at-home facial in the evening when your skin has time to recover overnight.
What You’ll Need for an At-Home Facial
Gather everything before you start. A little preparation makes the experience more relaxing and prevents you from rushing.
Basic Supplies
| Step | Product Type | Purpose |
|---|---|---|
| 1. Cleanse | Oil cleanser + water-based cleanser | Removes makeup, SPF, oil, and debris |
| 2. Exfoliate | Chemical exfoliant (AHA/BHA) or gentle scrub | Removes dead skin cells |
| 3. Steam | Warm towel or bowl of hot water | Opens pores and softens skin |
| 4. Mask | Clay, hydrating, or sheet mask | Treats specific skin concerns |
| 5. Treat | Serum (vitamin C, niacinamide, hyaluronic acid) | Delivers active ingredients |
| 6. Moisturize | Face cream or facial oil | Seals in hydration |
| 7. Protect | SPF (morning only) | Shields skin from UV damage |
Optional Tools
- Jade roller or gua sha stone: Enhances lymphatic drainage and reduces puffiness.
- Facial cleansing brush: Provides a deeper cleanse.
- LED face mask: Offers red or blue light therapy for anti-aging or acne.
- Tweezers: For safe, gentle blackhead removal after steaming - only if needed.
Step-by-Step: How to Do a Proper At-Home Facial
Follow these seven steps in order. Each one builds on the last, so don’t skip ahead.
Step 1: Cleanse Thoroughly
Start with clean, dry hands. Use an oil-based cleanser or micellar water to break down sunscreen and makeup. Follow with a gentle water-based cleanser suited to your skin type.
Massage the cleanser into your skin for 60 seconds using upward, circular motions. Rinse with lukewarm water and pat - don’t rub - your face dry with a clean towel.
Why it matters: Double cleansing removes both oil-based and water-based impurities, giving you a truly clean canvas.
Step 2: Exfoliate Gently
Exfoliation removes the top layer of dead skin cells so your treatment products can work better. Choose your exfoliant based on your skin type:
- Oily/acne-prone skin: Salicylic acid (BHA) penetrates pores and reduces congestion. If you’re dealing with breakouts, our guide to salicylic acid acne treatment explains how it works in detail.
- Dry or mature skin: Lactic acid or glycolic acid (AHAs) brighten and smooth without harsh scrubbing.
- Sensitive skin: Enzyme exfoliants from papaya or pineapple are gentler than acids.
Apply the exfoliant according to the product instructions. Avoid over-scrubbing, which can damage your skin barrier.
Warning: Do not use a physical scrub and a chemical exfoliant on the same day. Choose one method to avoid irritation.
Step 3: Steam Your Face
Steam softens the skin and makes blackheads easier to remove. Fill a bowl with hot - not boiling - water. Drape a towel over your head and lean over the bowl for 5 to 10 minutes.
If you’re prone to redness or rosacea, skip this step or use a warm, damp towel instead.
Alternative: A warm shower before your facial can replace this step entirely.
Step 4: Apply a Targeted Face Mask
Choose a mask that addresses your current skin concern:
| Skin Concern | Mask Type | Key Ingredients |
|---|---|---|
| Oily/congested | Clay mask | Kaolin, bentonite, charcoal |
| Dry/dehydrated | Cream or sheet mask | Hyaluronic acid, ceramides, squalane |
| Dull/un even tone | Brightening mask | Vitamin C, niacinamide, licorice root |
| Acne-prone | Purifying mask | Sulfur, tea tree oil, salicylic acid |
| Mature/fine lines | Firming mask | Peptides, retinol, collagen |
Apply an even layer and relax for 10 to 20 minutes. Rinse with lukewarm water or remove the sheet mask and gently pat in the excess essence.
For more ways to improve your complexion, check out our article on how to make your skin glow.
Step 5: Treat With Serum
While your skin is still slightly damp, apply a treatment serum. This is the step where you target specific concerns with active ingredients:
- Hydration: Hyaluronic acid serum
- Brightening: Vitamin C serum
- Calming redness: Niacinamide serum
- Anti-aging: Peptide or retinol serum
- Acne control: Salicylic acid or benzoyl peroxide treatment
Press the serum into your skin rather than rubbing aggressively.
Step 6: Massage Your Face
Facial massage is one of the most underrated parts of an at-home facial. It improves circulation, relieves tension, and reduces puffiness. Use your fingertips, a jade roller, or a gua sha stone.
Move in upward and outward strokes - never drag downward, which can contribute to sagging over time. Spend 3 to 5 minutes on this step.
Step 7: Moisturize and Protect
Finish with a moisturizer suited to your skin type. If your facial is at night, use a richer cream or facial oil. If it’s during the day, follow with a broad-spectrum sunscreen with SPF 30 or higher.
Sunscreen is non-negotiable after exfoliation because fresh skin is more sensitive to UV damage. The Skin Cancer Foundation recommends daily SPF 30 or higher for adequate protection.
At-Home Facial Routine by Skin Type
Not every skin type needs the same approach. Here’s how to customize your routine.
Oily or Acne-Prone Skin
Focus on deep cleansing and pore-clearing ingredients. Use a clay mask weekly and a salicylic acid exfoliant. Avoid heavy oils that can clog pores. If you need help managing breakouts, read our guide on how to get rid of pimples.
Dry or Dehydrated Skin
Skip harsh acids and choose hydrating, creamy products. Use a hyaluronic acid serum and a rich moisturizer or facial oil. Limit steaming to 5 minutes.
Sensitive Skin
Avoid fragrance, alcohol, and strong acids. Use enzyme exfoliants or skip exfoliation entirely. Patch-test new masks on your jawline first.
Mature Skin
Focus on hydration, peptides, and gentle exfoliation. Massage thoroughly to promote circulation and collagen support.
Combination Skin
Use a balancing approach. Apply a clay mask only to your T-zone and a hydrating mask to your cheeks. Alternate between AHA and BHA exfoliants depending on how your skin feels.
Common Mistakes to Avoid
Even a simple facial can backfire if you overdo it. Avoid these common errors:
- Over-exfoliating: More is not better. Stick to one exfoliation method per facial.
- Skipping sunscreen: Freshly exfoliated skin is more vulnerable to sun damage.
- Using too many active ingredients: Don’t mix strong retinoids, acids, and vitamin C in one session.
- Extracting aggressively: Picking at blackheads can cause scarring and infection.
- Leaving masks on too long: Dry clay masks can pull moisture from your skin.
- Using dirty tools: Always clean brushes, rollers, and gua sha stones before and after use.
- Neglecting your neck and chest: These areas show signs of aging too and deserve treatment.
Product and Ingredient Recommendations
You don’t need luxury products to see results. Look for these dermatologist-respected ingredients:
| Ingredient | Best For | How It Works |
|---|---|---|
| Hyaluronic acid | All skin types | Draws moisture into the skin |
| Niacinamide | Oily, acne-prone, sensitive | Reduces redness and regulates oil |
| Salicylic acid | Oily, acne-prone | Unclogs pores and exfoliates inside the follicle |
| Glycolic acid | Dull, mature skin | Removes dead cells and brightens tone |
| Vitamin C | Dull, uneven skin | Antioxidant that brightens and protects |
| Ceramides | Dry, sensitive skin | Restores the skin barrier |
| Retinol | Mature, acne-prone skin | Speeds cell turnover and smooths texture |
If your skin is recovering from acne marks, our article on home remedies for acne scars may also help.
Credible External Sources
Take your at-home facial to the next level with these pro tips:
- Start with a clean space. Wash your hands and use a fresh towel.
- Patch-test new products 24 hours before your facial.
- Use lukewarm water - hot water strips natural oils and causes redness.
- Layer products from thinnest to thickest. Serums go before creams.
- Don’t rush the massage. This is where the glow really happens.
- Hydrate from within. Drink water before and after your facial.
- Get enough sleep. Your skin repairs itself overnight.
For more simple self-care ideas, explore our beauty tips for face at home guide.
Conclusion
Learning how to do a proper at home facial is one of the best investments you can make in your skin. With the right products, a consistent routine, and a little patience, you can achieve a clearer, brighter, healthier complexion without ever leaving your bathroom.
Start with the basics, listen to your skin, and adjust your routine as your needs change. Whether you’re targeting dullness, congestion, dryness, or signs of aging, a weekly at-home facial gives your skin the attention it deserves.
Loved this guide? Share it with a friend, save it for your next self-care Sunday, and explore more of our skincare tips on FunkyMillions.
Frequently Asked Questions
Last updated
This article is for informational purposes only and does not constitute medical advice. Consult a licensed dermatologist or healthcare provider before starting any new treatment.
Beauty & Hair Care Editor
Ilma is a beauty editor who specializes in breaking down cosmetic ingredients, skincare routines, and hair care practices. Her work focuses on evidence-based guidance readers can trust and apply.
Comments (0)
Be the first to comment.
Related Articles
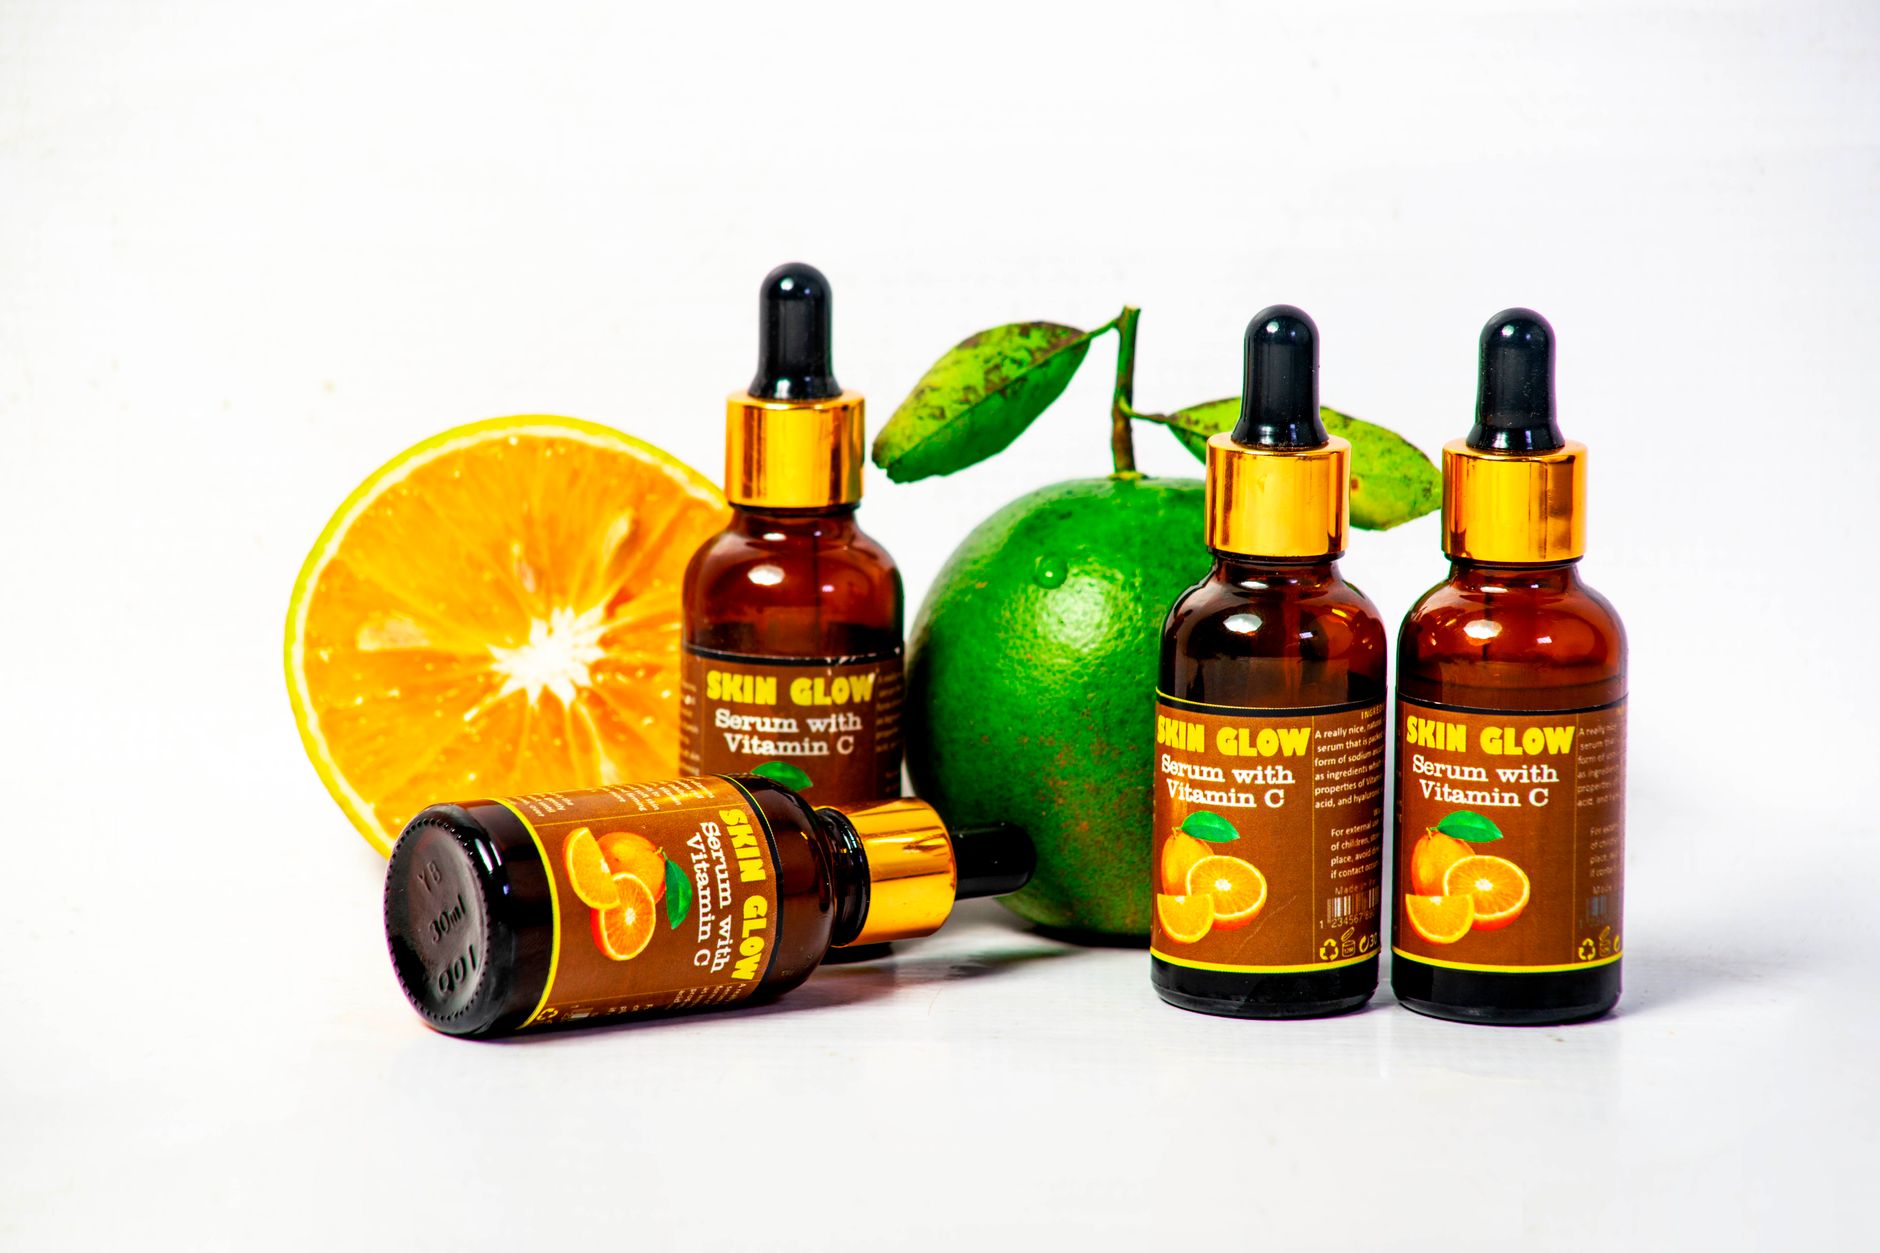
Vitamin C Serum for Beginners: Benefits and How to Use
Discover the best vitamin C serum for beginners, from key benefits and how to apply it to common mistakes and expert tips for brighter, healthier skin.
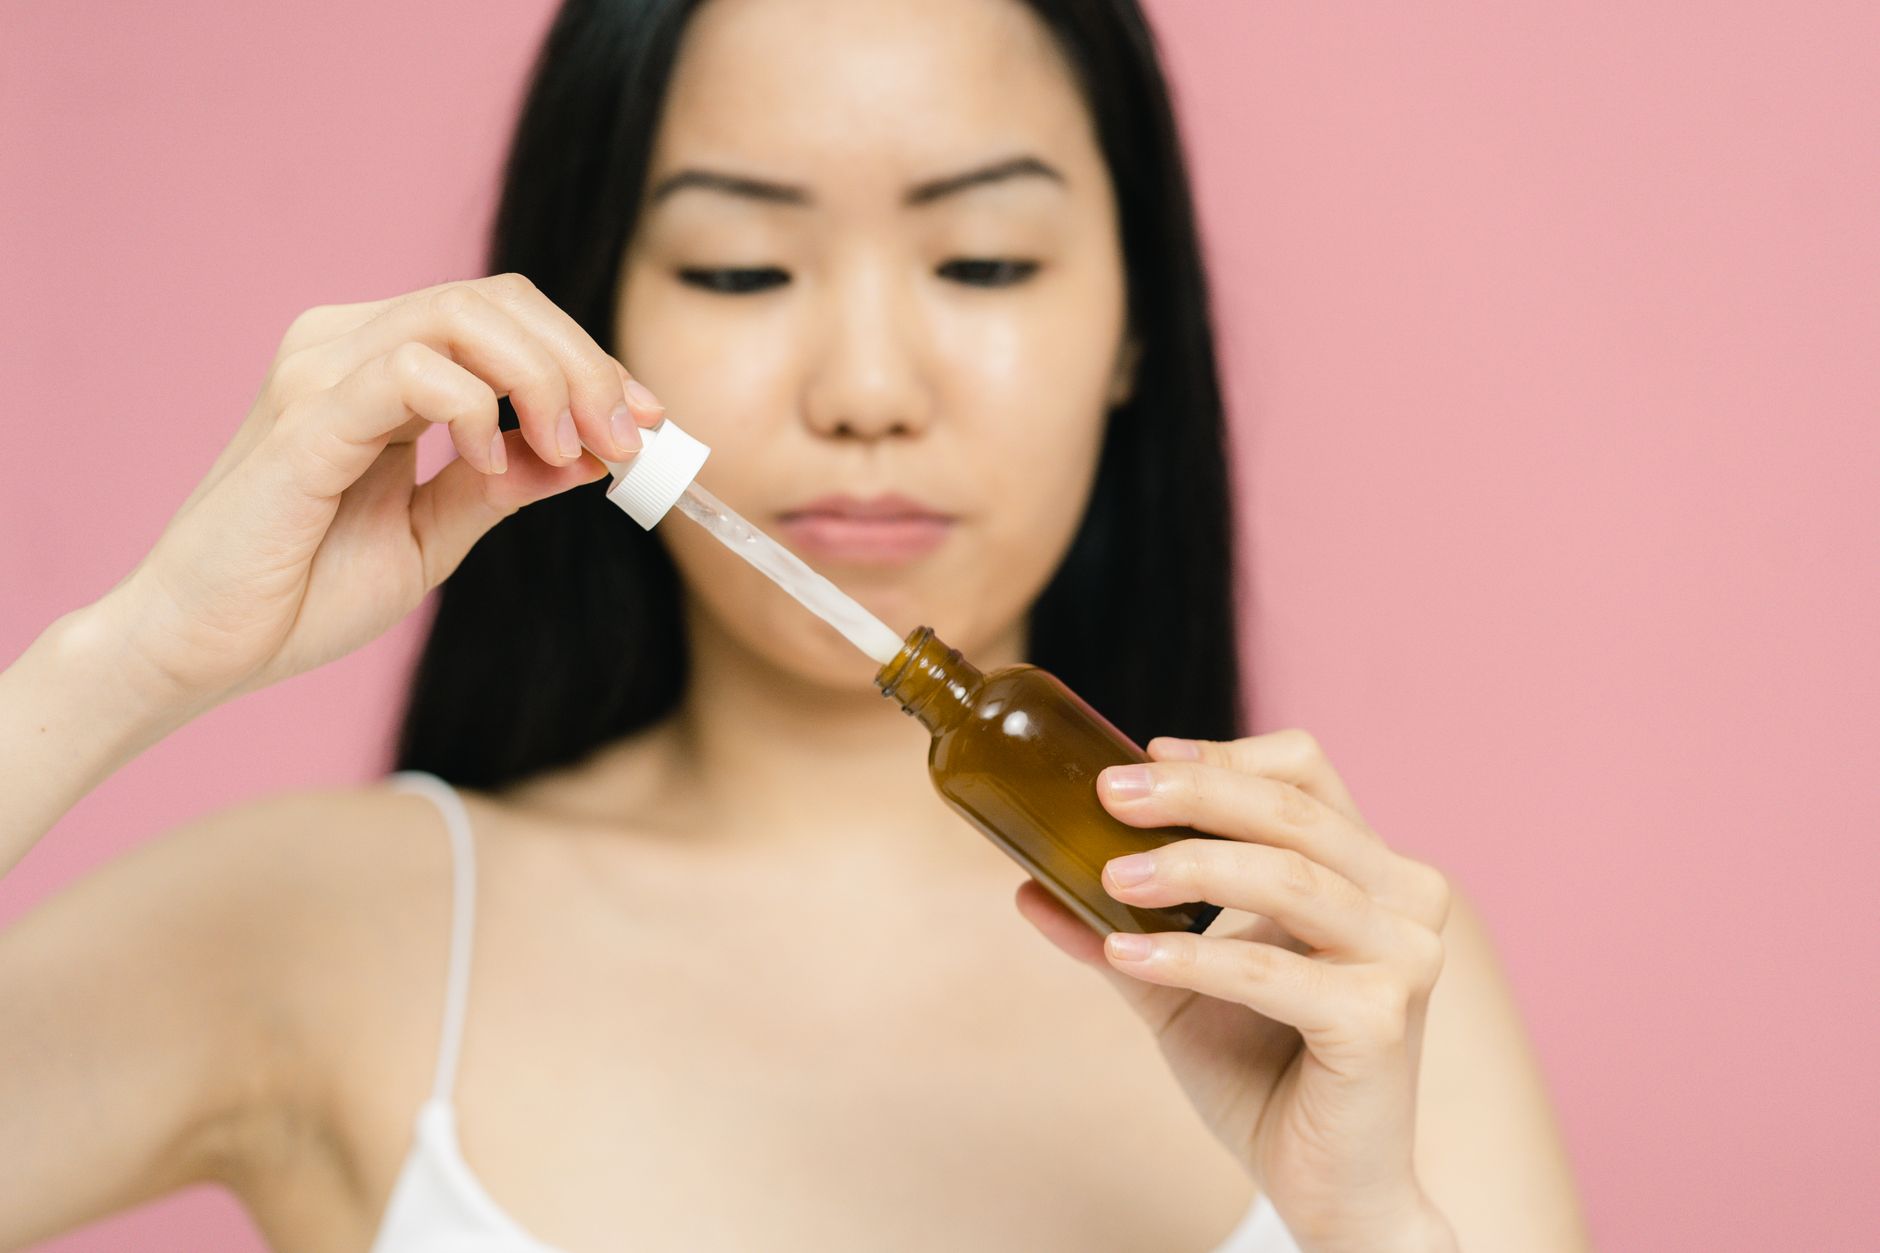
Glass Skin Routine: A Realistic Step-by-Step Guide
Master a realistic glass skin routine with this step-by-step guide. Discover the science, steps, ingredients, and expert tips for a dewy, luminous complexion.

How Hydration Affects Your Skin: A Complete Guide
Learn how hydration affects skin health, elasticity, and glow. Discover expert tips, routines, and product advice to keep your skin hydrated from the inside out.
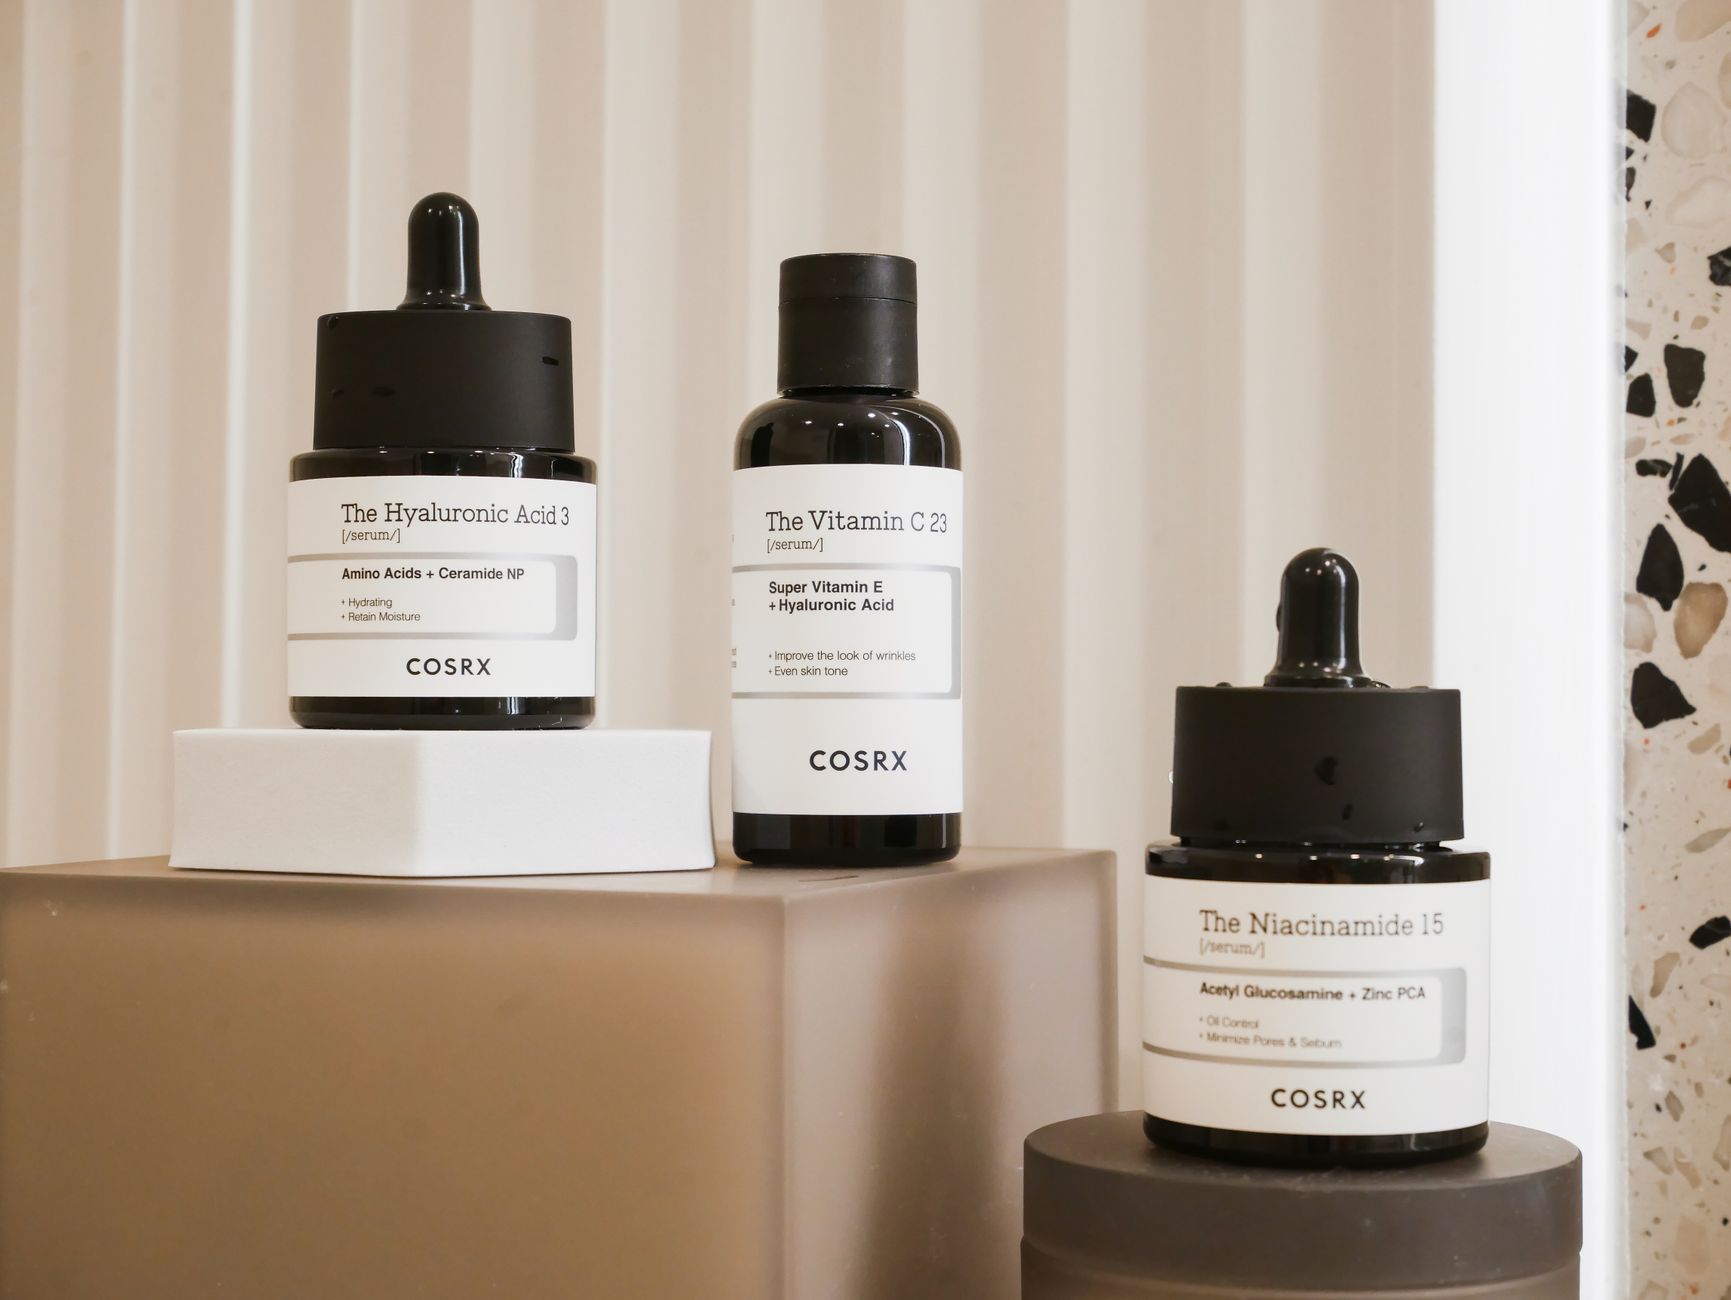
Vitamin C and Niacinamide: Can You Really Not Use Them Together?
Can you use vitamin C and niacinamide together? Learn what the science says about this popular skincare myth and how to layer them correctly.