 Funky Millions
What Is Baking in Makeup? A Step-by-Step Guide
Learn what baking in makeup means, how it sets your base for hours, and a complete step-by-step guide to doing it correctly.
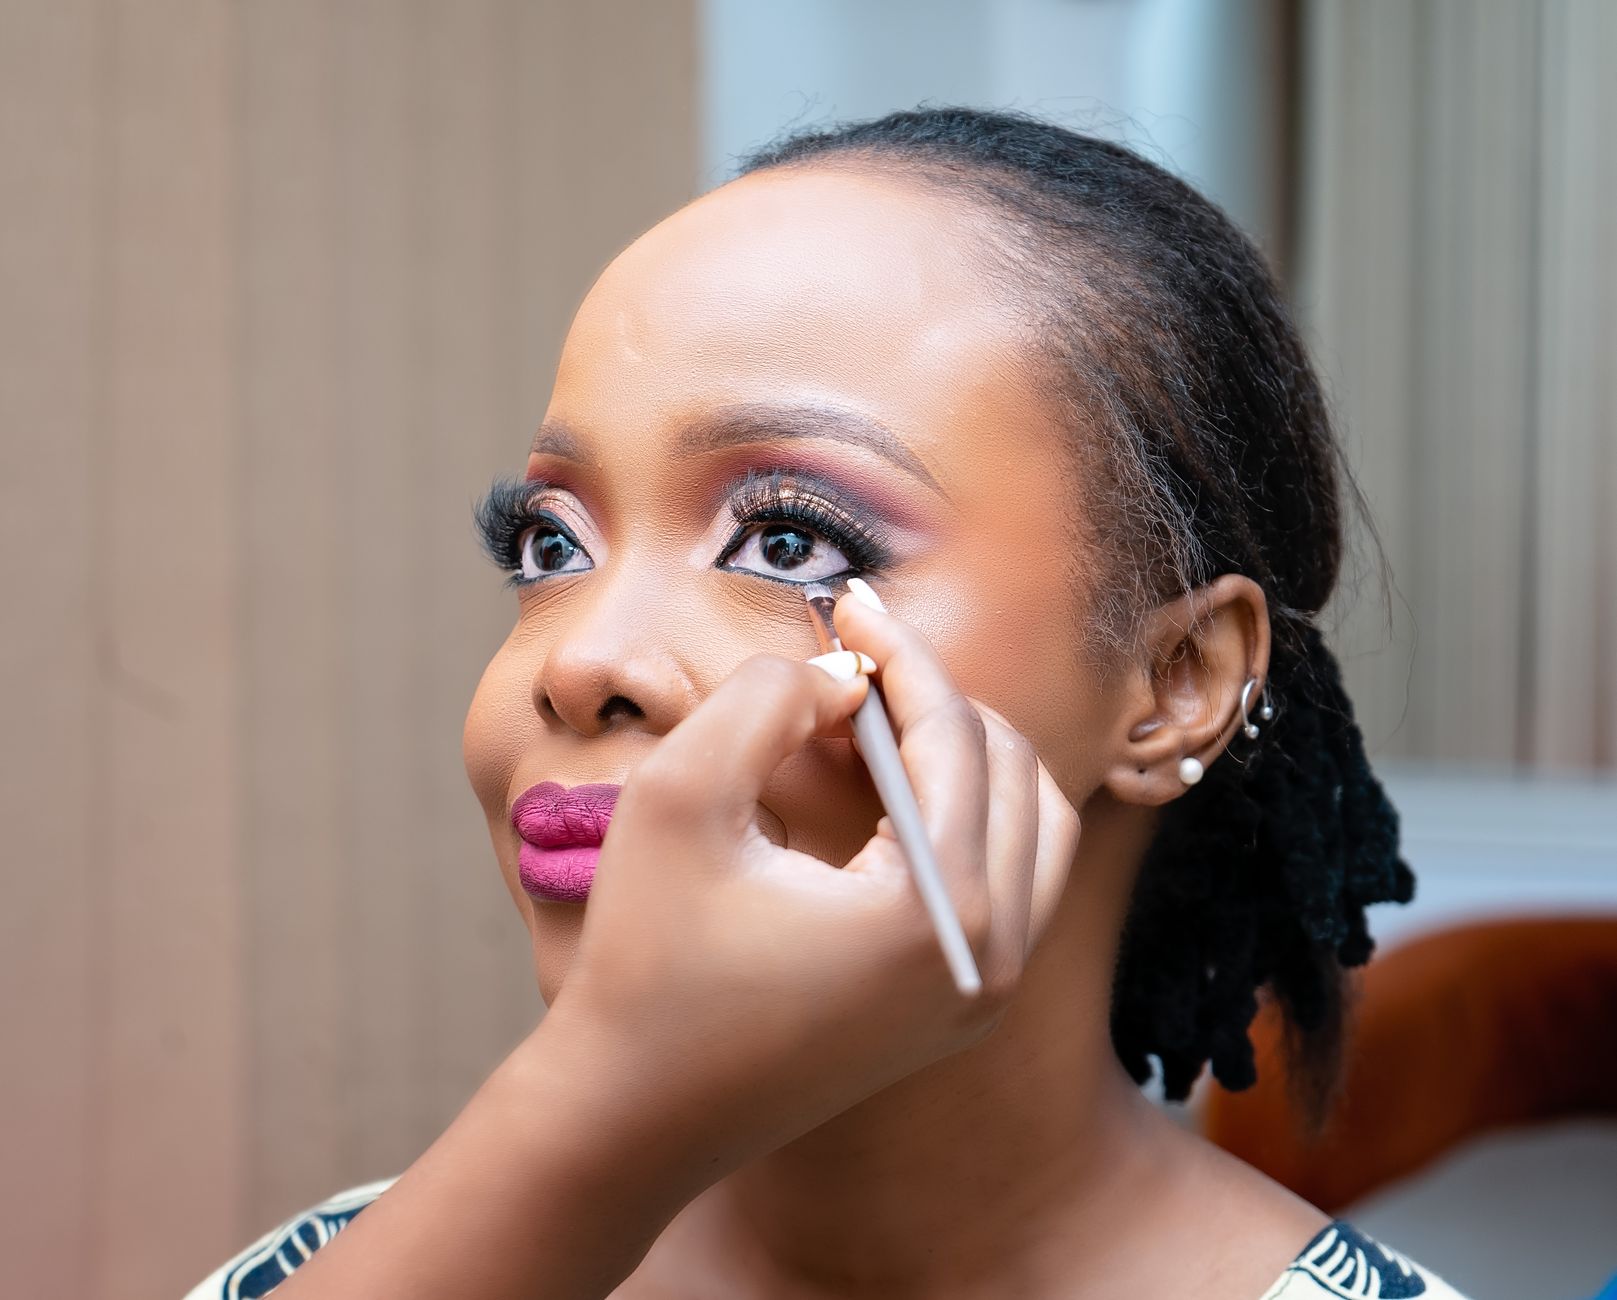
Quick summary
Key Takeaways
- Baking involves applying heavy powder to specific areas, allowing it to sit and set with the skin's natural heat and moisture, then dusting away the excess for an exceptionally smooth, long-lasting finish.
- The extended setting time is the key mechanism behind baking's effectiveness, allowing for more thorough oil and moisture absorption than standard powder application.
- Baking suits oily to normal skin wanting maximum, long-lasting coverage, while dry or mature skin, or those wanting minimal makeup, may want to skip or significantly modify the technique.
- The full baking process, including 5-10 minutes of sitting time, is what distinguishes this technique from standard, immediate powder setting.
- Baking and strobing represent opposite finishes, matte-set versus luminous-glowing, and are often combined strategically on different areas of the same face rather than being mutually exclusive, whole-face techniques.
- A 5-10 minute baking period, used productively to complete other parts of your makeup routine, balances effectiveness with practical time investment.
- Baking originated in drag and theatrical makeup as a practical solution for extreme, stage-light-and-sweat-resistant longevity, later adapted into a softer, more mainstream version for everyday and special-occasion beauty use.
- Baking's visible effect during the waiting period can differ by skin tone, with deeper skin tones sometimes experiencing a temporary ashy cast that resolves after dusting away excess powder, making powder formula choice particularly relevant for this skin tone range.
Baking is a makeup technique that gained massive popularity for its ability to create an exceptionally smooth, long-lasting base, particularly favored for photography and long events. This guide explains exactly what baking involves, why it works, and how to do it correctly without ending up with an overly cakey, unnatural finish.
What Is Baking in Makeup?
Baking involves applying a generous, targeted amount of loose translucent powder over concealer or foundation in specific areas, then allowing it to sit ("bake") on the skin for several minutes before dusting away the excess. The heat and moisture from your skin during this waiting period help the powder set more thoroughly into the product underneath, resulting in a smoother, longer-lasting, and more thoroughly "set" finish than standard, immediate powder application.
Why Baking Works
The extended sitting time allows the powder to absorb excess oil and moisture from the product underneath more completely than a quick, immediate powder application would achieve. This creates a more thoroughly set, crease-resistant base, particularly valuable in areas prone to creasing, like under the eyes, or areas needing extended coverage, like the T-zone.
Who Should Try Baking
- Those with oily to normal skin, who can tolerate the technique's mattifying effect without excessive dryness
- Anyone needing extended wear, such as for weddings, photography, or long events
- Those prone to under-eye concealer creasing, since baking specifically targets and prevents this common issue
- Makeup enthusiasts wanting maximum smoothness for a flawless, camera-ready finish
Who Should Avoid or Modify Baking
- Very dry skin types, who may find the technique emphasizes dryness or flaking rather than creating a smooth finish
- Mature skin prone to emphasizing fine lines with powder, which may find baking too heavy or aging in its full, traditional application
- Those wanting a natural, minimal makeup look, since baking is inherently a full-coverage, long-wear technique
- Anyone with limited time, given baking's several-minute setting requirement
What You Need for Baking
- Full coverage concealer and/or foundation as your base
- Loose, translucent setting powder (pressed powder does not work as well for this technique)
- A damp makeup sponge for pressing powder into place
- A fluffy powder brush for dusting away excess afterward
How to Bake Your Makeup: Step-by-Step
Step 1: Apply Your Base Makeup
Apply foundation and concealer as usual, ensuring adequate coverage in the areas you plan to bake.
Step 2: Apply a Generous Amount of Loose Powder
Using a damp sponge, press (rather than swipe) a generous, visible layer of loose translucent powder over the areas you want to set, commonly under the eyes, around the nose, and on the chin.
Step 3: Let It Sit
Allow the powder to sit undisturbed for 5 to 10 minutes while you complete other parts of your makeup routine, such as eyes or lips.
Step 4: Dust Away the Excess
Using a large, fluffy brush, dust away all the excess powder, revealing the smoother, more set base underneath.
Step 5: Continue Your Routine
Complete the rest of your makeup application, including blush, bronzer, and any final touches.
Baking vs. Strobing: Opposite Techniques, Same Toolkit
Baking is sometimes discussed alongside strobing, a technique focused on adding luminosity and glow rather than matte, set coverage, and understanding how these two approaches relate helps clarify when each is actually appropriate, since they represent nearly opposite aesthetic goals despite sometimes using overlapping tools.
Strobing emphasizes highlighting and radiance, using illuminating products on the high points of the face to create a lit-from-within glow, essentially the opposite visual effect of baking's matte, thoroughly set finish. Many makeup looks actually combine elements of both, baking specific areas prone to oiliness or creasing (like under the eyes or around the nose) while strobing other areas (like the cheekbones and brow bone) to create dimension, rather than treating the entire face uniformly with either technique alone.
Understanding this combination approach helps explain why a single face can successfully feature both matte, baked zones and luminous, strobed zones without looking inconsistent, since the goal in professional makeup application is often not uniform texture across the whole face, but strategic placement of different finishes to enhance the face's natural contours and minimize areas prone to specific issues like oiliness or creasing.
Where to Bake on the Face
| Area | Purpose |
|---|---|
| Under the eyes | Prevents concealer creasing, brightens |
| Around the nose | Prevents oil breakthrough and product sliding |
| Center of the forehead | Extended oil control for the T-zone |
| Chin | Prevents makeup sliding in this oil-prone area |
Baking the entire face is possible but generally reserved for those wanting maximum, all-over coverage and oil control, since it produces a more matte, heavier finish overall.
How Long to Let Makeup "Bake"
Five to ten minutes is generally sufficient for most people, though this can vary based on individual skin temperature and how much natural heat and moisture your skin generates. Using this waiting time productively, applying eye makeup or lip color, makes the technique feel less time-consuming than it might initially appear.
Comparison Table: Baking vs. Regular Powder Setting
| Feature | Baking | Regular Powder Setting |
|---|---|---|
| Powder amount | Generous, visible layer | Light, immediate dusting |
| Setting time | 5-10 minutes | Immediate |
| Longevity | Very long-lasting | Good, standard longevity |
| Best for | Extended wear, photography, oil control | Everyday makeup, quicker routines |
| Skin type suitability | Oily to normal | All skin types, adjustable |
The History and Origin of Baking
Baking is often associated with contemporary social media makeup trends, but its origins trace back considerably further, to drag and theatrical makeup traditions where extreme longevity and photograph-ready smoothness under stage lighting were essential, practical necessities rather than aesthetic choices.
In these performance contexts, makeup needed to withstand hours of wear under hot stage lights, heavy sweating, and close-up scrutiny from an audience, conditions far more demanding than typical everyday makeup application ever faces. Baking, along with related heavy-set techniques, developed as a practical solution to these specific demands, using generous amounts of powder and extended setting time to create a base that could genuinely hold up to these extreme conditions rather than simply looking good for a few hours.
The technique later crossed over into mainstream beauty content, becoming widely popularized through social media tutorials in the mid-2010s, at which point it was adapted and somewhat softened for everyday and special-occasion use rather than the extreme, performance-necessity application it originated from. Understanding this history helps explain why baking, in its full traditional form, can feel like "too much" for typical daily wear, it was originally engineered for conditions considerably more demanding than most people's everyday makeup needs actually require.
Common Mistakes to Avoid
Using Pressed Powder Instead of Loose Powder
Pressed powder does not provide the same generous, absorbent coverage needed for effective baking. Loose translucent powder is essential for this technique.
Not Waiting Long Enough
Dusting away the powder too soon, before the full 5-10 minute setting period, undermines the technique's core mechanism and reduces its effectiveness.
Baking the Entire Face on Dry Skin
This can lead to an overly matte, emphasized-texture finish that looks heavier than intended, particularly problematic for drier skin types.
Using Too Much Pressure When Dusting Away Excess
Aggressive brushing can disturb the makeup underneath rather than simply removing the excess powder on top.
Baking on Different Skin Tones
Baking's visual effect can differ noticeably depending on skin tone, and understanding these differences helps set more accurate expectations, particularly since much of the technique's most viral demonstration content historically featured lighter skin tones, where the technique's visible effect looks somewhat different than it does on deeper skin.
On lighter skin tones, baking with a standard translucent powder tends to create a visible, brightening effect in the baked areas, sometimes intentionally used to create a subtle highlighting or brightening contrast alongside the smoothing benefit. On deeper skin tones, the same translucent powder can sometimes create an ashy or gray cast during the baking process itself, an effect that typically resolves once the excess is properly dusted away, but can look alarming or off-putting during the actual waiting period if you are not expecting it, sometimes causing people to prematurely abandon the technique.
For deeper skin tones, some makeup artists recommend using a translucent powder specifically formulated to avoid flash-back and ashiness on deeper complexions, or alternatively, a very finely milled banana powder, which tends to blend more seamlessly and avoid the temporary gray cast some standard translucent powders can create during the baking process on deeper skin.
- Use loose, translucent powder specifically, not pressed powder, for effective baking.
- Press powder in with a damp sponge rather than swiping, which can disturb your base makeup underneath.
- Bake strategically, focusing on specific problem areas rather than the entire face, unless you specifically want a fully matte, heavy-coverage look.
- Use the waiting time productively by completing other parts of your makeup routine.
Conclusion
Baking is a genuinely effective technique for creating an exceptionally smooth, long-lasting makeup base, particularly valuable for oily to normal skin, extended wear situations, and photography. Understanding the correct process, generous loose powder application, adequate setting time, and thorough removal of excess, helps you achieve the technique's full benefit without ending up with an overly heavy or cakey result.
For more on extending your makeup's overall longevity, see our guide on setting powder vs. setting spray.
Category: Makeup
Tags: baking makeup, loose powder, makeup technique, long-wear makeup, concealer setting, makeup tutorial, oily skin makeup, full coverage makeup, makeup basics, photography makeup
Frequently Asked Questions
References
Last updated
This article is for informational purposes only and does not constitute medical advice. Consult a licensed dermatologist or healthcare provider before starting any new treatment.
Beauty & Hair Care Editor
Amanda Gurton is a beauty editor and researcher with a focus on translating dermatology and trichology insights into clear, actionable advice. She covers skincare routines, hair health, ingredient science, and everyday beauty habits.
Comments (0)
Be the first to comment.
Related Articles
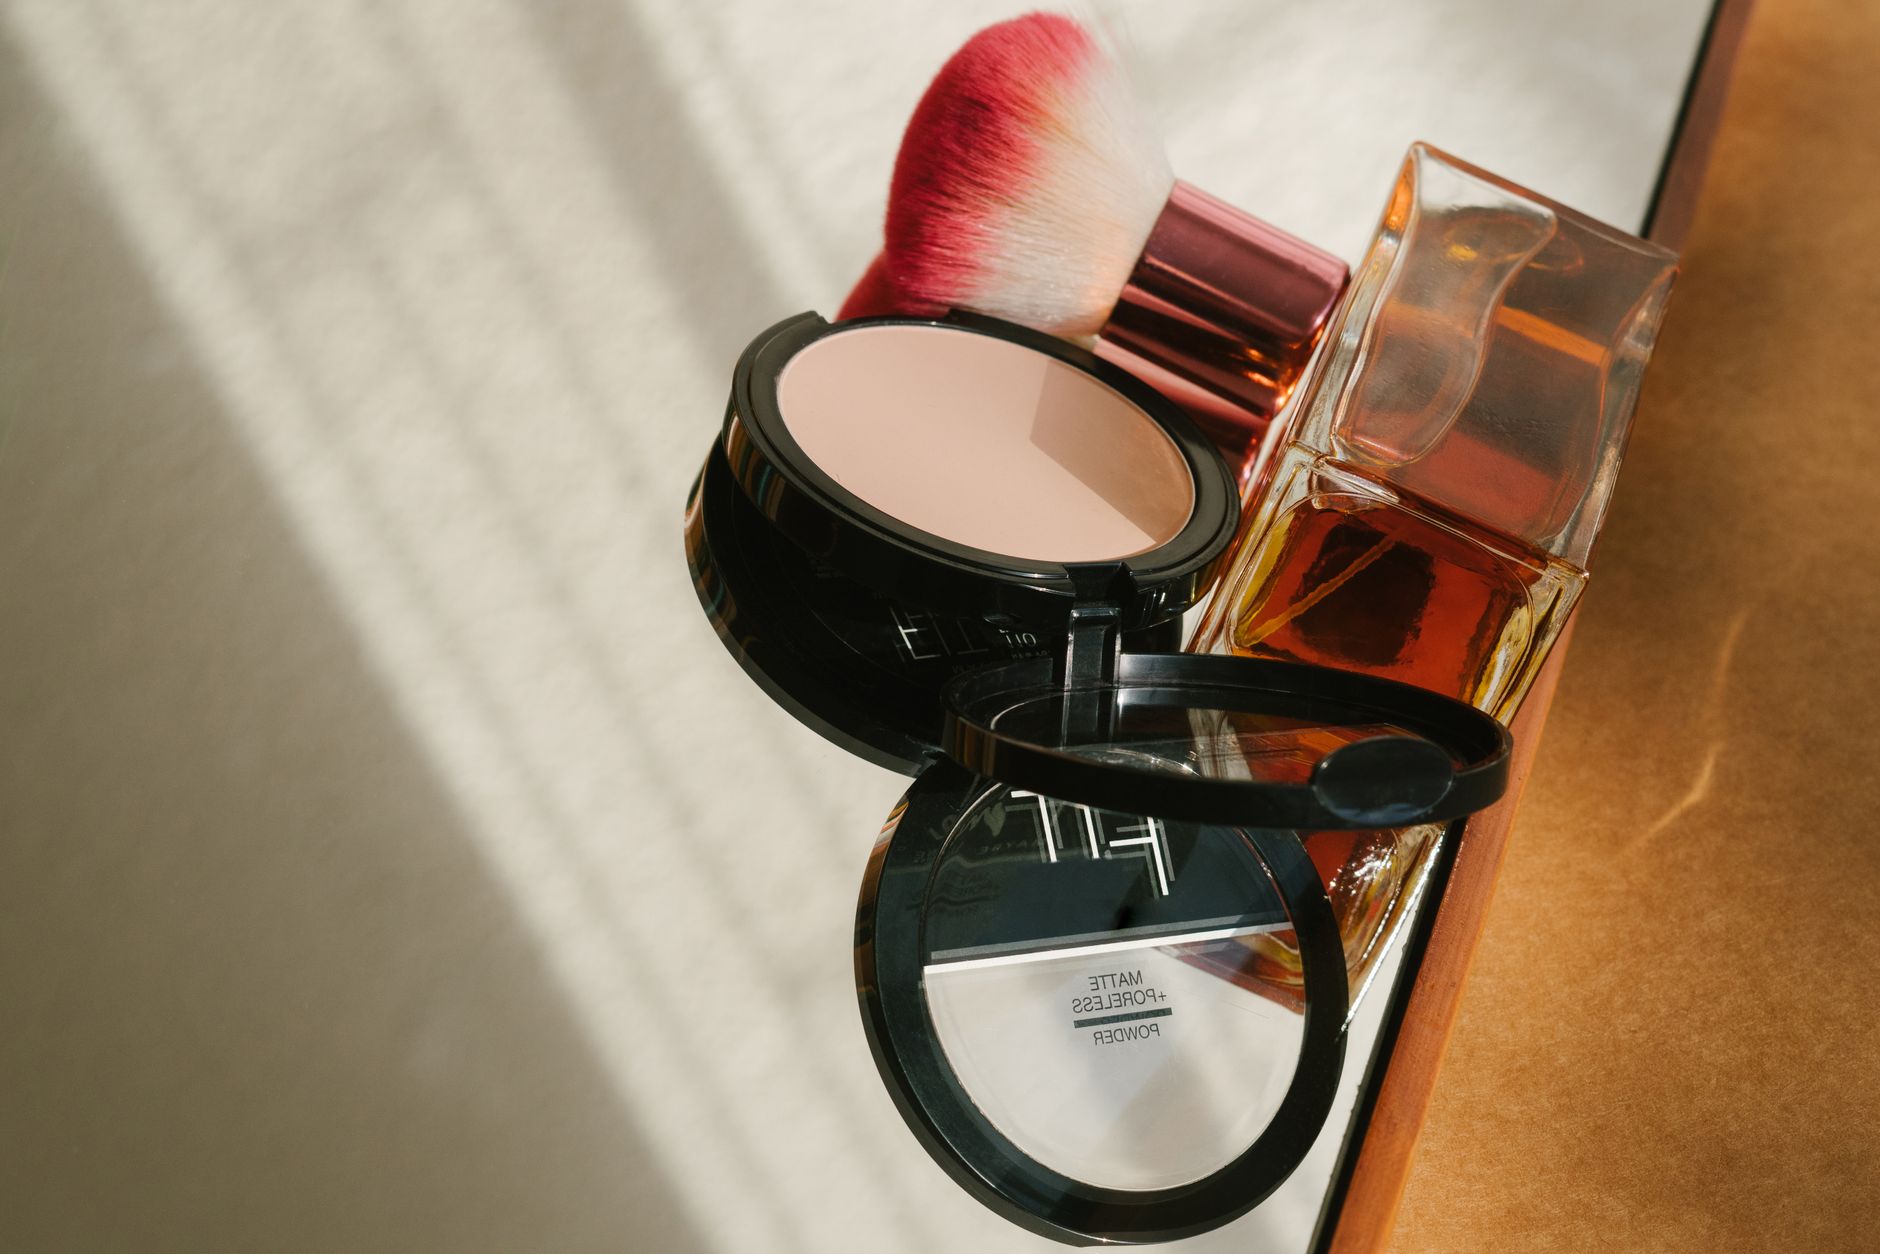
Setting Powder vs. Setting Spray: Do You Need Both?
Setting powder vs setting spray: learn the real differences, whether you need both, and how to layer them for makeup that lasts all day.
Do You Actually Need a Makeup Primer? What It Really Does
Learn what makeup primer actually does, whether you really need one, and how to choose the right primer for your skin type and concerns.
Best Makeup Techniques for Oily Skin That Actually Lasts
Learn the best makeup techniques, products, and application order for oily skin that actually stays fresh and shine-free all day.
Makeup Mistakes That Age Mature Skin (and What to Do Instead)
Discover common makeup mistakes that can age mature skin, from wrong product textures to outdated techniques, and learn what to do instead.