 Funky Millions
Best Makeup Brushes Every Beginner Needs
Discover the best makeup brushes beginners actually need. Learn which brush types to buy, how to use them, and how to keep them clean for flawless results.
Quick summary
Key Takeaways
- Beginners only need a small set of quality makeup brushes. Focus on versatility, soft bristles, and easy cleanup rather than buying every brush on the shelf.
- Makeup brushes are precision tools that control product placement, coverage, and blend. Clean brushes also help protect your skin from bacteria buildup.
- Good brushes improve application, reduce product waste, help you blend better, and support healthier skin when cleaned regularly.
- Start with seven to nine essential brushes: foundation, concealer, powder, blush, bronzer or contour, eyeshadow shader, blending brush, eyebrow tool, and lip brush.
- Apply makeup in thin layers, blend well, and use each brush for its intended purpose to avoid muddy or streaky results.
- Clean your brushes weekly, let them dry flat, and store them in a cool, dry place to extend their lifespan and protect your skin.
- Tap off excess product, blend thoroughly, use the right brush for each step, and clean your tools regularly.
- Start small, choose soft synthetic brushes for cream products, and prioritize secure construction over brand name or price.
- Beginner brush sets are convenient and cost-effective. Look for one that includes foundation, powder, blush, eyeshadow, blending, and brow brushes.
Introduction
Walking into the makeup aisle for the first time can feel overwhelming. There are fluffy brushes, angled brushes, tiny detail brushes, and sets with twenty pieces or more. If you are just starting out, you do not need all of them. The right best makeup brushes beginners collection is small, affordable, and versatile enough to create everyday looks without confusion.
Good brushes do more than make application easier. They help your products blend seamlessly, last longer on the skin, and look more natural. With the right tools, even a basic drugstore foundation or eyeshadow palette can look polished and professional. You also reduce the risk of streaky foundation, patchy blush, or muddy eyeshadow.
In this guide, you will learn exactly which brushes deserve a spot in your starter kit, what each one does, and how to use it. You will also find a simple step-by-step cleaning routine, common mistakes to avoid, and expert tips that make makeup application less intimidating. Whether you are building your first kit or upgrading from sponge-tip applicators, this article will help you choose confidently.
What Are Makeup Brushes and Why Do They Matter?
Makeup brushes are tools with soft bristles designed to apply, blend, and shape cosmetic products on the face and eyes. They come in different sizes, densities, and shapes because each design serves a specific purpose. Some move cream products evenly across the skin. Others deposit powder lightly or blend color into the crease of the eyelid.
For beginners, brushes matter because they control how much product goes where. A dense brush presses foundation into the skin for full coverage. A fluffy brush diffuses blush so it does not look harsh. A small shader brush places eyeshadow precisely without fallout. Using the wrong brush can waste product and make even expensive makeup look uneven.
The American Academy of Dermatology notes that makeup tools can harbor bacteria if not cleaned regularly, which may contribute to breakouts or skin irritation. Choosing easy-to-clean brushes and washing them weekly helps protect your skin while improving your makeup results.
Benefits of Using the Right Makeup Brushes
Investing in the right brushes from the start saves money, time, and frustration. You do not need a professional kit. You just need tools that match the products you use and the looks you want to create.
1. Smoother, More Natural Application
Quality brushes distribute product evenly across the skin. This prevents the streaks, blotches, and harsh lines that often happen when you use fingers or low-quality applicators.
2. Better Product Control
A well-made brush picks up the right amount of product and releases it gradually. This means less waste and fewer mistakes, which is especially helpful when you are learning.
3. More Blended, Professional Looks
Blending is the secret to polished makeup. Soft, properly shaped brushes make it easier to blend foundation, blush, bronzer, and eyeshadow so everything looks seamless.
4. Healthier Skin
Clean brushes reduce the transfer of oil, bacteria, and old product back onto your face. This matters if you are prone to acne or sensitivity.
5. Versatility
Many beginner brushes can do more than one job. A fluffy blending brush works for eyeshadow and concealer. A dense buffing brush can apply foundation, cream blush, or bronzer. Fewer tools means less clutter.
The Best Makeup Brushes Beginners Actually Need
You can create a full face of makeup with just seven to nine brushes. The list below covers the essentials and explains what each one does.
| Brush | Purpose | Best For |
|---|---|---|
| Foundation brush or damp sponge | Applying and blending liquid or cream foundation | Even, streak-free base coverage |
| Concealer brush | Patting concealer under eyes and over blemishes | Precise spot coverage |
| Powder brush | Setting makeup with loose or pressed powder | Lightweight, all-over setting |
| Blush brush | Applying powder or cream blush to cheeks | Soft, buildable color |
| Bronzer or contour brush | Adding warmth or sculpting cheeks | Blended contour and bronzer |
| Eyeshadow shader brush | Packing color onto the eyelid | Bold lid color and shimmer |
| Eyeshadow blending brush | Softening edges and blending transitions | Seamless eye looks |
| Eyebrow brush or spoolie | Filling brows and brushing hairs into place | Defined, natural brows |
| Lip brush | Applying lipstick or gloss with precision | Clean edges and layering color |
Foundation Brush or Damp Sponge
A flat-top kabuki brush or a rounded foundation brush is ideal for beginners. Dense synthetic bristles blend liquid and cream foundations without absorbing too much product. Some people prefer a damp makeup sponge for a dewier finish. Either tool works well, but a brush gives you more control and lasts longer with proper care.
Concealer Brush
A small, flat concealer brush lets you pat product exactly where you need it. Use it under the eyes, around the nose, and on blemishes. Patting motions prevent the product from sliding off and give fuller coverage than swiping.
Powder Brush
A large, fluffy powder brush sets your makeup without making it look cakey. Choose one with soft, flexible bristles that sweep powder across the face in light layers.
Blush Brush
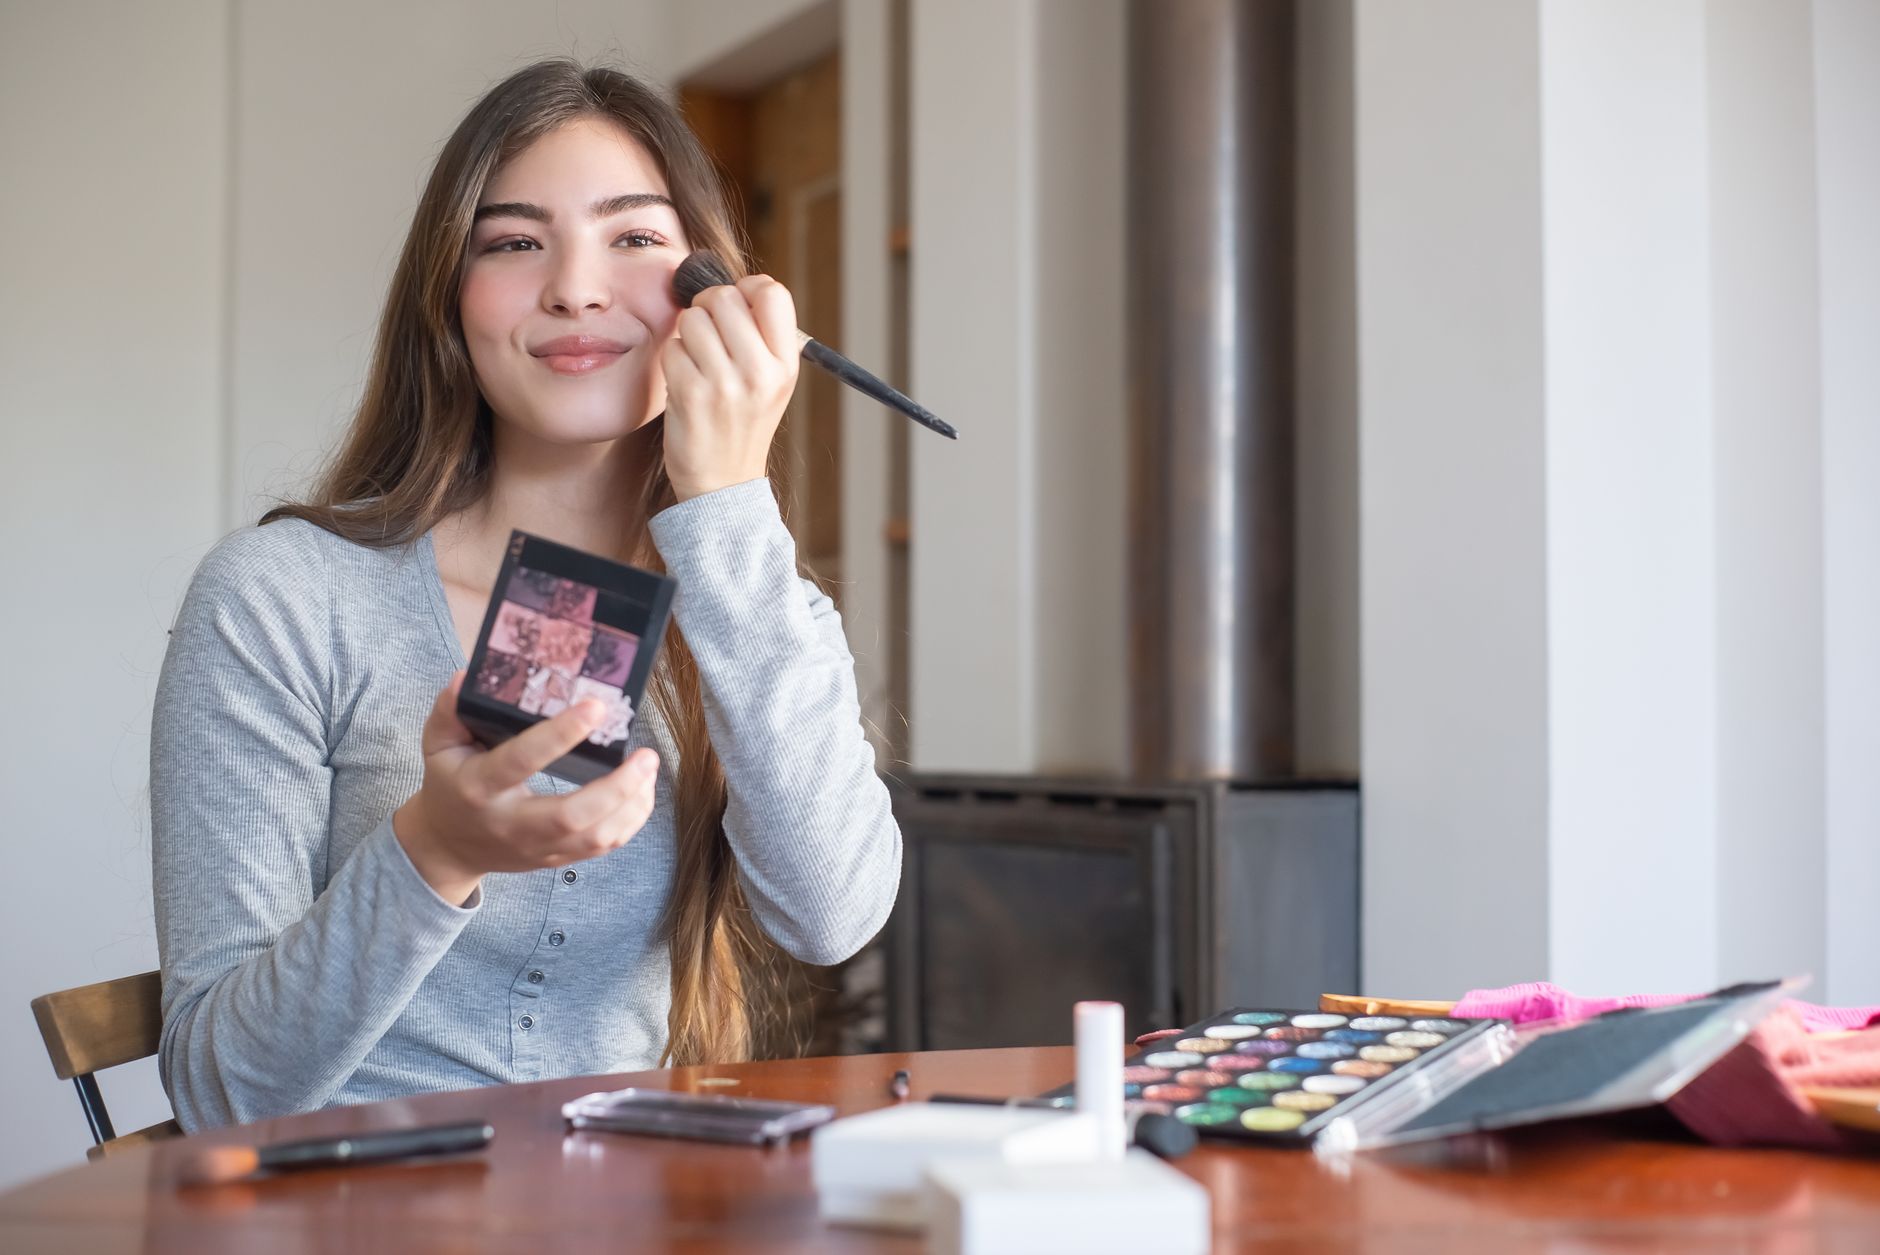
A medium-sized fluffy brush with a slightly rounded shape fits the apples of the cheeks perfectly. It applies blush gradually, so you can build color without overdoing it.
Bronzer or Contour Brush
An angled brush works well for both bronzer and contour. The slanted shape follows the natural hollows of the cheeks and jawline. Use light strokes and blend well for a natural sculpted look.
Eyeshadow Shader Brush
A flat, short-bristled shader brush picks up pressed eyeshadow and deposits it onto the lid with minimal fallout. It is the best tool for packing on lid color or applying shimmer shades.
Eyeshadow Blending Brush
A fluffy, dome-shaped blending brush softens harsh lines between colors. It is essential for creating smooth transitions in the crease and along the outer corner of the eye.
Eyebrow Brush or Spoolie
A dual-ended brow brush with an angled tip on one side and a spoolie on the other makes brow grooming simple. Use the spoolie to brush hairs upward, then fill sparse areas with short, hairlike strokes.
Lip Brush
A small, firm lip brush gives you control over lipstick application. It helps create clean edges and build opacity in thin layers.
How to Use Each Makeup Brush Step by Step
Once you have your brushes, technique is what makes the difference. Follow these steps for a clean, blended everyday look.
Step 1: Prep Your Skin
Start with clean, moisturized skin. A smooth base helps foundation glide on evenly. If you use primer, apply it with clean fingertips and let it set for a minute before picking up a brush.
Step 2: Apply Foundation
Dot foundation on your forehead, cheeks, nose, and chin. Use a foundation brush or damp sponge to blend outward in circular or stippling motions. Pay attention to the jawline and hairline so there are no visible lines.
Step 3: Apply Concealer
Use a concealer brush to pat concealer under the eyes, around the nose, and on any blemishes. Blend the edges with the brush or a damp sponge. Do not rub, or you will move the product around.
Step 4: Set With Powder
Dip a powder brush into loose or pressed powder, tap off the excess, and sweep lightly across the face. Focus on areas that tend to get oily, such as the T-zone.
Step 5: Add Blush
Smile to find the apples of your cheeks. Swirl a blush brush in your blush, tap off excess, and apply in soft circles moving slightly upward toward the temple. Build color gradually.
Step 6: Add Bronzer or Contour
Use an angled bronzer brush to apply product to the hollows of the cheeks, temples, and jawline. Blend in circular motions so there are no harsh lines.
Step 7: Apply Eyeshadow
Pack lid color onto the eyelid with a shader brush. Then use a blending brush to sweep a slightly darker shade into the crease and outer corner. Blend back and forth in windshield-wiper motions until the edges look soft.
Step 8: Define Brows
Brush brows upward with a spoolie. Fill in sparse areas with short strokes using an angled brow brush. Brush through again to soften the look.
Step 9: Apply Lip Color
Use a lip brush to outline and fill in the lips with lipstick or gloss. Work from the center outward for even coverage.
How to Clean and Store Your Makeup Brushes
Dirty brushes can lead to breakouts, irritation, and patchy application. A simple cleaning routine keeps your tools and your skin in good condition.
Daily Maintenance
After each use, gently wipe brushes on a clean tissue or microfiber cloth to remove excess product. This prevents color transfer and keeps bristles soft.
Weekly Deep Clean
Once a week, wash brushes with a gentle brush cleanser or mild baby shampoo. Follow these steps:
- Wet the bristles under lukewarm water, pointing downward.
- Apply a small amount of cleanser to the bristles.
- Gently swirl the brush in your palm or on a brush cleaning mat.
- Rinse until the water runs clear.
- Squeeze out excess water gently with a towel.
- Reshape the bristles and lay the brush flat to dry.
Avoid standing brushes upright to dry. Water can seep into the ferrule and loosen the glue over time.
Storage Tips
Store clean brushes upright in a cup or brush holder, or lay them flat in a drawer organizer. Keep them away from humid bathrooms if possible. Direct sunlight and heat can damage bristles and handles.
Common Beginner Makeup Brush Mistakes to Avoid
Even with good brushes, small habits can lead to disappointing results. Here are the most common mistakes beginners make and how to fix them.
Using Too Much Product
Dipping a brush straight into product without tapping off excess leads to heavy, uneven application. Always tap off extra powder before applying.
Skipping Blending
Harsh lines are one of the biggest giveaways of beginner makeup. Take time to blend foundation edges, blush, bronzer, and eyeshadow until everything looks seamless.
Using the Same Brush for Every Step
One brush cannot do everything. Using a foundation brush for powder can make your face look cakey. Using a fluffy powder brush for eyeshadow can deposit too much color.
Not Cleaning Brushes Often Enough
Old product, oil, and bacteria build up quickly. If your skin is breaking out or your makeup looks patchy, dirty brushes may be the cause.
Storing Brushes Bristle-Down While Wet
Waterlogged bristles and loose ferrules are common when brushes dry upside down. Always dry brushes flat or angled with bristles hanging over a counter edge.
Recommended Makeup Brush Sets for Beginners
If you prefer to buy a set rather than individual brushes, look for one that includes the essentials listed earlier. Here are a few reliable types of beginner-friendly sets to consider.
Budget-Friendly Synthetic Sets
Many drugstore and online brands offer ten-piece synthetic sets for under twenty dollars. These are great for learning because they are soft, easy to clean, and cruelty-free.
Mid-Range Professional Starter Sets
Sets in the thirty- to fifty-dollar range often include better construction, more durable ferrules, and more varied brush shapes. These are a smart investment if you wear makeup regularly.
Travel or Mini Sets
Compact brush sets are perfect for beginners who want to test tools without committing to a full collection. They are also convenient for gym bags, travel, or small bathrooms.
When choosing a set, make sure it includes at minimum a foundation brush, powder brush, blush brush, eyeshadow shader, blending brush, and brow tool. Avoid sets filled with brushes you cannot identify, since those are often unnecessary.
Tags
makeup brushes, beginner makeup tools, makeup brush guide, makeup application tips, how to use makeup brushes, clean makeup brushes, starter makeup kit, makeup for beginners
Categories
- Makeup
- Beauty Tips & Tricks
These practical tips will help you build a beginner brush collection without overspending.
- Choose synthetic bristles for creams and liquids. Synthetic fibers do not absorb as much product as natural bristles, making them ideal for foundation, concealer, and cream blush.
- Choose natural bristles for powders if preferred. Natural hair brushes can pick up and deposit powder products beautifully, though many modern synthetic options perform just as well.
- Buy a small set first. A five- to ten-piece set usually covers the basics and costs less than buying individual brushes.
- Feel the bristles before buying. Soft, flexible bristles should not feel scratchy or shed excessively when tugged gently.
- Look for secure ferrules. The metal band that connects the bristles to the handle should feel tight and secure.
- Start with drugstore or mid-range brands. You do not need luxury brushes to get good results. Many affordable brands offer excellent quality for beginners.
- Replace brushes that shed or smell. A brush that loses bristles constantly or develops a mildew smell should be replaced.
Conclusion
Building your first makeup brush collection does not have to be expensive or complicated. The best makeup brushes beginners need are the ones that feel comfortable, apply product evenly, and are easy to clean. Start with the essentials, practice your technique, and add specialty brushes only when you need them.
Remember that great makeup starts with good skin. Clean brushes, a consistent skincare routine, and a little patience will take you further than any fancy tool ever could. For more ways to look and feel your best, explore our guides on beauty tips without makeup, how to make your skin glow, and beauty tips for women. If you want simple at-home skincare ideas, our beauty tips for face at home article is a great next read.
Did this guide help you choose your first brushes? Share it with a friend who is starting their makeup journey, or leave a comment with your favorite beginner brush.
Frequently Asked Questions
References
Last updated
This article is for informational purposes only and does not constitute medical advice. Consult a licensed dermatologist or healthcare provider before starting any new treatment.
Beauty & Hair Care Editor
Ilma is a beauty editor who specializes in breaking down cosmetic ingredients, skincare routines, and hair care practices. Her work focuses on evidence-based guidance readers can trust and apply.
Comments (0)
Be the first to comment.
Related Articles
Setting Powder vs. Setting Spray: Do You Need Both?
Setting powder vs setting spray: learn the real differences, whether you need both, and how to layer them for makeup that lasts all day.

Bare-Minimum Makeup: The Ultra-Minimal "No-Makeup" Technique
Master the ultra-minimal, bare-skin version of the no-makeup look, with fewer products than a standard natural makeup routine, seasonal adjustments, and skin-concern fixes.
Makeup Mistakes That Age Mature Skin (and What to Do Instead)
Discover common makeup mistakes that can age mature skin, from wrong product textures to outdated techniques, and learn what to do instead.
Do You Actually Need a Makeup Primer? What It Really Does
Learn what makeup primer actually does, whether you really need one, and how to choose the right primer for your skin type and concerns.