 Funky Millions
Natural Makeup Look Tutorial: A Step-by-Step Guide
Master the perfect natural makeup look tutorial with easy steps, expert tips, and product advice. Achieve a fresh, radiant finish that enhances your features effortlessly.
Quick summary
Key Takeaways
- Natural makeup is about enhancement, not concealment. Think "lit from within" rather than "made up."
- You do not need expensive products. Focus on formulas that blend well and match your skin tone closely.
- Blend, blend, blend. The secret to a believable natural makeup look is seamless edges and sheer layers.
- Less is more. Start with minimal product and build only where needed.
Introduction
A natural makeup look tutorial is one of the most searched beauty topics-and for good reason. Whether you are heading to the office, meeting friends for brunch, or simply want to look polished without appearing overdone, the "no-makeup makeup" style is timeless, flattering, and achievable on any skill level.
In this guide, you will learn how to create a fresh, skin-like complexion, softly define your eyes and brows, add a healthy flush of color, and finish with a natural-looking lip. The goal is not to hide your face but to enhance your best features while letting your real skin show through. By the end of this natural makeup look tutorial, you will have a simple routine you can complete in under 20 minutes.
Natural makeup also supports healthier skin habits. When done correctly, it uses lightweight, breathable products that do not clog pores or emphasize texture. If your skin is already in good condition, the look becomes even easier to achieve. For readers who want to improve their base first, our post on how to make your skin glow offers practical tips.
What Is a Natural Makeup Look?
A natural makeup look is a cosmetic technique designed to enhance your facial features while creating the illusion of little to no product on the skin. It focuses on:
- Even, breathable skin coverage
- Soft, diffused color on cheeks and lips
- Natural brow shaping
- Subtle eye definition
- A healthy, dewy or satin finish
Unlike full glam or dramatic makeup, this style uses neutral tones, sheer textures, and blending as the key technique. The result is a polished appearance that looks like a better version of yourself.
Why Choose a Natural Makeup Look?
There are several benefits to mastering a natural makeup routine:
- Quick and easy - Most looks take 10 to 20 minutes once you know the steps.
- Versatile - Suitable for work, school, casual events, and video calls.
- Skin-friendly - Uses lighter products that are less likely to cause breakouts.
- Age-inclusive - Works beautifully on teens, professionals, and mature skin.
- Confidence-boosting - Enhances your features without masking your identity.
A well-prepped face also reduces the amount of product you need. If you are dealing with dryness, starting with the right skincare can help. Read our guide on beauty tips for face at home for simple remedies that support a smooth base.
What You Will Need
Before starting, gather the following tools and products:
| Category | Recommended Products |
|---|---|
| Primer | Hydrating primer, silicone-free formula |
| Foundation or Tinted Moisturizer | Lightweight, skin-like finish, matched to undertone |
| Concealer | Creamy, medium coverage for under eyes and blemishes |
| Bronzer or Contour | Matte, warm-neutral shade |
| Blush | Cream or powder in peach, rose, or soft pink |
| Highlighter | Cream or liquid for a subtle glow |
| Brow Product | Pencil, gel, or powder matching your brow color |
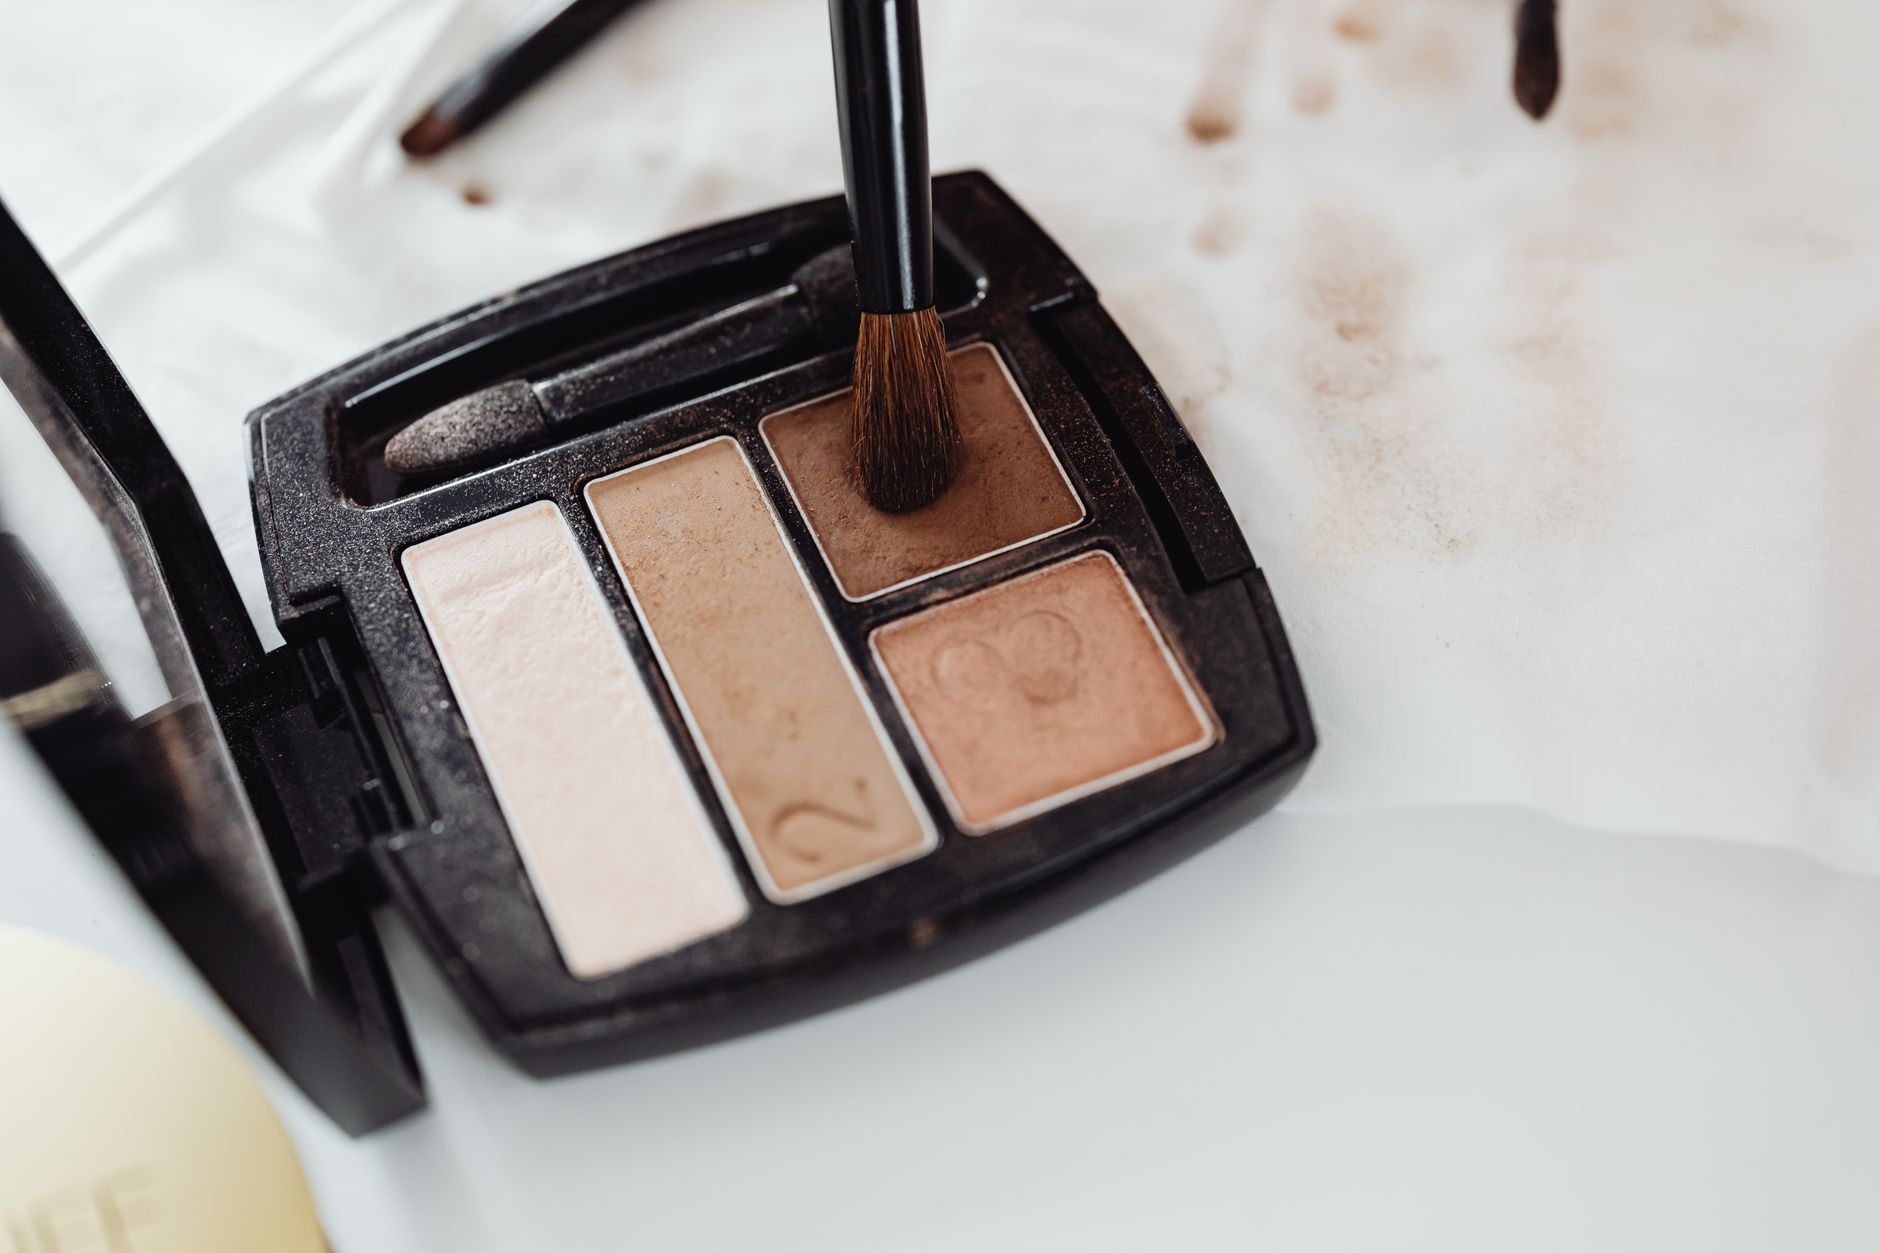
| Eye Shadow | Neutral matte palette (beige, taupe, soft brown) |
| Mascara | Brown or black-brown for definition |
| Lip Product | Tinted balm, nude lipstick, or lip gloss |
| Tools | Beauty sponge, fluffy brushes, angled brow brush |
Step-by-Step Natural Makeup Look Tutorial
Step 1: Prep Your Skin
Great makeup begins with great skincare. Start with a gentle cleanser, a lightweight moisturizer, and sunscreen if you are applying makeup during the day. Let each layer absorb for one to two minutes before moving on.
If your lips feel dry, apply a lip balm now so it has time to soften the skin. Our guide on how to get rid of dry lips explains how to keep your lips smooth year-round.
Step 2: Apply a Hydrating Primer
A hydrating primer smooths the skin and helps makeup last longer. Use a pea-sized amount and press it into the skin with your fingertips. Focus on areas where makeup tends to fade, such as the T-zone and around the nose.
Avoid heavy, pore-filling primers unless you have very oily skin. For a natural look, a dewy or satin primer gives the best base.
Step 3: Use a Lightweight Base
Choose a tinted moisturizer, BB cream, or sheer foundation. Apply a small amount to the back of your hand, then use a damp beauty sponge or foundation brush to blend it outward from the center of your face.
The aim is to even out your skin tone, not to create a mask. If you need more coverage in certain areas, use concealer next instead of adding more foundation.
Step 4: Conceal Selectively
Apply concealer only where needed:
- Under the eyes to brighten darkness
- Around the nose to reduce redness
- On blemishes or discoloration
Use a small brush or your fingertip to pat the product into place. Set lightly with a translucent powder only on areas that tend to crease or become shiny.
Step 5: Add Warmth With Bronzer
A small amount of matte bronzer adds dimension and warmth. Sweep it lightly across the temples, under the cheekbones, and along the jawline. Keep the application soft and build gradually.
For fair skin, choose a shade only one to two tones deeper than your natural complexion. For deeper skin, a richer bronzer with a neutral undertone works best.
Step 6: Apply a Natural Flush
Cream blush often looks the most skin-like, but powder blush also works well. Smile and apply the color to the apples of your cheeks, blending upward toward the temples.
Popular natural shades include:
- Soft peach for warm undertones
- Dusty rose for cool undertones
- Muted coral for neutral undertones
Blend until there are no harsh edges. The blush should look like a natural flush, not a stripe of color.
Step 7: Add a Subtle Highlight
Highlighter brings light to the high points of the face. Apply a tiny amount to:
- The tops of the cheekbones
- The bridge of the nose
- The brow bone
- The cupid's bow
Cream or liquid highlighters blend more naturally than chunky glitter powders. Choose a shade that matches your skin tone, such as champagne for light skin or gold for deeper skin.
Step 8: Groom and Fill Your Brows
Well-groomed brows frame the face. Brush your brows upward with a spoolie, then fill in sparse areas with short, hair-like strokes. Use a brow gel to set them in place.
Avoid making your brows too dark or sharply outlined. A soft, feathery brow looks more natural and youthful.
Step 9: Define Your Eyes Softly
For a natural eye look, use a matte beige or taupe shadow across the lid. Add a slightly deeper brown to the crease and outer corner to create gentle depth.
Then, apply a thin line of brown or black-brown eyeliner close to the upper lash line, if desired. Finish with one to two coats of mascara on the upper lashes only. You can skip mascara on the lower lashes for an even softer effect.
Step 10: Finish With a Natural Lip
For the lips, choose a tinted balm, nude lipstick, or soft gloss in a shade close to your natural lip color. Blot with a tissue if the color looks too intense.
A "my lips but better" shade enhances your mouth without drawing too much attention. You can also dab a small amount of leftover blush on your lips for a coordinated look.
Step 11: Set Your Makeup
Use a setting spray to melt the layers together and remove any powdery finish. If you have oily skin, you can lightly dust a translucent powder over the T-zone first.
Setting spray helps the makeup last longer while maintaining a natural, skin-like appearance.
Common Mistakes to Avoid
Even with the right products, a few common mistakes can ruin a natural makeup look:
- Using the wrong foundation shade - Always match to your jawline and check in natural light.
- Applying too much powder - Excess powder can make skin look dry and cakey.
- Skipping skincare prep - Makeup sits better on hydrated, smooth skin.
- Overfilling brows - Harsh brows overpower the rest of the face.
- Using too much highlighter - A natural glow is subtle; avoid glitter or metallic stripes.
- Ignoring undertones - Choose blush, bronzer, and lip colors that complement your skin's undertone.
If you are prone to breakouts, make sure your brushes and sponges are clean. For acne-prone skin, our article on salicylic acid acne treatment explains how this ingredient can help keep skin clearer under makeup.
Product Recommendations by Skin Type
| Skin Type | Base Product Type | Finish | Blush Type |
|---|---|---|---|
| Dry | Tinted moisturizer or hydrating foundation | Dewy or satin | Cream blush |
| Oily | Oil-free foundation or BB cream | Natural matte | Powder blush |
| Combination | Lightweight liquid foundation | Satin | Cream-to-powder blush |
| Sensitive | Fragrance-free, mineral-based | Natural | Hypoallergenic cream or powder |
| Mature | Hydrating serum foundation | Luminous satin | Cream blush for a youthful glow |
When selecting products, look for non-comedogenic labels if you are acne-prone. For readers focused on clear skin, check out how to get clear skin for skincare fundamentals.
Here are pro-level tips to elevate your routine:
- Use fingers for cream products - Body heat helps cream blush and highlighter melt into the skin.
- Layer sheer products - It is easier to add more than to remove excess.
- Match foundation to your neck - This prevents a visible line along the jaw.
- Curl your lashes - An eyelash curler opens the eyes without needing much mascara.
- Use a makeup sponge for blending - It presses product into the skin rather than pushing it around.
- Set under-eye concealer carefully - Too much powder causes creasing and aging.
- Choose multi-use products - A cream blush can double as lip color, simplifying your kit.
Conclusion
Mastering a natural makeup look tutorial is one of the best beauty skills you can learn. It is fast, flattering, and flexible enough for almost any occasion. The key is to focus on skin preparation, sheer coverage, soft color, and seamless blending.
If you enjoyed this guide, share it with a friend who loves effortless beauty. You may also like our posts on beauty tips without makeup and 10 beauty tips for women for more ways to look and feel your best.
Frequently Asked Questions
References
Last updated
This article is for informational purposes only and does not constitute medical advice. Consult a licensed dermatologist or healthcare provider before starting any new treatment.
Beauty & Hair Care Editor
Amanda Gurton is a beauty editor and researcher with a focus on translating dermatology and trichology insights into clear, actionable advice. She covers skincare routines, hair health, ingredient science, and everyday beauty habits.
Comments (0)
Be the first to comment.
Related Articles
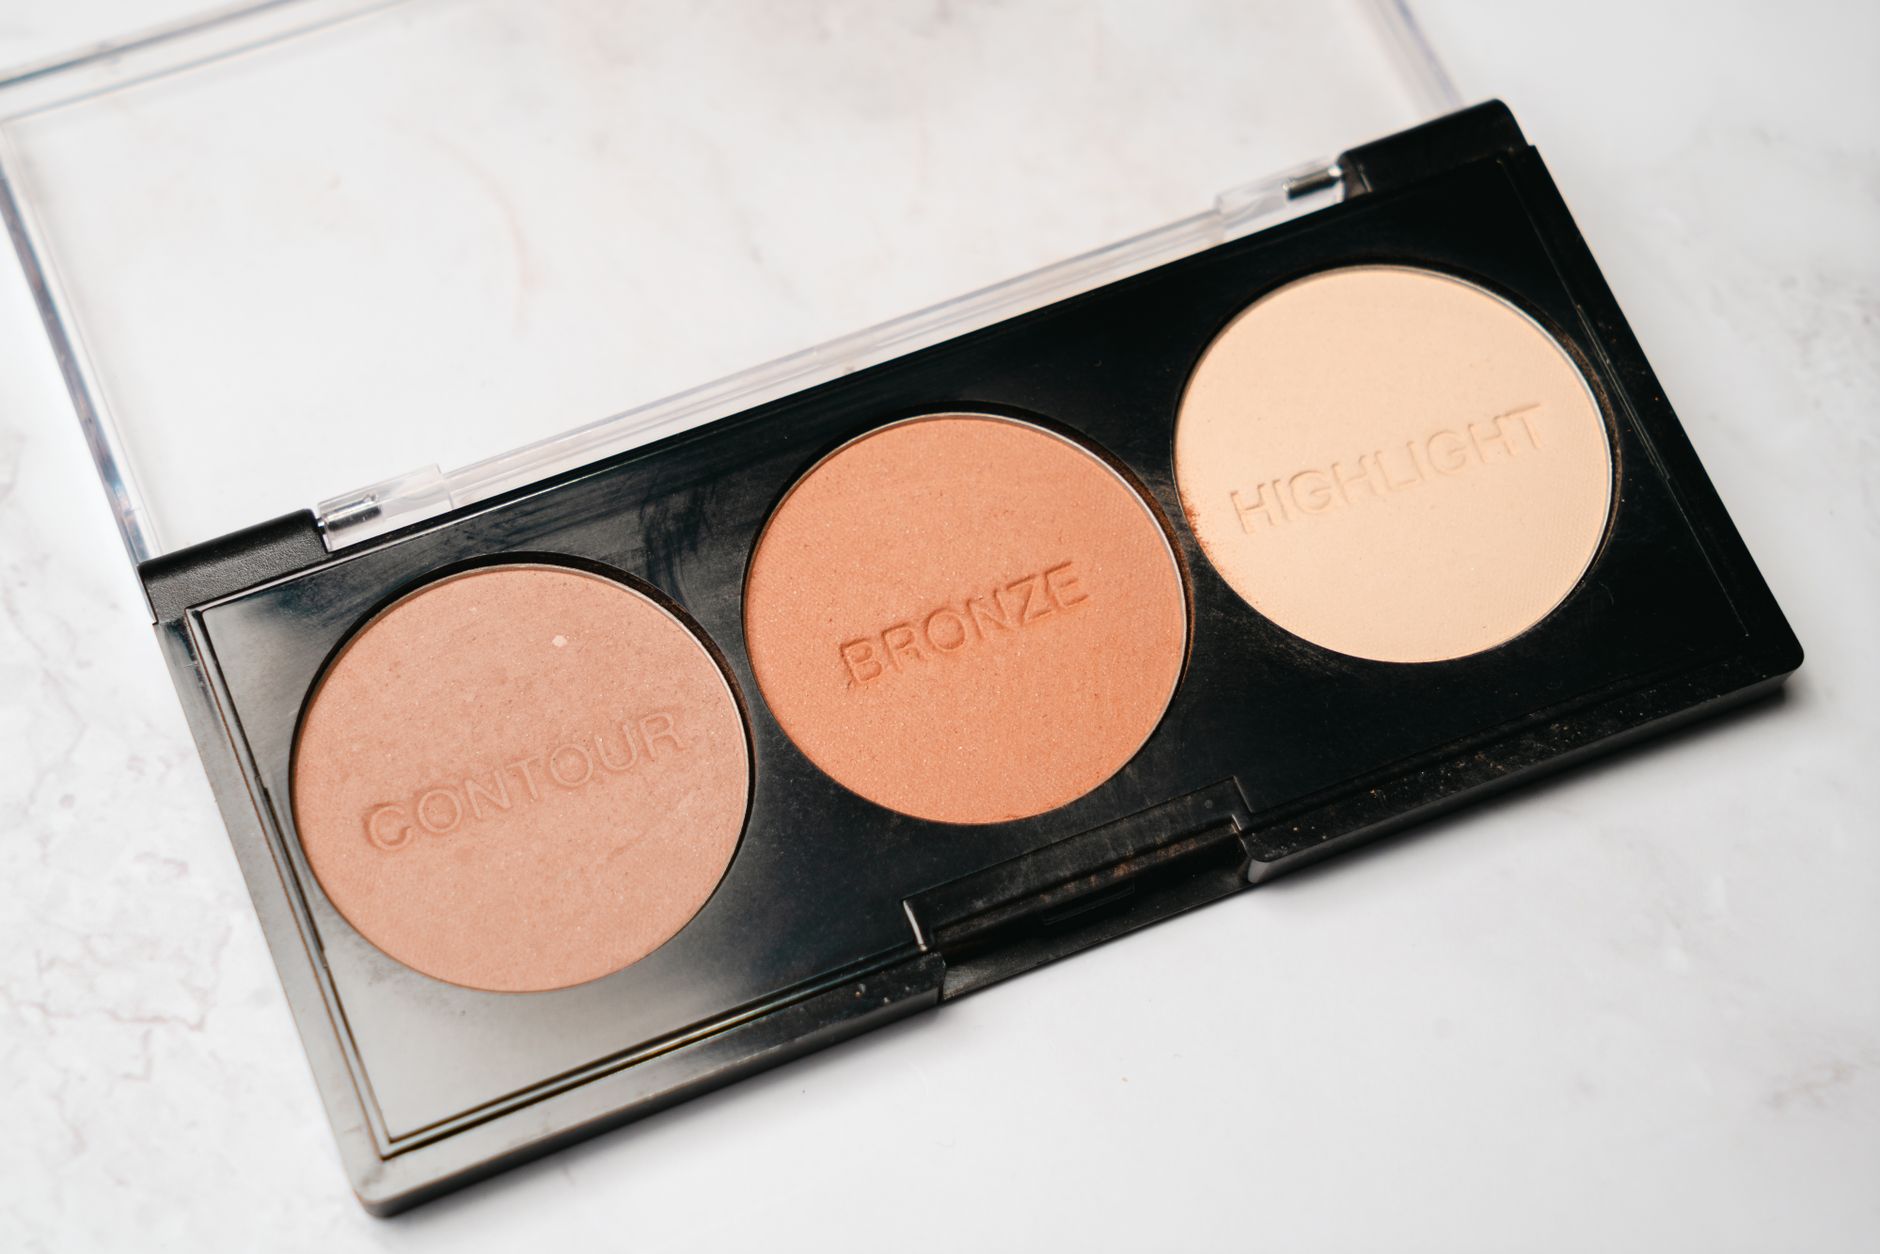
How to Contour and Highlight for Beginners
Learn how to contour and highlight for beginners with this step-by-step guide. Discover easy techniques, product tips, common mistakes, and flattering looks for every face shape.

Bare-Minimum Makeup: The Ultra-Minimal "No-Makeup" Technique
Master the ultra-minimal, bare-skin version of the no-makeup look, with fewer products than a standard natural makeup routine, seasonal adjustments, and skin-concern fixes.
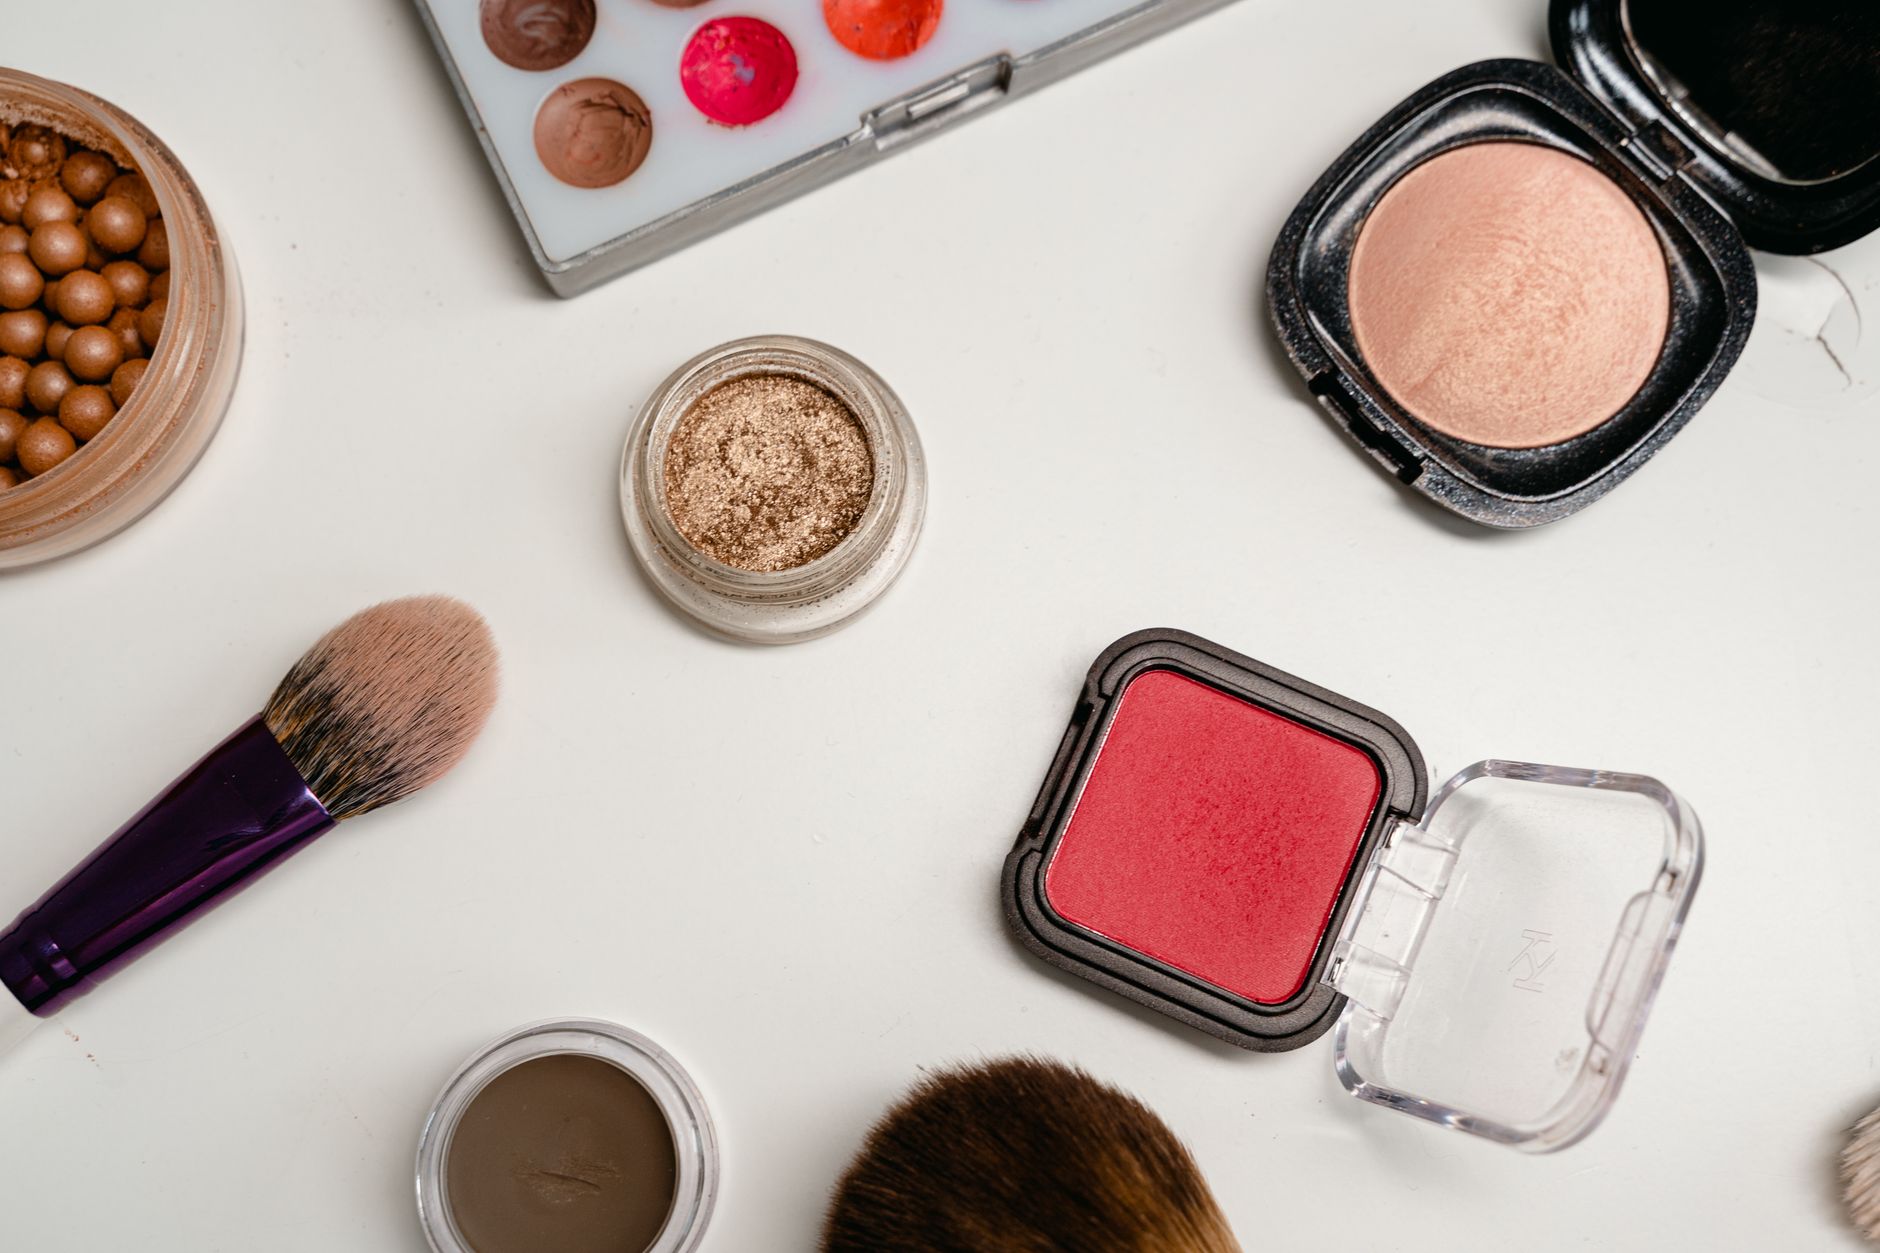
Cream Blush vs. Powder Blush: Which Is Right for Your Skin?
Cream blush vs powder blush: compare finish, longevity, and application for each formula, and learn which suits your skin type best.
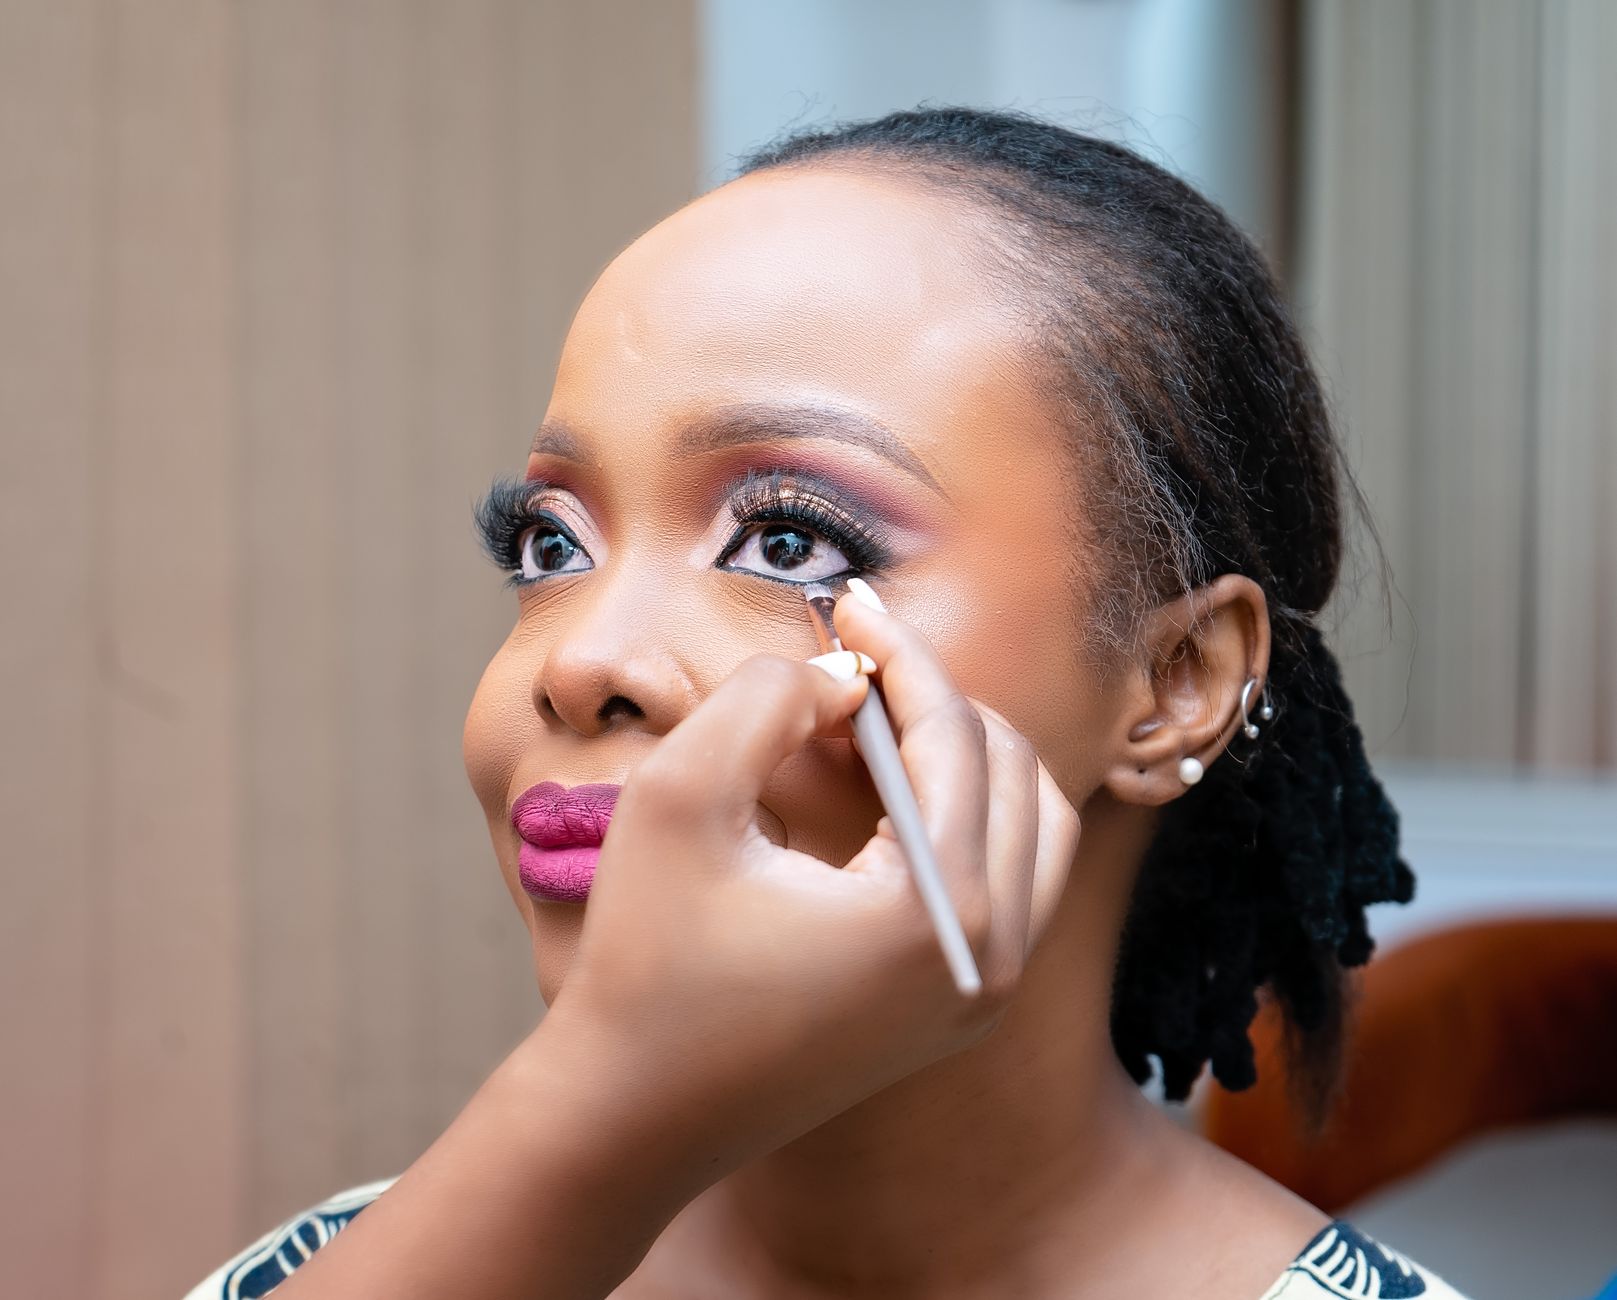
How to Do a Cut Crease: A Step-by-Step Tutorial for Beginners
Learn how to create a cut crease eyeshadow look step by step, with beginner-friendly tips for achieving crisp, defined definition.