 Funky Millions
Gel Nails vs. Acrylic Nails: Which Is Better?
Trying to decide between gel nails vs acrylic nails? Compare durability, cost, application, removal, and nail health to find the best long-lasting manicure for you.
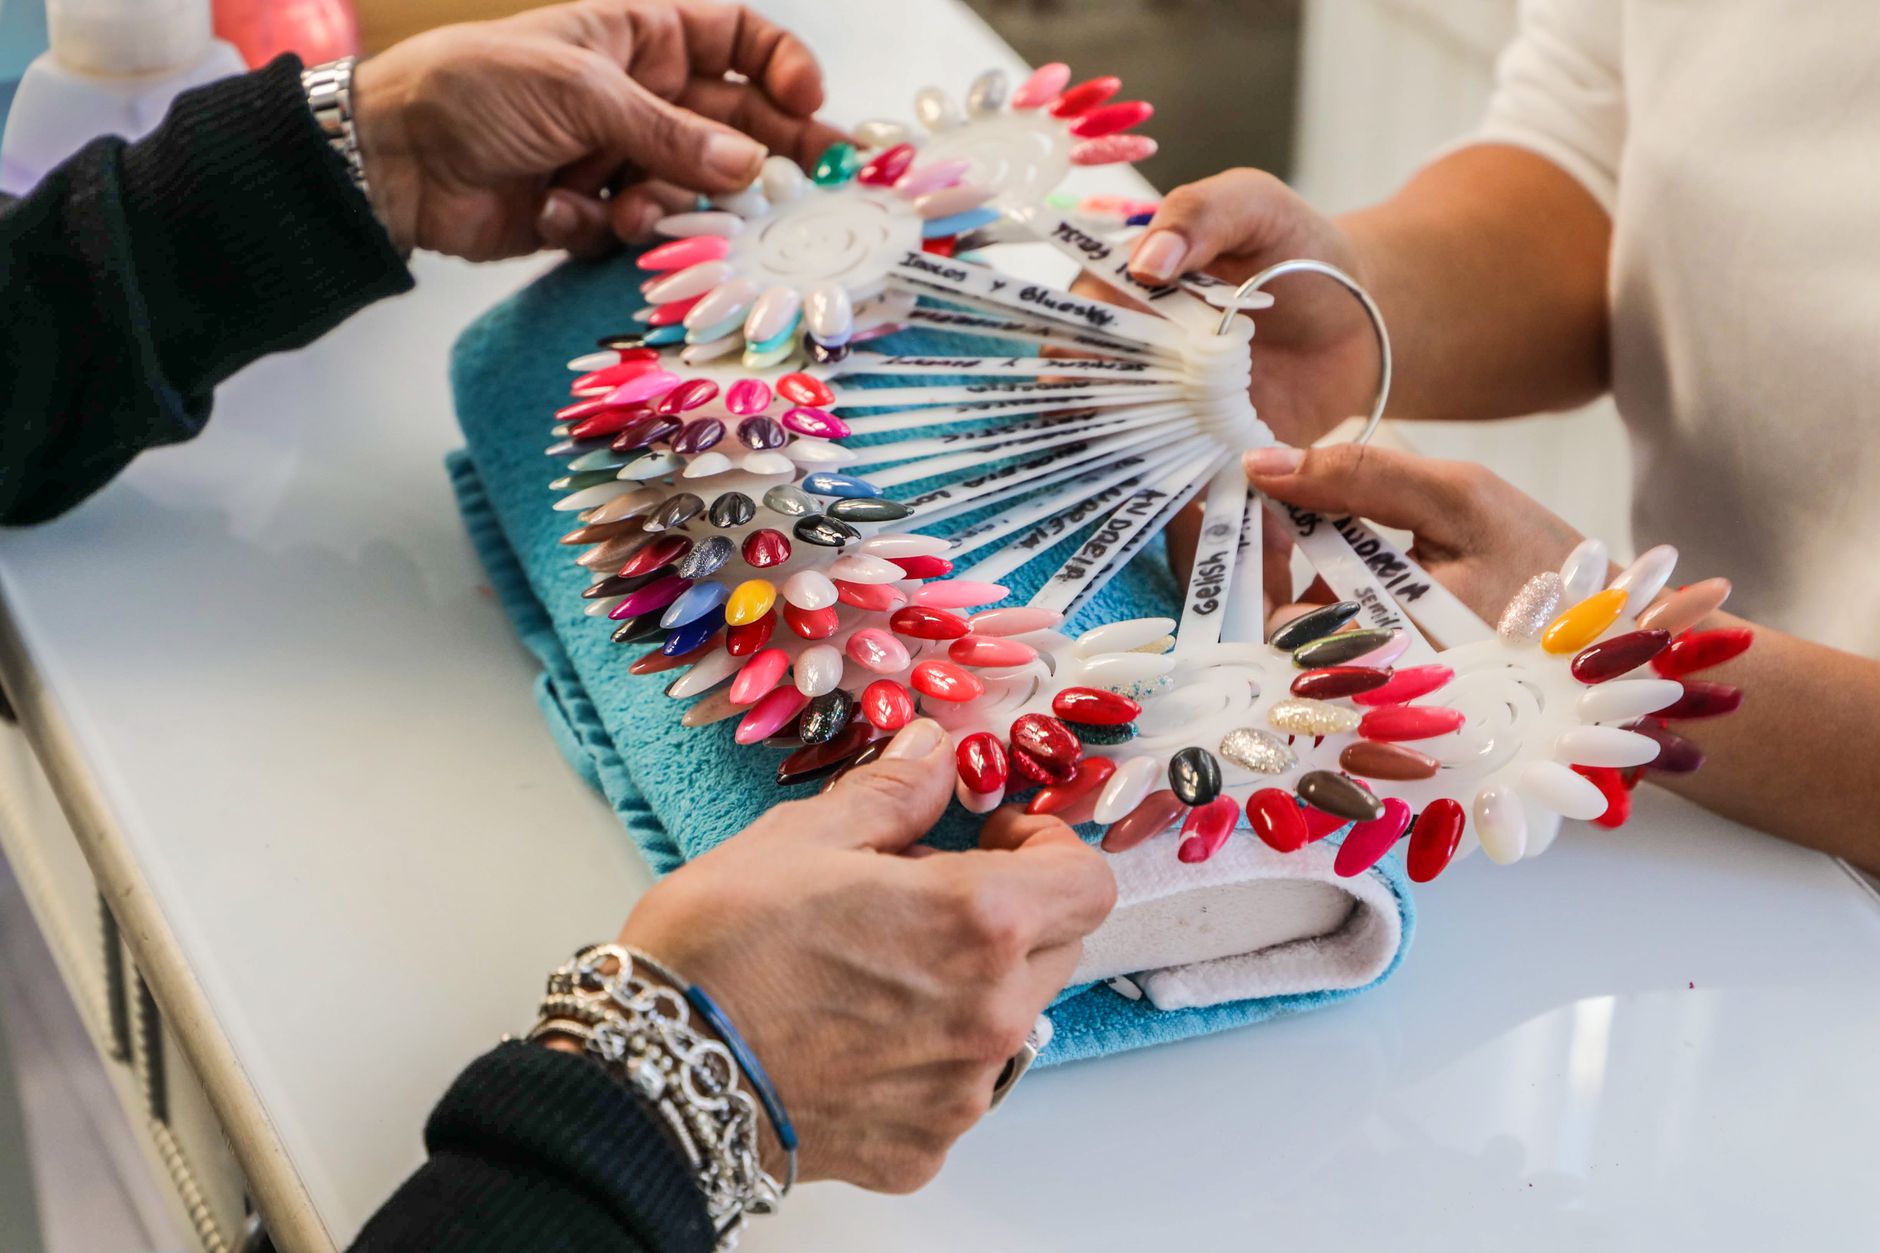
Quick summary
When you want long-lasting, salon-perfect nails, the biggest decision is usually gel nails vs acrylic nails. Both can add length, strength, and glossy color, but they use different ingredients, curing methods, and upkeep routines. Gel nails use a gel-based polish cured under UV or LED light for a chip-resistant, flexible finish. Acrylic nails are created by mixing a liquid monomer with a powder polymer to form a hard, sculptable layer over your natural nail or an extension tip. Each has loyal fans, but “better” depends on your nail type, budget, lifestyle, and how much maintenance you are willing to do.
In this guide, we will break down exactly how each system works, what to expect at the salon, how to remove them safely, and which option fits your routine best.
What Are Gel Nails?
Gel nails are a type of manicure that uses gel-based nail products. The gel starts as a thick liquid or semi-solid that is brushed onto the natural nail (or over an extension) and then hardened, or “cured,” under a UV or LED lamp. The curing process creates a chemical reaction called polymerization, which turns the gel into a solid, glossy coating.
There are two main categories of gel nails:
- Soft gel (soak-off gel): This is the most common type used for gel polish manicures. It is flexible, thinner than acrylic, and removed by soaking the nails in acetone for 10–15 minutes.
- Hard gel (builder gel): This is stronger and used to add length or structure. It cannot be soaked off with acetone and must be filed down by a nail technician.
Because gel nails look thin and natural, they are popular with people who want a glossy, polished finish without obvious bulk.
💡 Key Takeaway: Gel nails are cured under a light and give a flexible, natural-looking finish. Soak-off gel is the easiest to remove at home or in the salon.
What Are Acrylic Nails?
Acrylic nails are artificial nail enhancements made by combining a liquid monomer with a powder polymer. The mixture forms a bead that the nail technician places on the nail and shapes before it hardens in the air through a chemical reaction called polymerization. Once hardened, acrylic becomes a rigid, durable layer that can be built over a natural nail or combined with a plastic tip or sculpting form to add length.
Acrylic sets are often chosen when someone wants:
- Extra length that does not grow from the natural nail
- Maximum strength for very weak or splitting nails
- Bold shapes such as stiletto, coffin, or almond
- Frequent polish changes, since the acrylic structure stays in place while color is swapped
Acrylic nails usually have a stronger odor during application because of the monomer liquid, and they require regular fill-ins as the natural nail grows out.
💡 Key Takeaway: Acrylic nails use a monomer-and-polymer mix to create a hard, sculptable enhancement that is ideal for length and dramatic shapes.
Gel Nails vs. Acrylic Nails: Side-by-Side Comparison
Use this table to compare the two systems at a glance.
| Feature | Gel Nails | Acrylic Nails |
|---|---|---|
| Main ingredients | Gel polymers cured by UV/LED light | Liquid monomer + powder polymer |
| Look and feel | Thin, flexible, glossy, natural | Thicker, harder, more dramatic |
| Durability | 2–3 weeks | 2–3 weeks, sometimes longer with fills |
| Length options | Best for natural nail overlays; hard gel can add length | Excellent for adding long extensions |
| Application time | 30–60 minutes | 45–90 minutes |
| Odor | Low to no odor | Strong monomer odor |
| Removal | Soak-off gel removes with acetone; hard gel must be filed | Must be filed or soaked, often by a professional |
| Cost (salon) | $35–$60 per set | $30–$60 initial; $15–$30 fills |
| Best for | Natural look, short-to-medium nails | Length, strength, custom shapes |
💡 Key Takeaway: Choose gel for a natural, low-odor manicure. Choose acrylic when you want added length, major strength, or dramatic shaping.
Benefits of Gel Nails
Gel nails have become a salon favorite for good reason. Here are the main advantages.
1. Natural Appearance
Gel polish sits close to the nail surface, so it looks like a high-shine natural manicure. Even builder gels tend to look less bulky than acrylic.
2. Quick Curing Time
Because each layer is cured under a lamp, there is no waiting for air-drying. You can leave the salon without worrying about smudges.
3. Chip-Resistant Wear
When applied correctly, gel can last two to three weeks without chipping, peeling, or fading.
4. Low Odor
Gel products do not have the strong chemical smell associated with acrylic monomers, making the salon experience more pleasant.
5. Flexible Feel
Gel moves slightly with the natural nail, which some people find more comfortable and less likely to feel tight or heavy.
6. Easier Removal (Soak-Off Gel)
Soak-off gel can be removed by wrapping nails in acetone-soaked cotton and foil. The gel lifts gently without aggressive drilling when done properly.
💡 Key Takeaway: Gel nails are ideal if you want a sleek, natural-looking manicure with low odor, fast curing, and relatively easy removal.
Benefits of Acrylic Nails
Acrylic nails remain popular because they offer power and versatility. Here is why many people prefer them.
1. Superior Strength
Acrylic is one of the hardest nail enhancement materials available. It resists cracks, breaks, and chips better than most gel systems.
2. Great for Length
If your natural nails are short or brittle, acrylic extensions can give you the long nails you want immediately.
3. Customizable Shapes
Technicians can sculpt acrylic into almost any shape or thickness, from short and square to long and stiletto.
4. Long-Term Cost Efficiency
While the initial set may cost the same as gel, fill-ins every two to three weeks are usually cheaper than a full gel re-do.
5. Good Base for Nail Art
The rigid surface of acrylic provides a stable canvas for detailed designs, charms, gems, and 3D nail art.
💡 Key Takeaway: Acrylic nails are the go-to choice when you need maximum strength, dramatic length, or a platform for intricate nail art.
How Gel Nails Are Applied and Removed
Understanding the process helps you know what to expect and how to protect your natural nails.
Gel Nail Application Steps
- Prep: The technician cleans your nails, pushes back the cuticles, and lightly buffs the surface to remove shine and oil.
- Base coat: A thin layer of gel base coat is applied and cured under a UV or LED lamp for 30–60 seconds.
- Color layers: Two to three thin coats of gel polish are applied, with each layer cured under the lamp.
- Top coat: A gel top coat is applied and cured to seal the color and add shine.
- Finish: The sticky inhibition layer is wiped off, and cuticle oil is applied.
Gel Nail Removal Steps
- File the top layer: Gently file the shiny top coat to break the seal.
- Soak in acetone: Wrap each nail in cotton soaked in pure acetone, then cover with foil for 10–15 minutes.
- Gently push off: Use an orangewood stick or cuticle pusher to lift the softened gel. Do not force it.
- Buff and hydrate: Lightly buff the nail surface and apply cuticle oil or hand cream.
💡 Key Takeaway: Never peel or pick gel off. Proper soak-off removal keeps your natural nails strong and healthy.
How Acrylic Nails Are Applied and Removed
Acrylic application is more involved, and removal usually requires professional help.
Acrylic Nail Application Steps
- Prep: Nails are cleaned, cuticles pushed back, and the natural nail lightly etched.
- Tip or form placement: If length is desired, a plastic tip or sculpting form is applied to the edge of the nail.
- Bead application: The technician dips a brush into monomer liquid and then into acrylic powder to form a bead.
- Sculpting: The bead is placed on the nail and shaped before it hardens. Several beads may be used.
- Filing and finishing: Once hardened, the acrylic is filed into the desired shape and thickness.
- Polish or art: Nail polish, gel polish, or nail art is applied on top.
Acrylic Nail Removal Steps
- Clip and file: The nails are clipped short, and the top layer is filed down.
- Acetone soak: Nails are soaked in acetone for 20–30 minutes to dissolve the acrylic.
- Gentle removal: A technician gently pushes away the softened product with a cuticle pusher.
- Nail recovery: The natural nails are buffed smooth and treated with oil and moisturizer.
Because acrylic is harder to remove than soak-off gel, many dermatologists recommend having a professional handle removal to avoid thinning the natural nail plate. The American Academy of Dermatology shares more nail-care basics that can help you keep your nails healthy between appointments.
💡 Key Takeaway: Acrylic takes longer to apply and remove than gel. Professional removal reduces the risk of nail damage.
Common Mistakes to Avoid
Whether you choose gel or acrylic, these habits can ruin your manicure and harm your natural nails.
- Picking or peeling the product off: This strips away layers of your natural nail and causes peeling, thinning, and pain.
- Skipping nail prep: Oily or dirty nails prevent proper adhesion, leading to lifting and early chipping.
- Using your nails as tools: Opening cans, scraping labels, or prying things open can crack enhancements and damage the nail bed.
- DIY removal with force: Aggressive filing, scraping, or pulling can permanently thin the nail plate.
- Ignoring allergic reactions: Redness, itching, or swelling around the nails can signal an allergy to gel or acrylic ingredients. See a dermatologist if this happens.
- Getting fills too late: Waiting too long between appointments increases the risk of lifting, breakage, and moisture trapping under the product.
💡 Key Takeaway: Gentle prep, proper removal, and treating your nails with care are the best ways to prevent damage from any enhancement.
Cost and Maintenance Breakdown
Budget matters when choosing between gel and acrylic.
Gel Nails
- Initial full set: $35–$60
- Duration: 2–3 weeks
- Maintenance: Usually a full removal and reapplication, or a gel fill if using hard gel
- At-home costs: UV/LED lamp ($20–$80), base/top coats, gel polish
Acrylic Nails
- Initial full set: $30–$60
- Fill-ins: $15–$30 every 2–3 weeks
- Duration: 2–3 weeks before a fill is needed
- Repairs: $5–$15 per broken nail
Over several months, acrylic can be more cost-effective because you pay for fills rather than full sets. Gel often requires a fresh application every two to three weeks unless you are using hard gel with fills.
💡 Key Takeaway: Acrylic may save money long-term through fills, while gel tends to cost more per visit but requires less sculpting time.
Gel Nails vs. Acrylic Nails: Which Should You Choose?
Still unsure? Use this quick guide.
Choose gel nails if you:
- Want a natural, glossy look
- Prefer low odor and fast curing
- Have relatively strong natural nails
- Like changing colors often without heavy filing
- Want easier at-home removal with soak-off gel
Choose acrylic nails if you:
- Want dramatic length or custom shapes
- Need maximum strength and durability
- Have weak nails that crack easily
- Want a long-term enhancement with regular fill-ins
- Love elaborate nail art and 3D designs
If nail health is a top concern, discuss your goals with a licensed nail professional or dermatologist. The Cleveland Clinic explains how acrylic nails can affect nail health and what precautions to take.
💡 Key Takeaway: Pick gel for a natural, flexible manicure. Pick acrylic for strength, length, and bold customization.
Recommended Nail Care Products
No matter which enhancement you choose, these staples support strong nails and a neat manicure.
- Cuticle oil: Jojoba oil, vitamin E oil, or a commercial cuticle serum prevents dryness and hangnails.
- Nail strengthener: Look for formulas with keratin, calcium, or biotin to support the natural nail between sets.
- Hand cream with SPF: Protects hands from UV exposure during gel curing and keeps skin youthful.
- Acetone and remover wraps: Essential for safe soak-off gel removal.
- Glass nail file: Gentler than metal files and helps prevent splitting at the free edge.
A polished look is about more than nails. For simple ways to elevate your entire appearance, check out 10 beauty tips for women and beauty tips without makeup.
💡 Key Takeaway: Quality cuticle oil, a gentle nail file, and a good hand cream are the foundation of any healthy manicure routine.
A long-lasting manicure starts with healthy nail habits. Try these expert-backed tips.
- Moisturize daily. Apply cuticle oil and hand cream every day to keep the nail plate and surrounding skin flexible.
- Take periodic breaks. Give your natural nails one to two weeks of recovery between sets to let them breathe and rehydrate.
- Choose a skilled technician. Look for clean tools, proper ventilation, and a license. A good tech will not over-file your natural nails.
- Use a strengthening base. Between sets, use a keratin or biotin-enriched nail strengthener if your nails are prone to splitting.
- Wear gloves for chores. Dish soap, cleaning chemicals, and long water exposure weaken both natural nails and enhancements.
- Request LED curing when possible. LED lamps cure gel faster than traditional UV lamps and may reduce overall UV exposure.
- Pay attention to pain. A properly applied enhancement should not hurt. Pain, heat spikes, or throbbing are signs something is wrong.
Healthy hands complete any beauty routine. If you are also working on your overall glow, our guide to beauty tips for face at home pairs perfectly with a fresh manicure.
💡 Key Takeaway: Daily moisturizing, periodic breaks, and choosing a reputable nail technician protect your nails no matter which enhancement you pick.
Conclusion
The debate between gel nails vs acrylic nails does not have one right answer. Gel nails give you a lightweight, glossy, natural-looking manicure that cures quickly and removes with acetone. Acrylic nails offer unmatched strength, dramatic length, and endless customization. The best choice depends on your nail condition, lifestyle, budget, and beauty goals.
No matter which route you take, protect your natural nails by choosing a skilled technician, avoiding picking or peeling, and moisturizing daily. A beautiful manicure should never come at the cost of nail health.
Did this guide help you choose? Share it with a friend who is planning her next salon visit, and explore more of our beauty and self-care articles. For a head-to-toe glow, read how to make your skin glow, and for busy schedules, check out free fashions tips for busy women.
Category: Nail Care
Tags: gel nails, acrylic nails, gel manicure, acrylic manicure, nail extensions, nail care tips, salon nails, nail health, gel vs acrylic, manicure guide
Frequently Asked Questions
Last updated
This article is for informational purposes only and does not constitute medical advice. Consult a licensed dermatologist or healthcare provider before starting any new treatment.
Beauty & Hair Care Editor
Ilma is a beauty editor who specializes in breaking down cosmetic ingredients, skincare routines, and hair care practices. Her work focuses on evidence-based guidance readers can trust and apply.
Comments (0)
Be the first to comment.
Related Articles
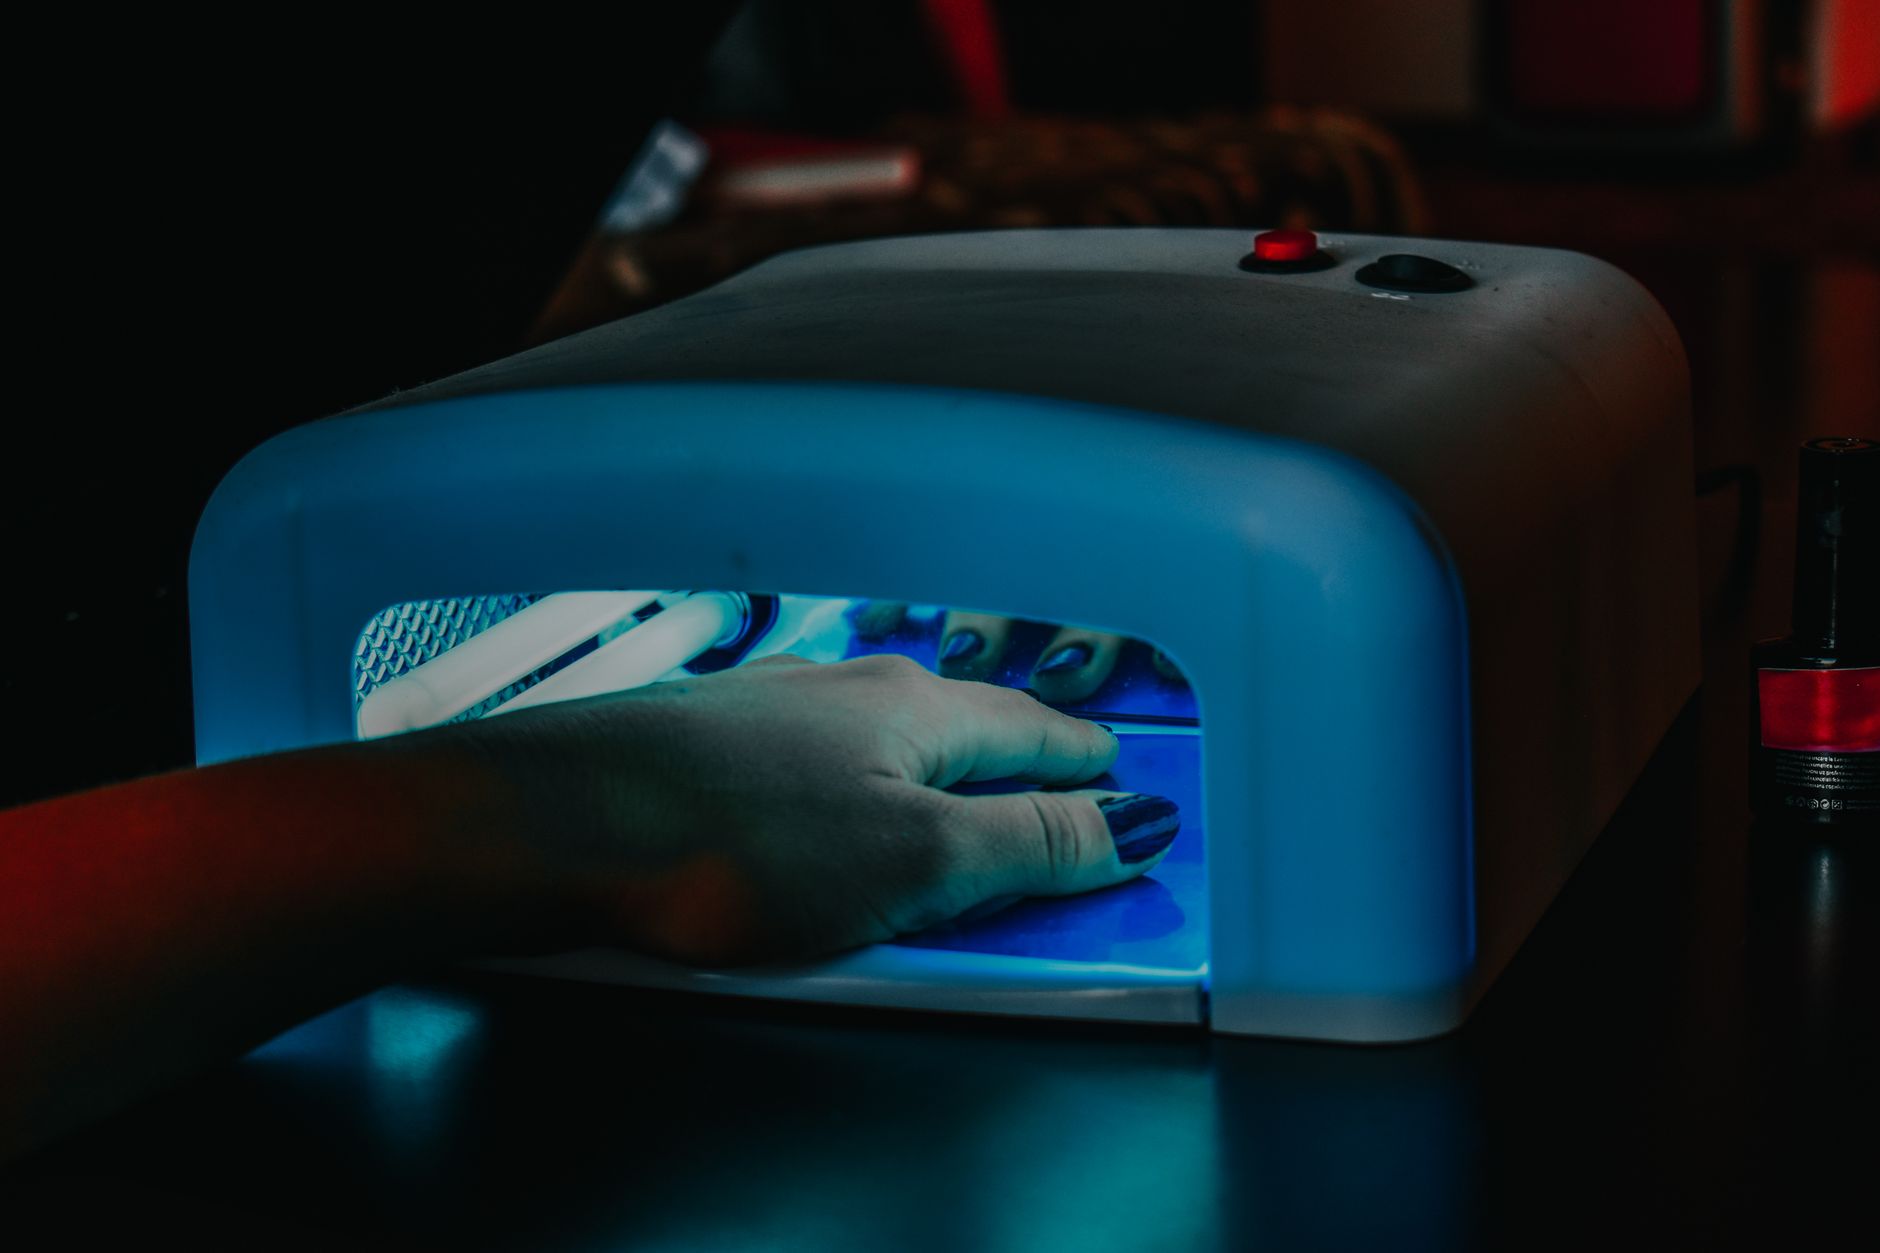
How to Remove Gel Manicures Without Damaging Your Nails
Learn the correct, safe way to remove gel manicures at home without damaging your natural nails, plus what to avoid.
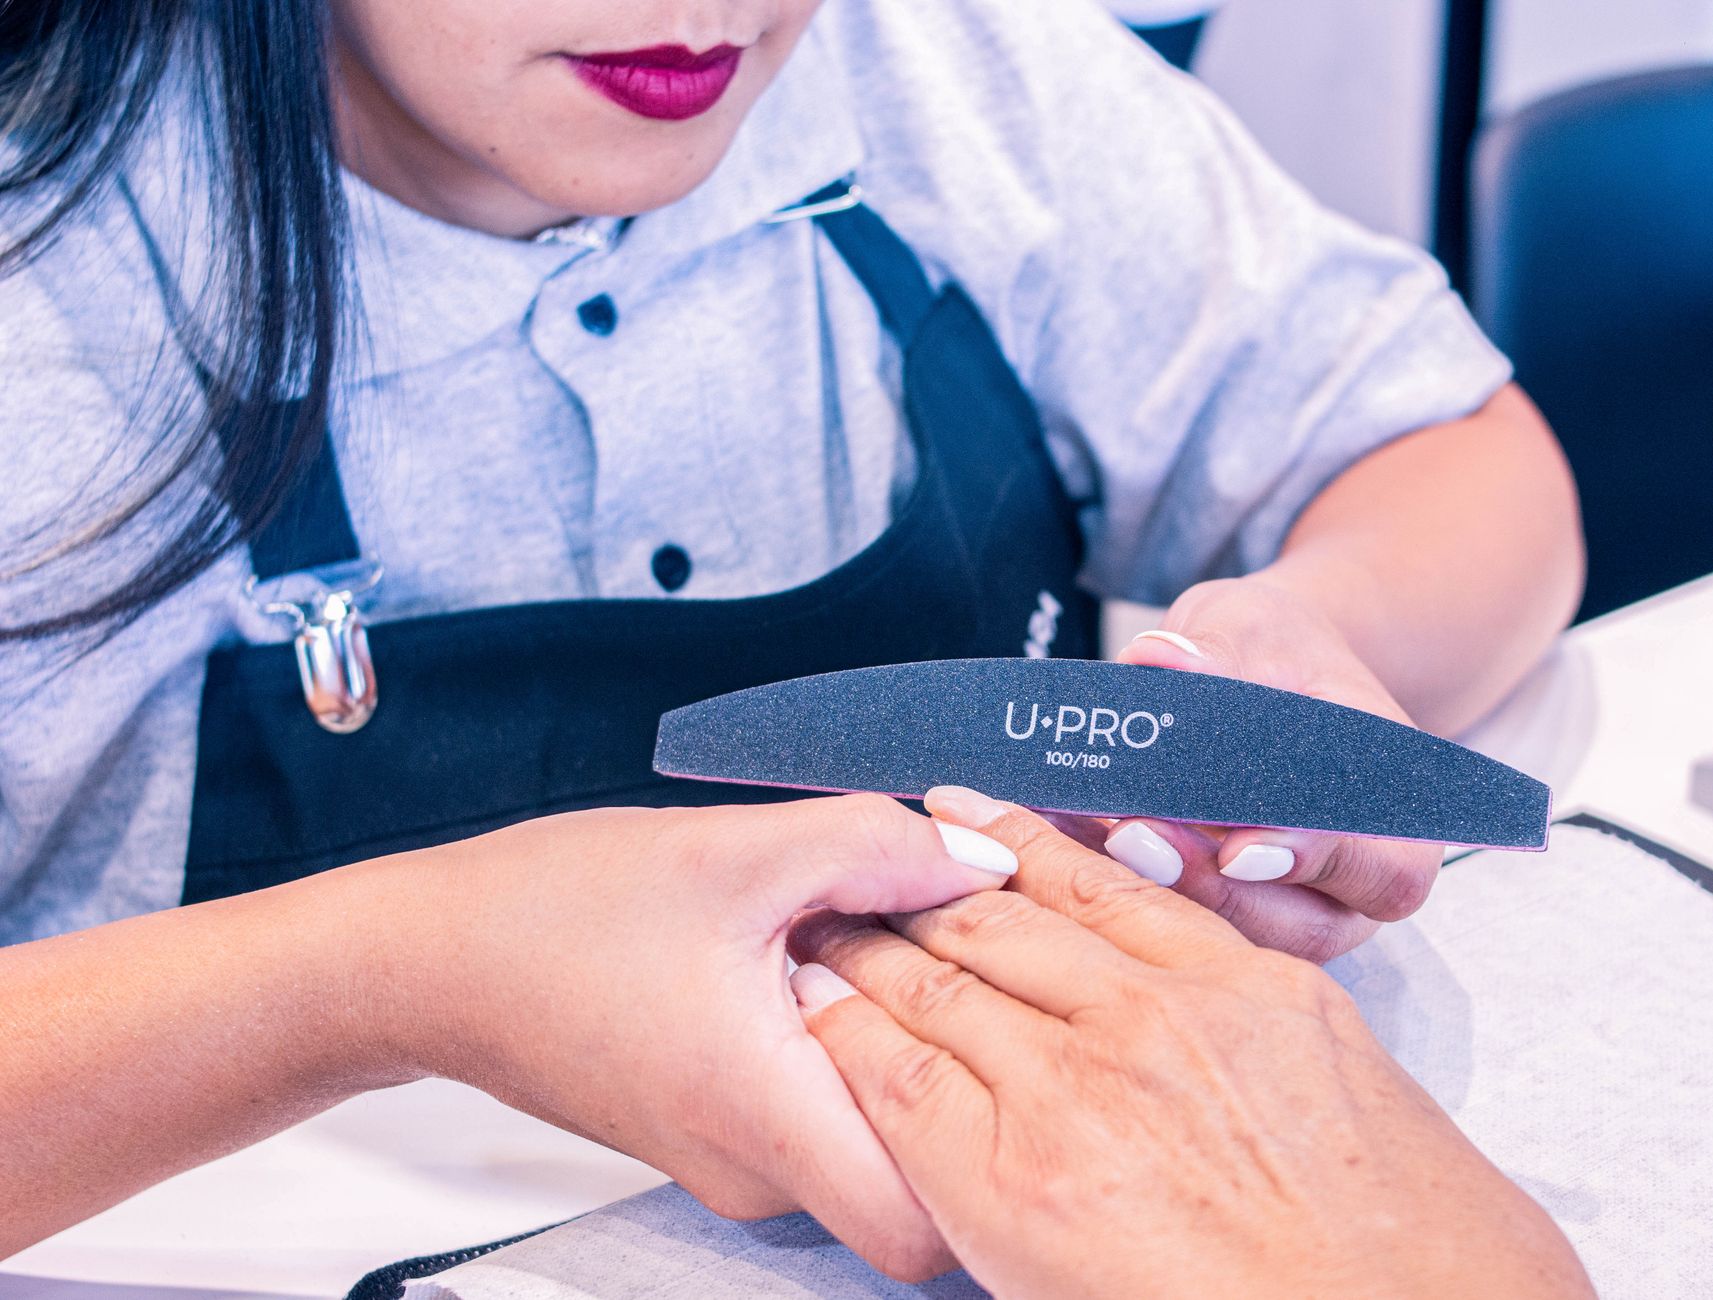
Dip Powder Nails Explained: Pros, Cons, and Aftercare
Learn how dip powder nails work, the real pros and cons compared to gel and acrylic, and how to care for them properly.

How to Stop Biting Your Nails for Good
Learn how to stop biting nails for good with proven strategies, habit-reversal techniques, product picks, and expert tips for healthier hands.
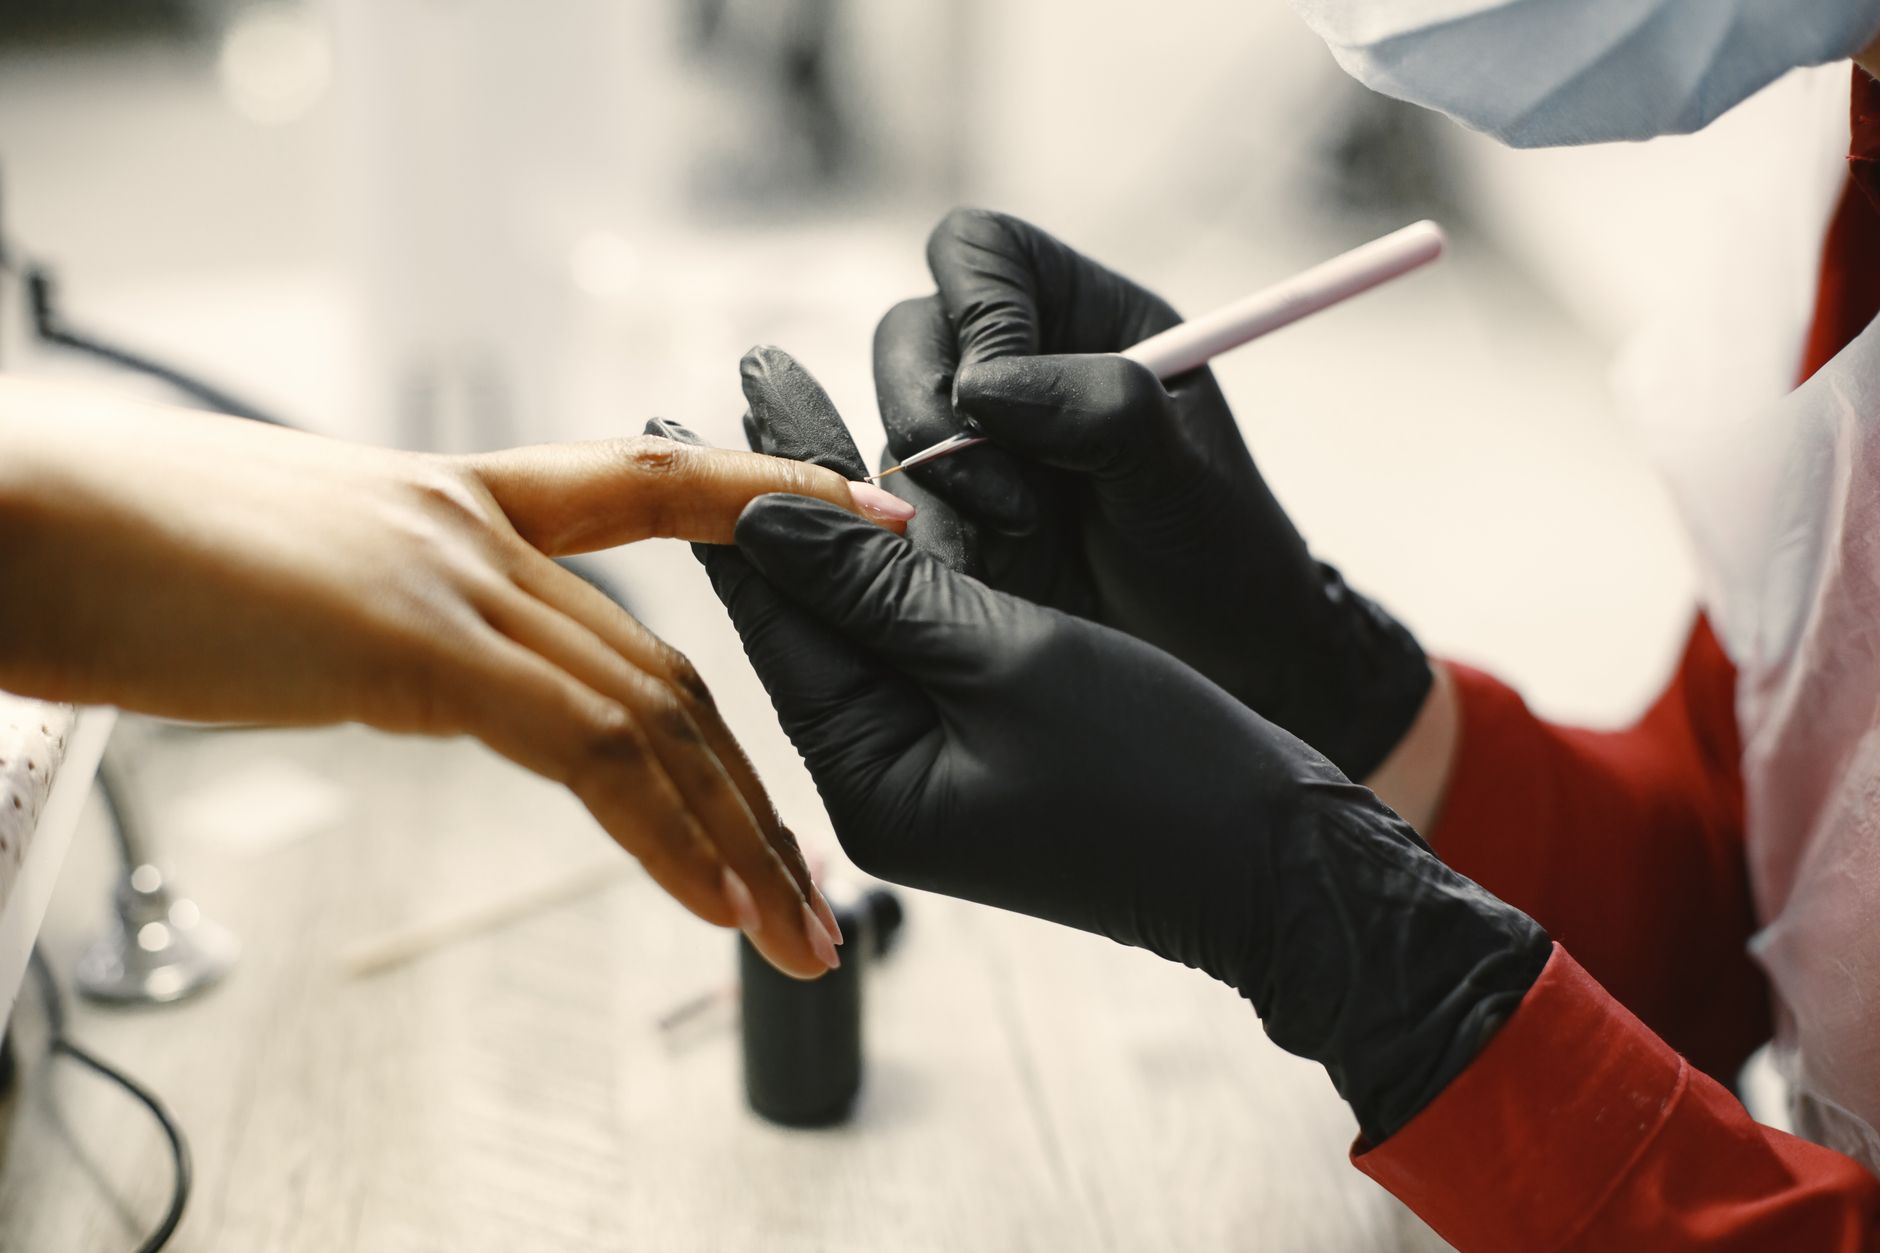
How to Give Yourself a Professional Manicure at Home
Learn how to get a professional manicure at home with our step-by-step guide. From nail prep to polish, discover salon-quality tips, tools, and mistakes to avoid.