 Funky Millions
How to Give Yourself a Professional Manicure at Home
Learn how to get a professional manicure at home with our step-by-step guide. From nail prep to polish, discover salon-quality tips, tools, and mistakes to avoid.
Quick summary
Key Takeaways
- A professional manicure at home goes beyond color. It is a complete nail and hand care routine that leaves your nails looking clean, healthy, and salon polished.
- A DIY professional manicure saves money, protects nail health, and turns nail care into a flexible self-care ritual.
- Always file in one direction and choose a nail shape that matches your lifestyle and natural nail structure.
- Thin polish layers, a proper base and top coat, and good hydration are the secrets to a long-lasting professional manicure at home.
- Regular polish is beginner friendly and easy to change. Gel polish lasts longer but requires more tools and careful removal.
A fresh, polished manicure can instantly make you feel more put together, but salon appointments are not always budget or schedule friendly. The good news is that you can absolutely learn how to give yourself a professional manicure at home with the right tools, a little patience, and a few expert techniques. Whether you want a clean natural look or a bold pop of color, doing your nails at home can be relaxing, creative, and surprisingly long lasting.
In this guide, you will learn exactly what a professional manicure at home involves, why it is worth the effort, and how to recreate salon results from your own bathroom or bedroom. We will walk through every step, from removing old polish and shaping the nails to cuticle care, hand massage, and perfect polish application. You will also find product recommendations, common mistakes to avoid, and quick answers to frequently asked questions.
By the end, you will have everything you need to keep your nails healthy, strong, and beautifully polished without ever leaving the house.
What Is a Professional Manicure at Home?
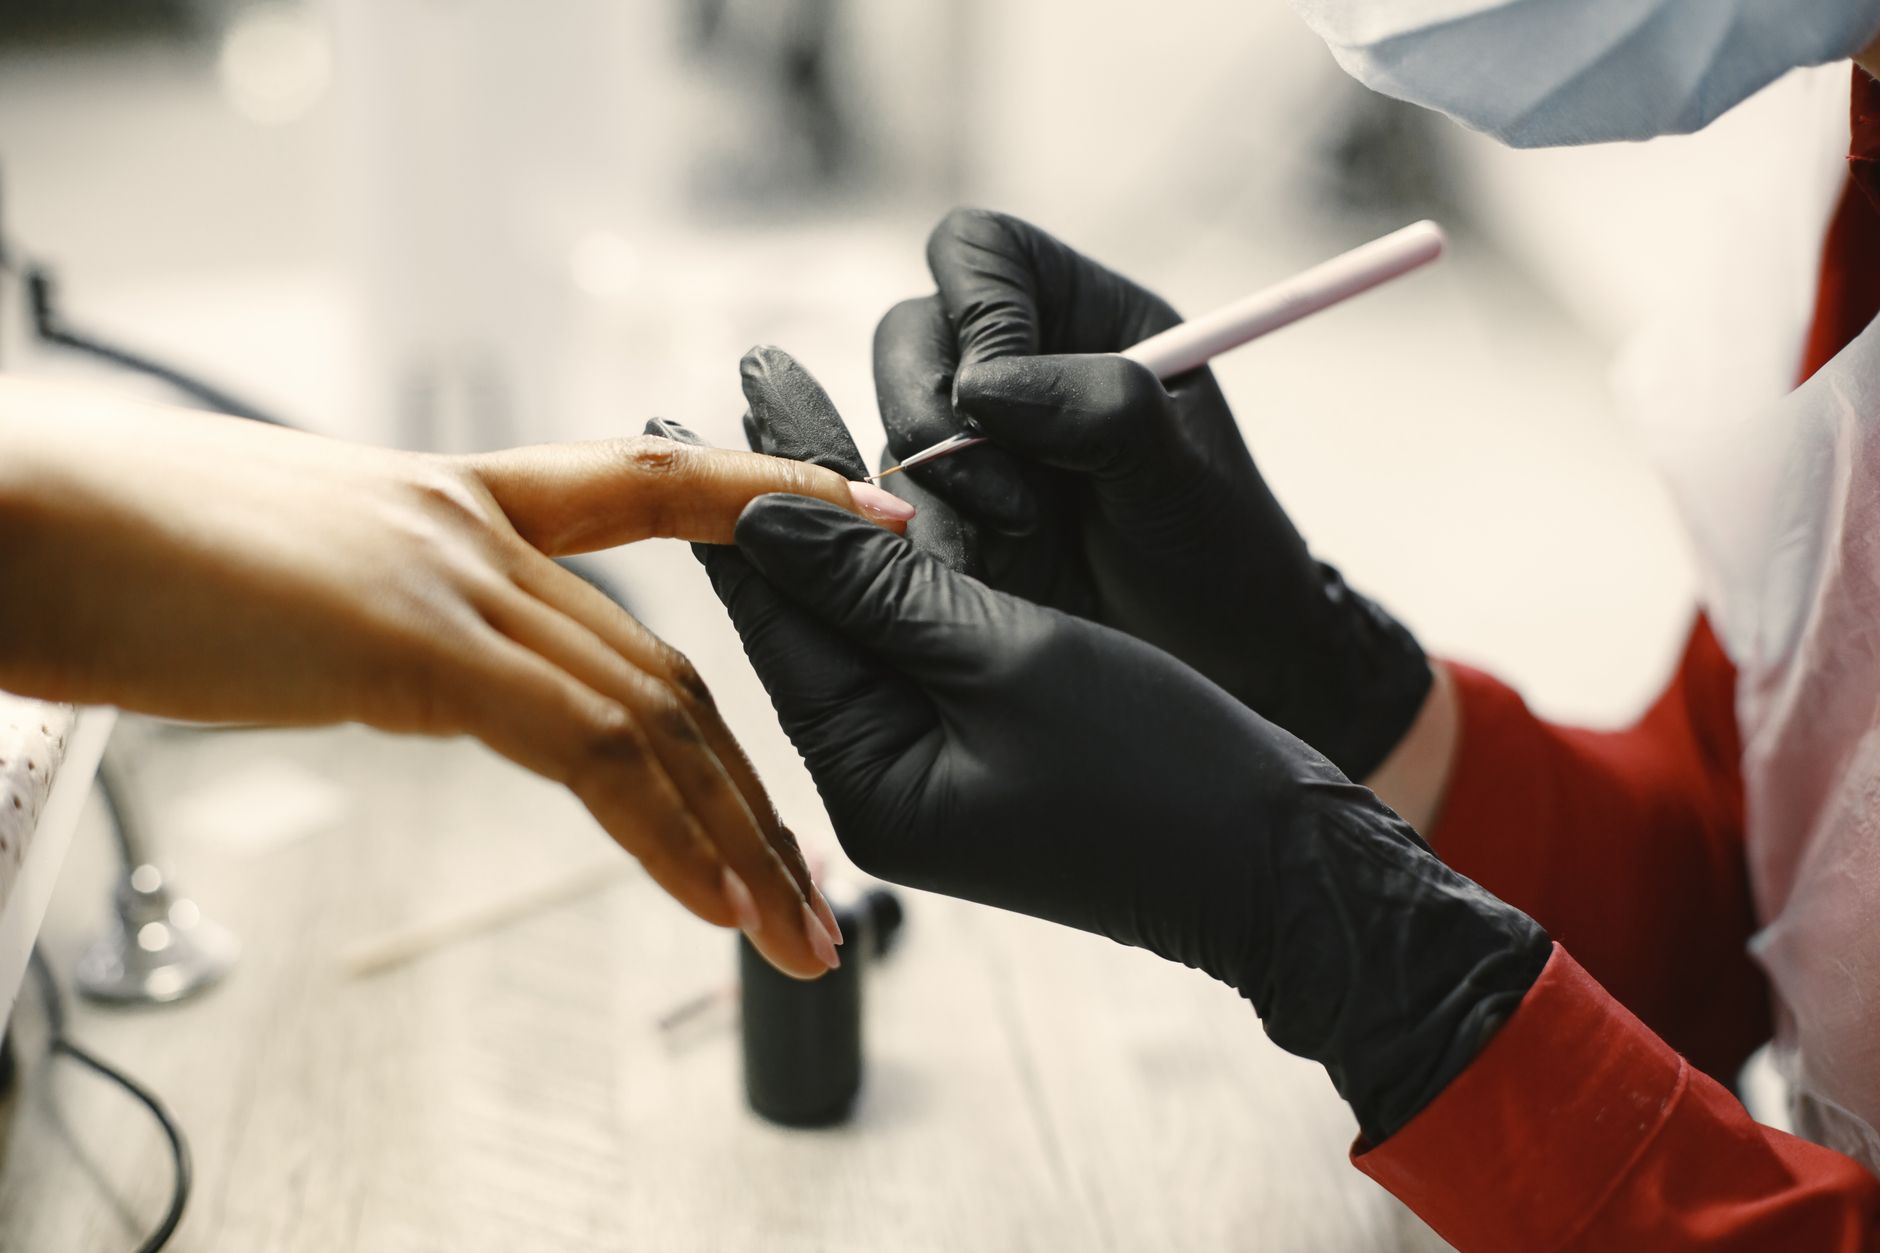
A professional manicure at home is a do-it-yourself nail treatment that follows the same basic steps a nail technician would use in a salon. It includes cleaning and shaping the nails, caring for the cuticles, grooming the hands, applying polish with precision, and finishing with a top coat for shine and durability.
Unlike a quick coat of polish, a true professional manicure at home focuses on nail health and presentation. It takes about 45 to 90 minutes, depending on the products and design you choose. The goal is not just color, but smooth edges, hydrated skin, even coverage, and a chip-resistant finish.
Benefits of a Professional Manicure at Home
Learning to do your own manicure has real advantages beyond saving money. Here are the main benefits:
- Cost savings. A single salon manicure can cost $20 to $60 or more. At home, you only invest in tools and polish once and reuse them many times.
- Time flexibility. You can do your nails whenever your schedule allows, without booking appointments or commuting.
- Better hygiene control. You know exactly which tools touch your nails, reducing the risk of infections from shared equipment.
- Healthier nails. You can choose nourishing products and avoid harsh chemicals that may weaken your nails over time.
- Creative freedom. Experiment with colors, nail art, and finishes without extra salon fees.
- Self-care time. The process can be calming and meditative, giving you a small spa-like ritual at home.
Tools and Products You Will Need
Before you begin, gather everything in one place. A clean, organized setup makes the process smoother and helps prevent smudges.
Essential Tools
| Tool | Purpose |
|---|---|
| Nail polish remover | Removes old color and cleans the nail plate |
| Cotton rounds or pads | Apply remover and clean up mistakes |
| Nail clippers | Shortens nails if needed |
| Nail file | Shapes nails and smooths edges |
| Cuticle pusher | Gently pushes back cuticles |
| Cuticle nipper | Trims only loose hangnails, optional |
| Nail brush or old toothbrush | Cleans under nails and around the nail bed |
| Buffer block | Smooths ridges and creates a polished surface |
| Small bowl | For soaking fingers |
| Towel | Protects your workspace and dries hands |
Products for the Perfect Finish
- Base coat: Protects nails from staining and helps polish adhere.
- Nail polish: Choose a quality formula in your favorite shade.
- Top coat: Seals color, adds shine, and prevents chipping.
- Cuticle oil: Hydrates cuticles and encourages healthy nail growth.
- Hand cream or lotion: Softens skin and completes the spa experience.
Optional but helpful items include a quick-dry drops, nail polish corrector pen, toe separators for drying, and a LED or UV lamp if you prefer gel polish.
Step-by-Step Guide to a Professional Manicure at Home
Follow these steps in order for the cleanest, longest-lasting results.
Step 1: Remove Old Polish Thoroughly
Start with completely clean nails. Saturate a cotton pad with remover and press it against each nail for a few seconds before wiping away polish. This helps dissolve the color instead of dragging it across the skin.
If you are wearing glitter or dark polish, use a remover with acetone or place foil wraps around cotton pads for easier removal. Wash your hands afterward with soap and water.
Step 2: Shape Your Nails
Use a nail clipper only if your nails are too long. Otherwise, move straight to filing. File in one direction to prevent splitting and weakening. Avoid a back-and-forth sawing motion, which can cause tiny tears in the nail.
Popular nail shapes include:
- Square: Flat across the top with sharp corners.
- Round: Curved edges, practical and low maintenance.
- Oval: Elongated and elegant, flattering on most hands.
- Almond: Tapered sides with a rounded point.
- Squoval: A mix of square and oval, the most versatile shape.
Step 3: Soften and Care for Cuticles
Fill a small bowl with warm water and add a drop of gentle soap or oil. Soak your fingertips for three to five minutes. This softens the cuticles and makes them easier to push back.
After soaking, gently push cuticles back with a cuticle pusher. Do not cut healthy cuticle tissue. Only trim hangnails or dead, loose skin with a cuticle nipper. Cutting live cuticles can lead to infection and damage new nail growth.
Step 4: Clean and Buff the Nail Plate
Use a nail brush to remove any debris from under the nails and around the edges. Then lightly buff the surface of each nail to smooth ridges and create an even base for polish.
Be gentle. Over-buffing thins the nail and weakens it. Two to three light passes are usually enough.
Step 5: Apply a Quality Base Coat
A base coat is essential for a professional finish. It prevents dark or highly pigmented polish from staining your nails and gives the color something to grip. Apply one thin, even layer and let it dry for one to two minutes.
Step 6: Apply Polish in Thin Layers
Thin layers dry faster, look smoother, and last longer than thick ones. Follow this method:
- Wipe one side of the brush against the bottle neck to remove excess polish.
- Place a small drop of polish near the cuticle, in the center of the nail.
- Push it slightly toward the cuticle without touching the skin.
- Stroke up the center, then down each side.
- Wait two to three minutes between coats.
Most polishes need two coats for full opacity. If the first coat looks streaky, that is normal. The second coat evens everything out.
Step 7: Seal with a Top Coat
A top coat protects your color from chips and adds a glossy, salon-like finish. Apply one thin layer over the entire nail, wrapping the tip by brushing horizontally across the free edge. This “cap the tip” technique seals the polish and prevents peeling.
Allow your nails to dry completely. Regular polish usually needs 15 to 30 minutes, while gel polish requires curing under a lamp.
Step 8: Hydrate Hands and Cuticles
Once your nails are dry, massage cuticle oil into the base of each nail. Then apply a rich hand cream. Hydrated skin makes the whole manicure look more polished and helps your nails stay flexible and strong.
Common Mistakes to Avoid
Even with the best intentions, a few common habits can ruin a DIY manicure. Avoid these mistakes for smoother, longer-lasting results:
- Skipping the base coat. It leads to staining and shorter wear time.
- Applying thick polish. Thick layers bubble, smudge, and chip faster.
- Painting the cuticle. Polish on the skin lifts and peels prematurely.
- Using old or gloopy polish. Expired polish dries unevenly and chips quickly.
- Not capping the free edge. This is a major cause of early chipping.
- Drying nails with hot air. Heat can soften polish and cause dents.
- Cutting live cuticles. This increases infection risk and weakens nail growth.
- Neglecting aftercare. Daily cuticle oil and gloves for chores extend your manicure.
Product and Ingredient Recommendations
You do not need a huge collection, but a few quality staples make a big difference. Look for these ingredients and product types:
- Nail strengtheners with keratin or biotin to support weak nails.
- Cuticle oils with jojoba oil or vitamin E for deep hydration.
- Acetone-free removers for regular polish to avoid excessive dryness.
- Breathable or 5-free nail polishes that avoid formaldehyde, toluene, DBP, formaldehyde resin, and camphor.
- Gel-effect top coats for extra shine and durability without a lamp.
- Glass or crystal nail files for gentler filing with less splitting.
If you love nail art, invest in dotting tools, striping tape, and thin detail brushes. A silicone mat or old towel protects surfaces while you create.
Comparison: Regular Polish vs. Gel Polish at Home
| Feature | Regular Nail Polish | Gel Nail Polish |
|---|---|---|
| Drying time | 15 to 30 minutes air dry | 30 to 60 seconds per layer under LED/UV lamp |
| Wear time | 5 to 7 days | 2 to 3 weeks |
| Removal | Easy with standard remover | Requires soaking in acetone for 10 to 15 minutes |
| Tools needed | Basic manicure kit | Base coat, color, top coat, lamp |
| Nail impact | Generally gentle if removed properly | Can weaken nails if overused or peeled off |
| Best for | Beginners and frequent color changes | Long-lasting, chip-proof results |
How to Make Your Manicure Last Longer
A professional manicure at home should look great for as long as possible. Try these habits to extend your manicure:
- Apply cuticle oil daily to keep nails flexible.
- Reapply a thin layer of top coat every two to three days.
- Wear rubber gloves when washing dishes or cleaning.
- Avoid using your nails as tools to open cans or scratch labels.
- Moisturize your hands after every wash to prevent dryness around the nails.
- Touch up small chips with a tiny brush and matching polish, then seal with top coat.
Take your at-home manicure to the next level with these professional tips:
- Work in a dust-free, well-lit area. Good lighting helps you spot streaks and missed edges.
- Keep tools clean. Sanitize metal tools with rubbing alcohol before and after each use.
- Let nails rest between manicures. Going polish-free for a few days prevents yellowing and brittleness.
- Use a ridge-filling base coat. If your nails have deep ridges, this creates a smoother surface.
- Store polish upright in a cool, dark place. Heat and sunlight thicken the formula.
- Clean up mistakes with a small brush dipped in remover. A thin eyeliner brush works perfectly.
- Apply quick-dry drops or spray only after the top coat. They speed drying without disturbing the polish.
- Wear gloves for dishes and cleaning. Water and chemicals are the fastest ways to ruin a manicure.
Conclusion
A professional manicure at home is one of the easiest ways to treat yourself while keeping your nails healthy and beautiful. With the right tools, a clean workspace, and a little practice, you can achieve results that rival your favorite salon. Remember: preparation matters as much as polish. Take your time, hydrate your hands, and do not skip the base and top coats.
If you found this guide helpful, share it with a friend who loves at-home beauty rituals. Then explore more self-care tips on FunkyMillions.com to keep your skin, hair, and nails looking their best all year long.
Frequently Asked Questions
References
Last updated
This article is for informational purposes only and does not constitute medical advice. Consult a licensed dermatologist or healthcare provider before starting any new treatment.
Beauty & Hair Care Editor
Amanda Gurton is a beauty editor and researcher with a focus on translating dermatology and trichology insights into clear, actionable advice. She covers skincare routines, hair health, ingredient science, and everyday beauty habits.
Comments (0)
Be the first to comment.
Related Articles
Cuticle Oil vs. Hand Cream: Do You Need Both?
Cuticle oil vs hand cream: learn the real differences, whether you need both, and how to layer them for genuinely healthy nails and hands.
Cuticle Care 101: How to Care for Cuticles
Learn essential cuticle care tips to keep your nail beds healthy, hydrated, and strong. Discover safe at-home routines and common mistakes to avoid.

How to Stop Biting Your Nails for Good
Learn how to stop biting nails for good with proven strategies, habit-reversal techniques, product picks, and expert tips for healthier hands.
Gel Nails vs. Acrylic Nails: Which Is Better?
Trying to decide between gel nails vs acrylic nails? Compare durability, cost, application, removal, and nail health to find the best long-lasting manicure for you.