 Funky Millions
How to Shape and Fill Eyebrows Naturally: A Complete Guide
Learn how to shape eyebrows naturally with easy plucking, trimming, and filling techniques. Get fuller, defined brows using makeup and natural remedies.
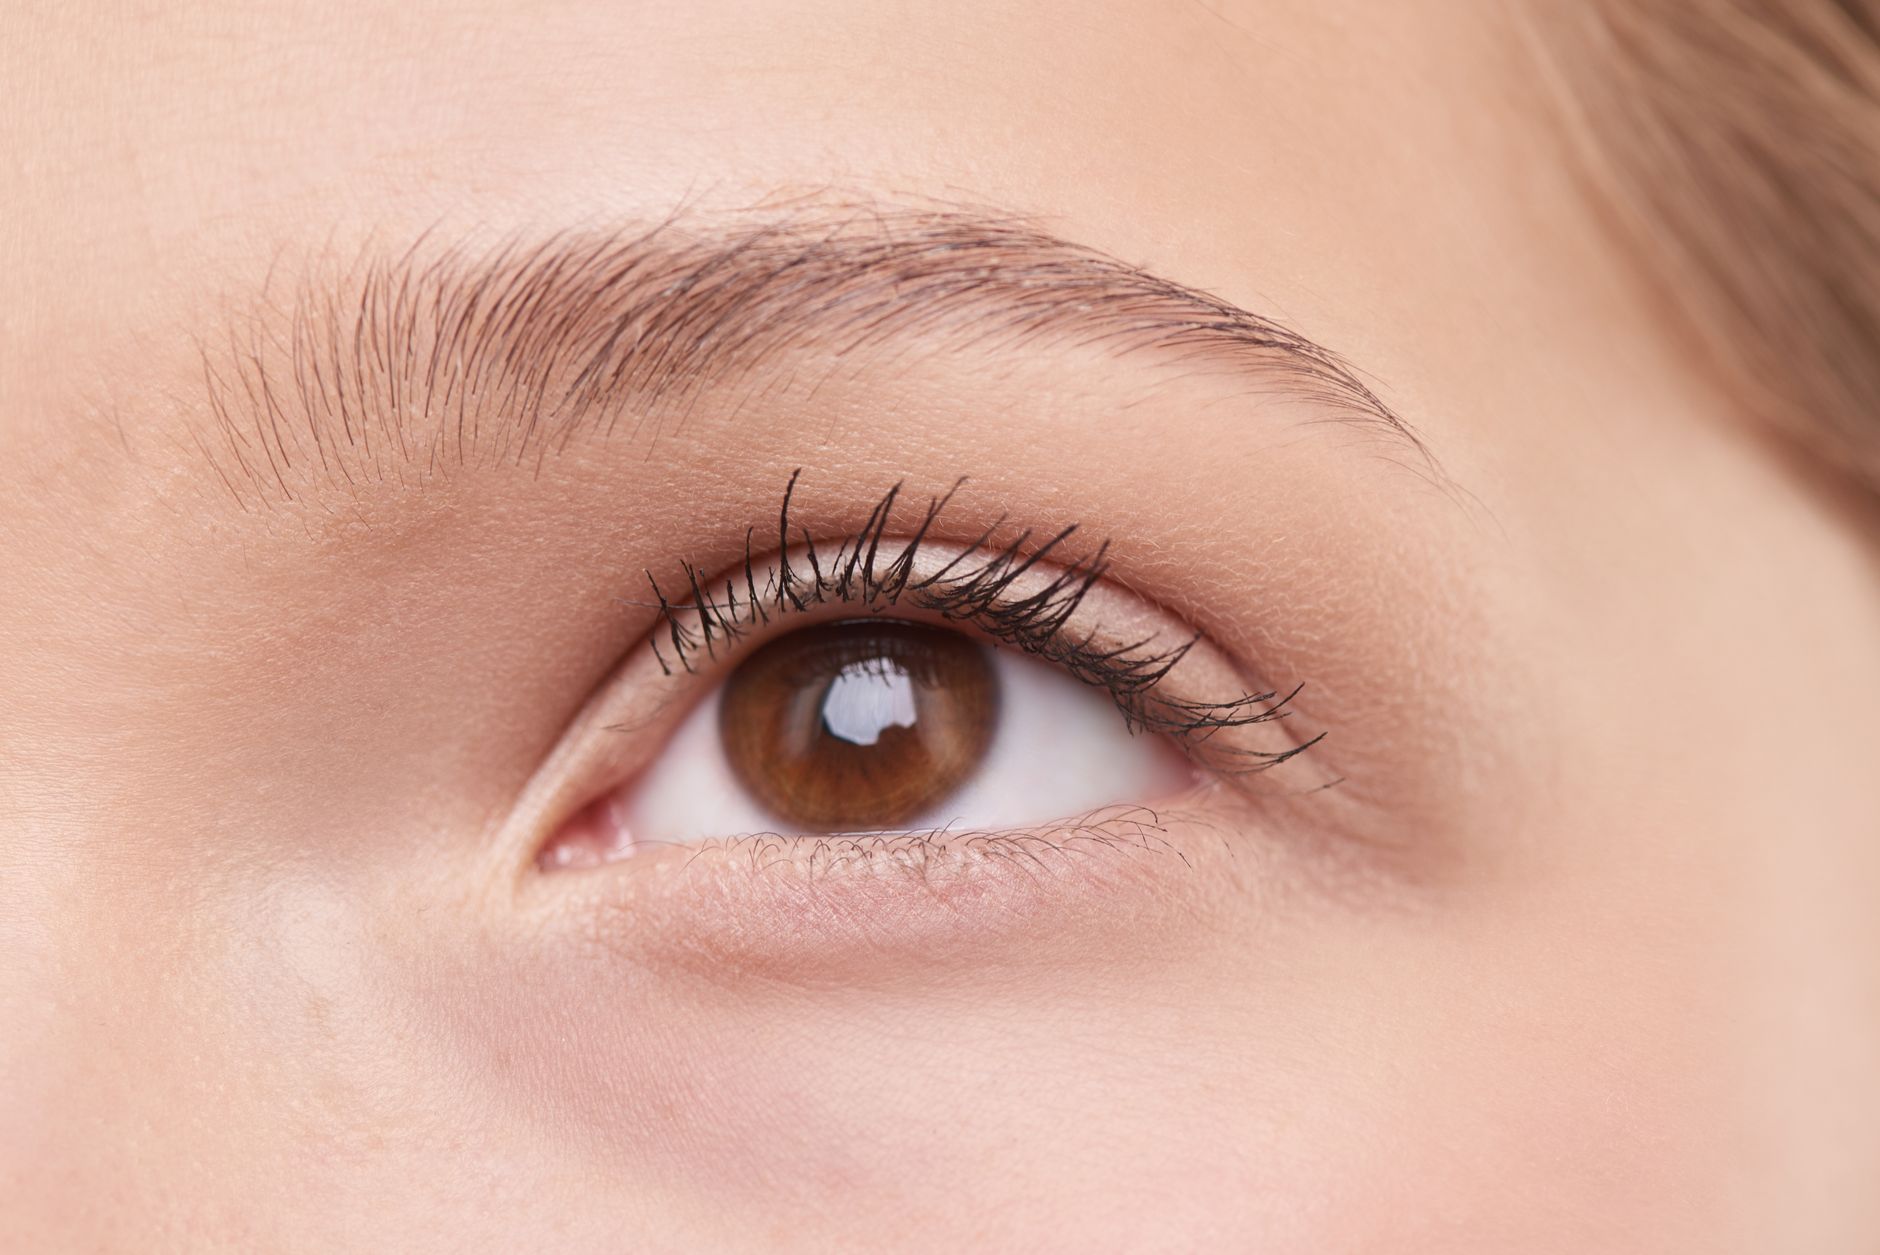
Quick summary
Key Takeaways
- Natural brow grooming enhances what you already have. Work with your brow shape, not against it.
- Invest in one good pair of slanted tweezers and a spoolie. They’re the foundation of great brow grooming.
- The classic brow map follows the nose-to-eye alignment. Adjust slightly if your natural brows fall outside these guides.
- Less is more. Remove only obvious strays and reassess after every few hairs.
- Step back from the mirror often. Brows look different from a normal viewing distance.
- Use light pressure and build gradually. It’s easier to add product than to remove it.
- Natural growth remedies require patience. Use them consistently for at least 6–8 weeks before judging results.
- Face shape is a guide, not a rule. Your natural brow structure often knows best.
Introduction
If you’ve ever wondered how to shape eyebrows naturally, you’re not alone. Full, well-groomed brows frame the face, enhance eye expression, and create a polished look without heavy makeup. The good news? You don’t need expensive salon visits or harsh treatments to get beautiful brows.
Natural eyebrow shaping is about working with your unique brow bone structure, hair growth pattern, and facial features. Whether your brows are thick, thin, sparse, or unruly, the right techniques can help you define them while keeping the result soft and realistic.
In this guide, you’ll learn how to map your brows, trim and pluck safely, fill them in naturally, and avoid common mistakes. You’ll also discover natural growth remedies, product recommendations, and expert tips to keep your eyebrows looking their best every day. Let’s shape and fill your way to effortlessly gorgeous brows.
What Does It Mean to Shape and Fill Eyebrows Naturally?
Shaping eyebrows naturally means enhancing your brows without over-plucking, harsh chemicals, or dramatic permanent treatments. The goal is to follow your natural brow line and create clean, symmetrical arches that complement your face.
Filling eyebrows naturally means using products like brow pencils, powders, gels, or pomades to add definition and fullness where hairs are sparse. The final look should mimic real hair strokes and blend seamlessly with your existing brows.
Together, shaping and filling create a balanced, face-framing effect that looks polished but not overdone.
Why Natural Eyebrow Shaping Matters
Your eyebrows do more than you think. They help communicate emotion, protect your eyes from sweat, and play a major role in facial symmetry. Well-shaped brows can make you look more awake, youthful, and put-together.
Here are the main benefits of learning how to shape eyebrows naturally at home:
- Saves money: You can maintain brows between salon visits or skip them entirely.
- Prevents over-plucking: You control how much hair is removed.
- Protects sensitive skin: Natural methods reduce irritation and allergic reactions.
- Customizes your look: You shape according to your face, not a one-size-fits-all stencil.
- Boosts confidence: Defined brows enhance your features with minimal effort.
Natural shaping is also gentler on hair follicles. Over-waxing or repeated threading can damage follicles over time and lead to thinner regrowth.
Tools You’ll Need for Natural Eyebrow Grooming
Before you start, gather a few basic tools. Quality tools make shaping safer and more precise.
Essential Tools
| Tool | Purpose |
|---|---|
| Spoolie brush | Brushes brow hairs into place |
| Tweezers (slanted tip) | Removes unwanted hairs with control |
| Brow scissors | Trims overly long hairs |
| White eyeliner pencil | Maps brow starting, arch, and tail points |
| Handheld mirror | Provides close-up view |
| Good lighting | Prevents over-plucking |
Optional Tools
- Magnifying mirror
- Brow pencil or powder
- Clear or tinted brow gel
- Concealer for cleanup
- Aloe vera gel or soothing toner
How to Map Your Eyebrows Before Shaping
Mapping is the most important step in natural eyebrow shaping. It helps you find the ideal start, arch, and end points based on your facial structure.
Step 1: Find the Inner Corner (Start)
Hold a brow pencil vertically along the side of your nose, aligning with the inner corner of your eye. Where the pencil meets your brow is where your eyebrow should begin.
Step 2: Find the Highest Point (Arch)
Pivot the pencil from the outer edge of your nostril through the center of your pupil. The point where it crosses your brow is your natural arch.
Step 3: Find the Tail (End)
Angle the pencil from the outer edge of your nostril toward the outer corner of your eye. Where it meets your brow bone is where your brow should end.
Step 4: Mark With a White Pencil
Use a white eyeliner pencil to lightly dot these three points on each brow. This gives you a clear guide and prevents over-plucking.
How to Shape Eyebrows Naturally at Home
Once your brows are mapped, you’re ready to shape. Work slowly and check your progress often.
Step 1: Brush Brows Upward
Use a spoolie to brush all brow hairs upward. This reveals long hairs that extend above your natural brow line.
Step 2: Trim Only What’s Necessary
Carefully trim any hairs that extend clearly above the brow shape. Cut one hair at a time. Never trim across the brow in a straight line.
Step 3: Pluck Stray Hairs
Tweeze only the hairs that fall outside your mapped lines. Remove one hair at a time, pulling in the direction of hair growth to reduce breakage and irritation.
Step 4: Clean Up Underneath
Remove the sparse hairs directly beneath the brow line. This lifts the arch and defines the shape.
Step 5: Soothe the Skin
Apply aloe vera gel or a gentle, alcohol-free toner to calm redness and close pores.
Common Eyebrow Shaping Mistakes to Avoid
Even small mistakes can take weeks to grow out. Avoid these common errors:
- Over-plucking: Removing too many hairs can create thin, uneven brows.
- Ignoring your natural arch: Forcing a completely different shape looks unnatural.
- Plucking above the brow too much: The top of the brow defines the arch. Over-thinning here flattens the shape.
- Using a magnifying mirror too closely: This distorts perspective and leads to over-plucking.
- Plucking right before an event: Redness and swelling can last several hours.
- Tweezing wet or freshly washed skin: Skin is softer and more prone to tearing.
- Matching brows exactly: Eyebrows are sisters, not twins. Perfect symmetry looks artificial.
How to Fill Eyebrows Naturally
Filling in brows adds fullness and definition. The trick is to use light, hair-like strokes and build color gradually.
Step 1: Brush Brows Into Place
Start with clean, dry brows. Use a spoolie to brush hairs upward and outward.
Step 2: Choose the Right Product Shade
Select a brow product one to two shades lighter than your hair color if you have dark hair, or one shade darker if you have light hair. This keeps the look natural.
Step 3: Apply Hair-Like Strokes
Use a fine-tip brow pencil or angled brush with powder. Apply short, feathery strokes in the direction of hair growth. Focus on sparse areas and the tail.
Step 4: Define the Bottom Edge
Lightly draw along the bottom edge of the brow from the inner corner to the tail. Blend with a spoolie to soften the line.
Step 5: Set With Brow Gel
Finish with clear or tinted brow gel to hold hairs in place and add a polished look.
Step 6: Clean Up With Concealer
Apply a small amount of concealer beneath the brow and blend with a brush or fingertip. This highlights the shape and makes brows pop.
Product Types for Natural-Looking Brows
Different products create different finishes. Here’s how to choose:
| Product | Best For | Finish |
|---|---|---|
| Brow pencil | Precise strokes and sparse tails | Natural, defined |
| Brow powder | Soft volume and oily skin | Soft, diffused |
| Brow pomade | Bold, long-lasting definition | Slightly dramatic |
| Brow gel | Holding hairs in place | Natural, textured |
| Brow pen | Microbladed-like hair strokes | Very natural |
For beginners, a brow pencil or brow powder kit is easiest to control. For very sparse brows, a brow pen can create realistic hair strokes.
Natural Remedies for Fuller Eyebrows
If your brows are thinning, a few natural remedies may help support hair growth. Results take time and consistency.
Castor Oil
Rich in ricinoleic acid, castor oil is a popular natural remedy for thicker brows. Apply a small amount before bed and rinse in the morning.
Coconut Oil
Coconut oil moisturizes the skin and hair. Use it as a lightweight nightly brow conditioner. You can also explore more ways to nourish hair naturally in our guide to coconut oil hair treatment.
Aloe Vera
Aloe vera soothes the skin and may support healthy hair follicles. It’s especially helpful after plucking.
Vitamin E Oil
Vitamin E is an antioxidant that nourishes skin and hair. Puncture a capsule and apply the oil to brows at night.
Healthy Diet
Nutrients like biotin, vitamin D, iron, and omega-3 fatty acids support hair health. A balanced diet benefits your brows along with the rest of your body.
Eyebrow Shaping for Different Face Shapes
Your ideal brow shape depends partly on your face shape. Use these guidelines as a starting point:
| Face Shape | Ideal Brow Shape | Why It Works |
|---|---|---|
| Round | High, defined arch | Lengthens the face |
| Oval | Soft, natural arch | Balances proportions |
| Square | Bold, slightly angled brow | Softens strong jawline |
| Heart | Rounded, low arch | Balances a wider forehead |
| Long | Straight, horizontal brow | Shortens the face visually |
| Diamond | Curved, full brow | Softens angular features |
Adjust these recommendations based on your natural brow growth and personal style.
How Often Should You Shape Your Eyebrows?
Most people benefit from a light cleanup every 1–2 weeks and a full shaping session every 3–4 weeks. Hair grows in cycles, so waiting allows new hairs to emerge and helps you maintain a fuller shape.
Avoid shaping more than once a week. Constant plucking can irritate the skin and damage follicles over time.
These tips will help you refine your technique and avoid common pitfalls:
- Pluck after a warm shower: Steam softens the skin and opens pores, making hair removal easier.
- Use natural light whenever possible: It shows true color and prevents over-removal.
- Tweeze in the direction of growth: This reduces breakage and ingrown hairs.
- Avoid retinoids before plucking: These thin the skin and increase the risk of irritation or tearing.
- Fill brows before a big event: Practice your routine beforehand so you’re confident with the result.
- Blend product with a spoolie: This removes harsh lines and creates a soft finish.
- Keep brows hydrated: Dry skin can make brows look flaky and dull.
For more ways to enhance your natural features, check out our article on beauty tips without makeup.
Conclusion
Learning how to shape eyebrows naturally is one of the most rewarding beauty skills you can master. With the right tools, a simple mapping method, and a light hand, you can define your brows at home while keeping them soft and realistic.
Remember to shape gradually, fill with hair-like strokes, and choose products that match your coloring. Whether you’re maintaining your brows between salon visits or embracing a fully DIY routine, natural grooming gives you control over your look.
If you found this guide helpful, share it with a friend and explore more of our beauty tips. For a complete natural glow, check out our articles on how to make your skin glow and 10 beauty tips for women.
Category: Makeup
Tags: eyebrow shaping, natural eyebrows, eyebrow makeup, brow grooming, how to fill eyebrows, eyebrow tips, natural beauty
Frequently Asked Questions
References
Last updated
This article is for informational purposes only and does not constitute medical advice. Consult a licensed dermatologist or healthcare provider before starting any new treatment.
Beauty & Hair Care Editor
Amanda Gurton is a beauty editor and researcher with a focus on translating dermatology and trichology insights into clear, actionable advice. She covers skincare routines, hair health, ingredient science, and everyday beauty habits.
Comments (0)
Be the first to comment.
Related Articles
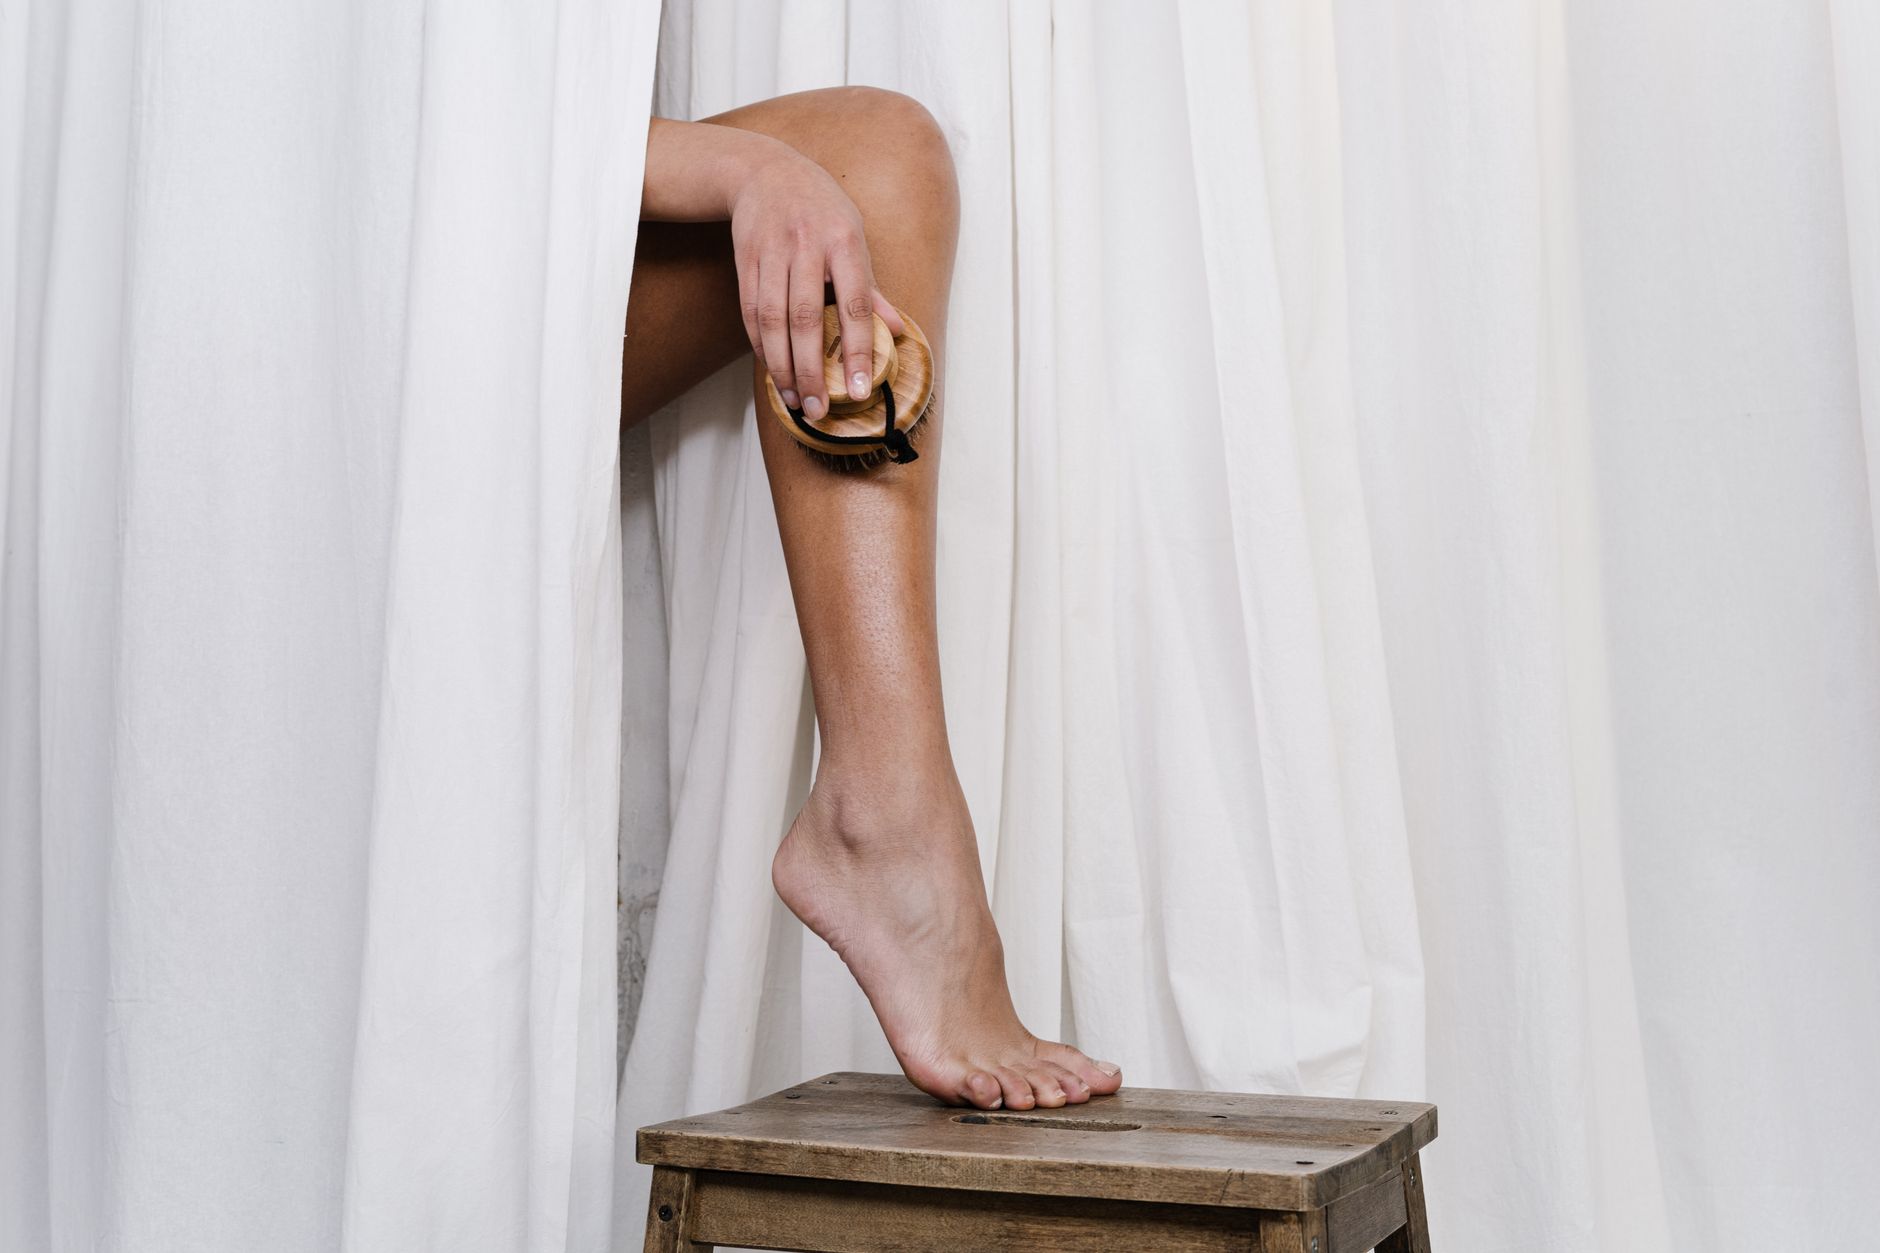
Dry Brushing Benefits Skin: A Complete Beginner’s Guide
Discover the dry brushing benefits skin experts talk about: gentle exfoliation, improved circulation, lymphatic support, and smoother texture. Learn how to do it safely.
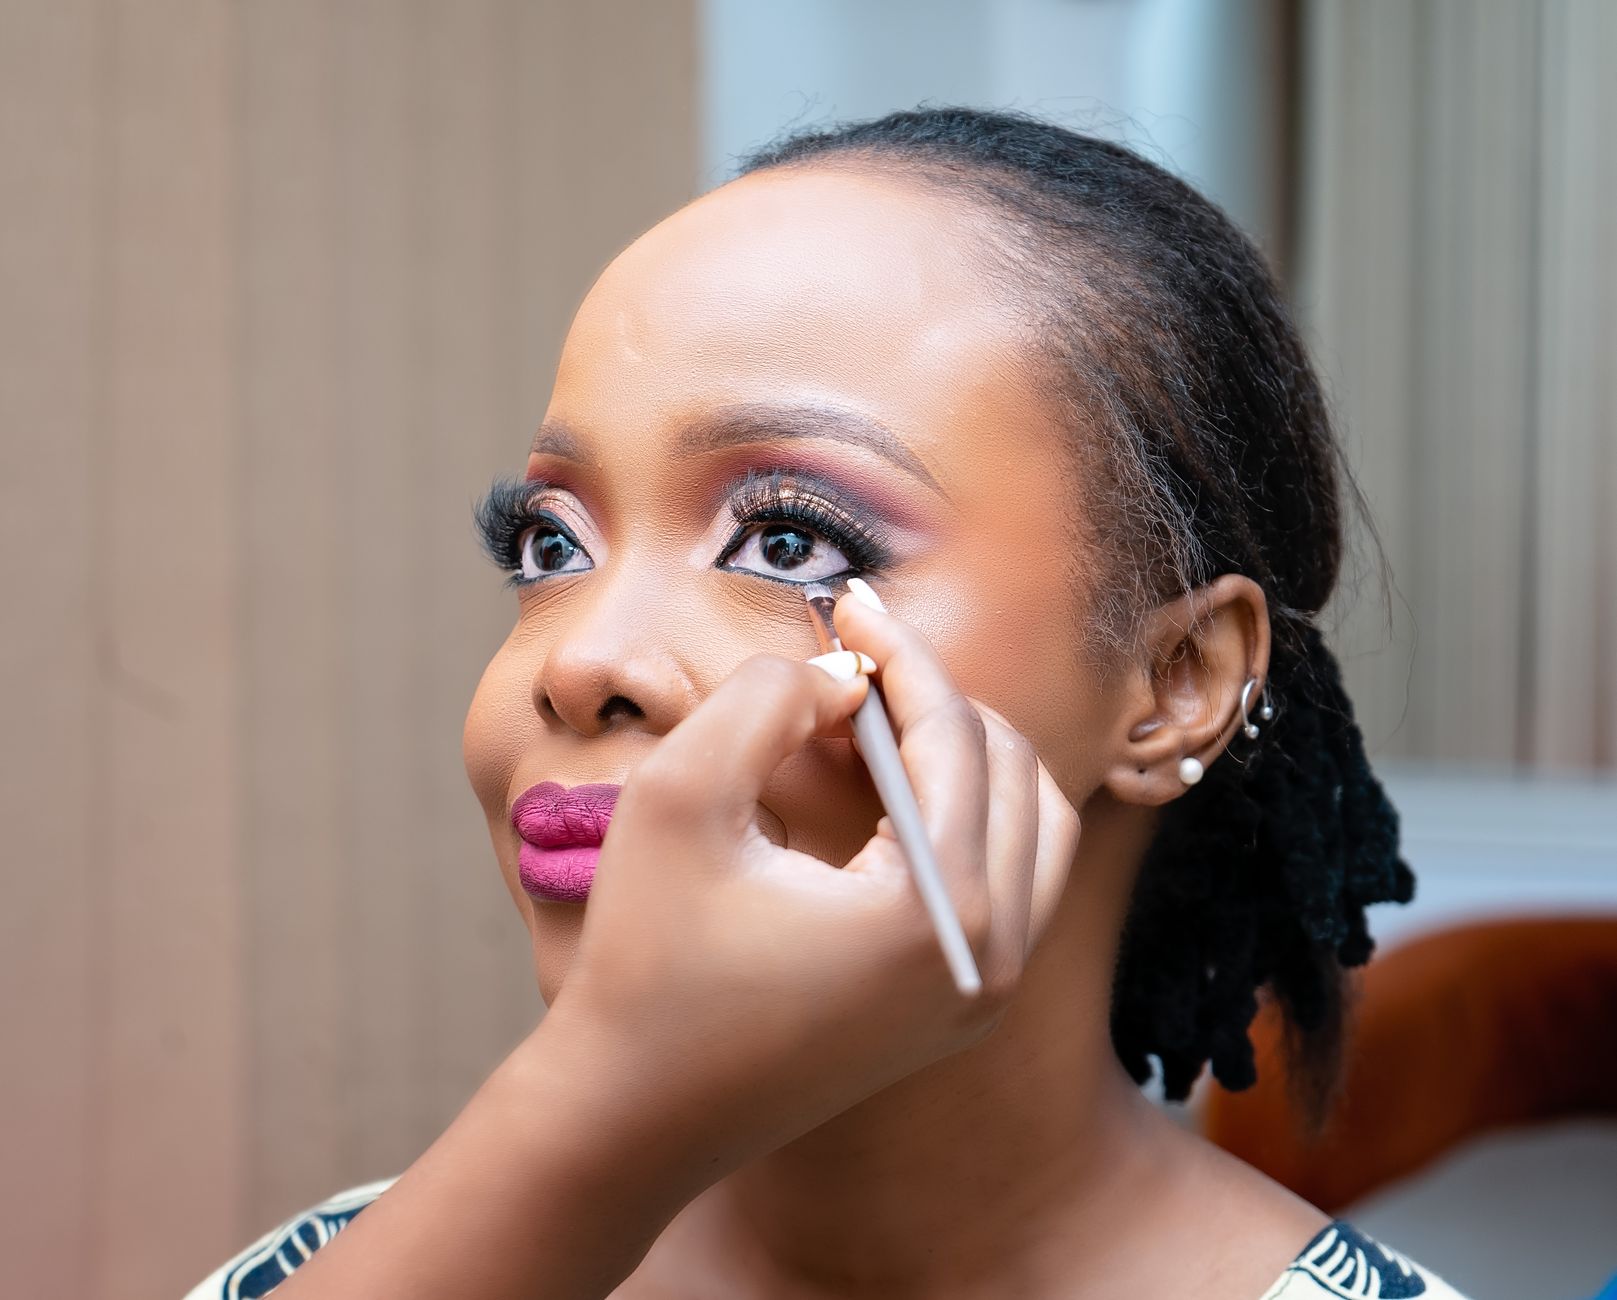
What Is Baking in Makeup? A Step-by-Step Guide
Learn what baking in makeup means, how it sets your base for hours, and a complete step-by-step guide to doing it correctly.
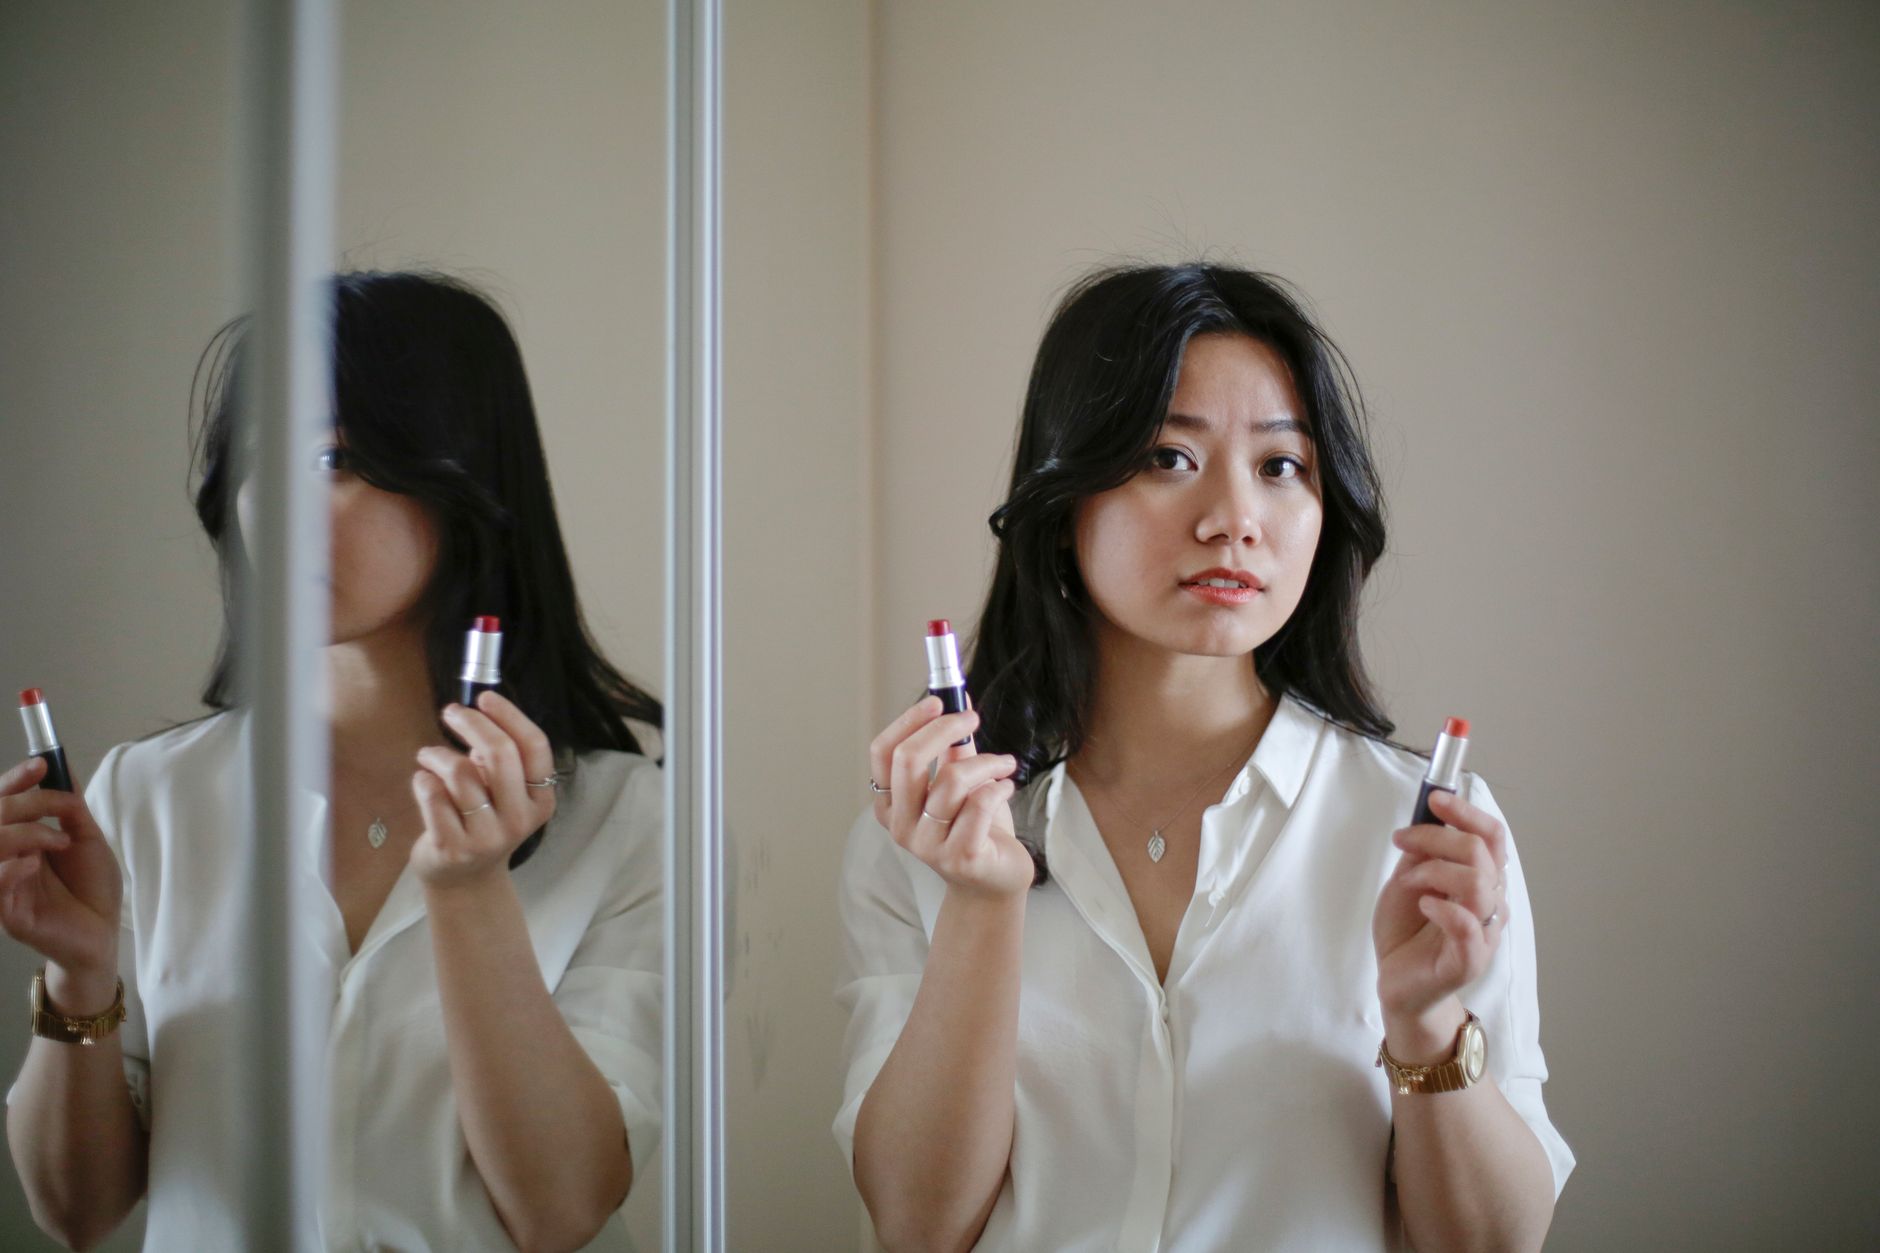
Lipstick for Beginners: How to Choose Your Shade
Learn how to choose lipstick shade with this beginner-friendly guide. Discover undertones, finishes, and expert tips to find your perfect lip color every time.

Eyeshadow for Beginners: Easy Neutral Looks
Learn eyeshadow for beginners with easy neutral looks. Discover step-by-step techniques, beginner-friendly palettes, common mistakes, and expert tips for polished eyes.